Cookie Decorating Tutorials
Check out these cookie decorating tutorials for every occasion! There are Christmas cookies, birthday cookies, baby shower cookies, and so many more!
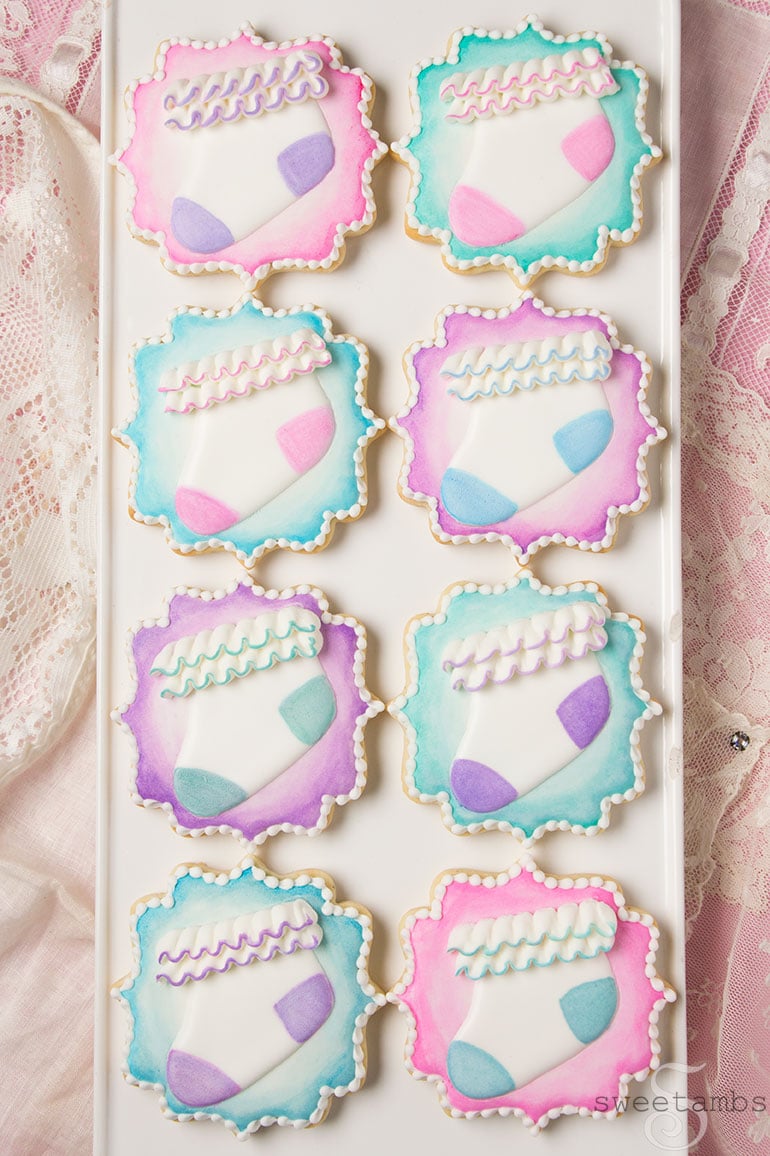
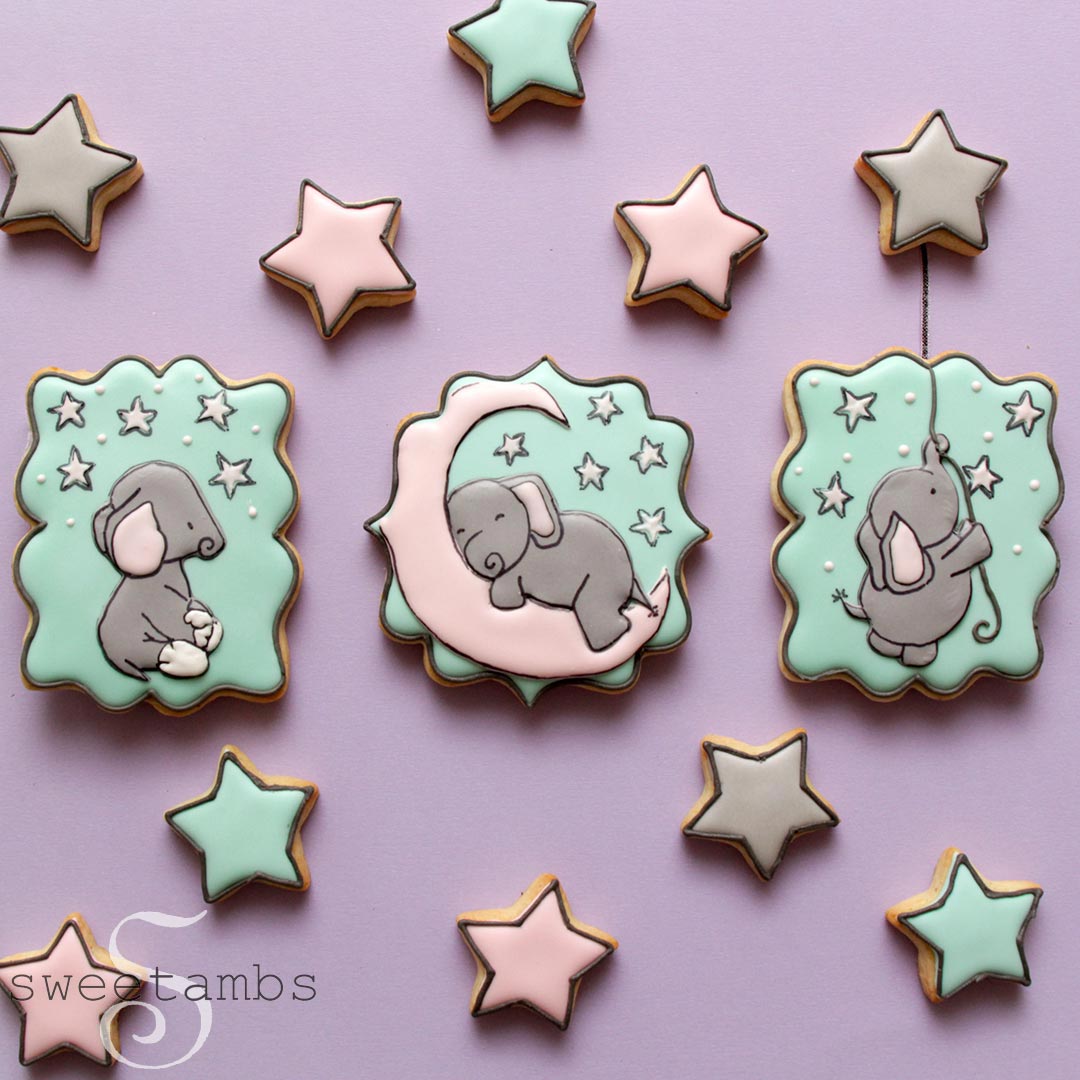
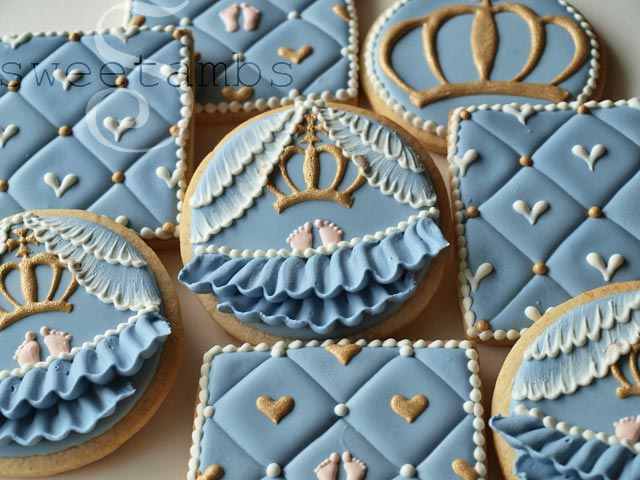
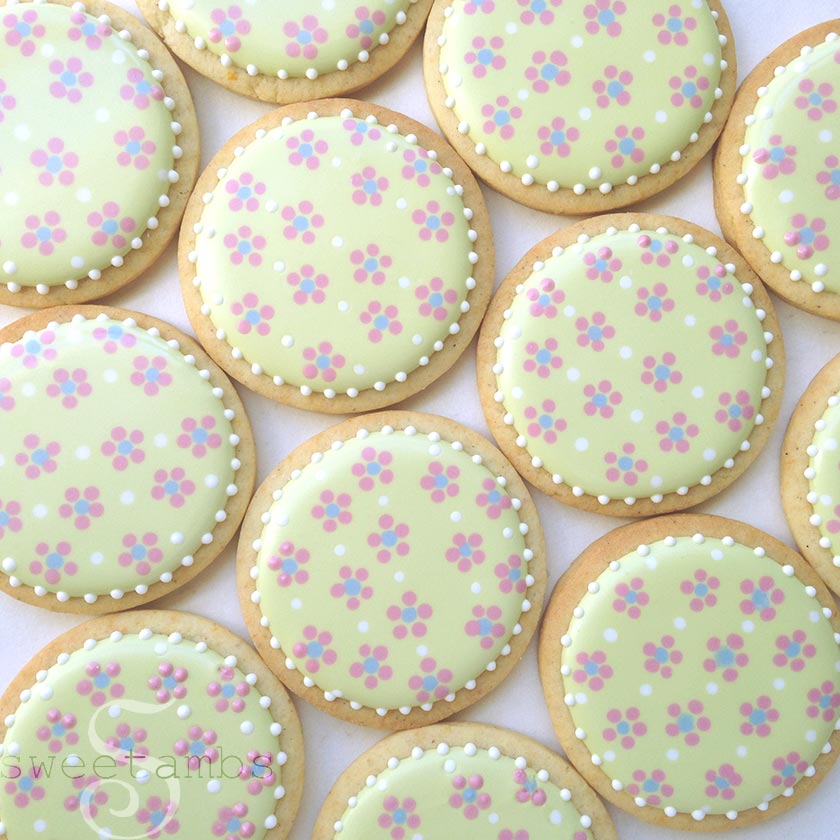
Baby Shower Cookies


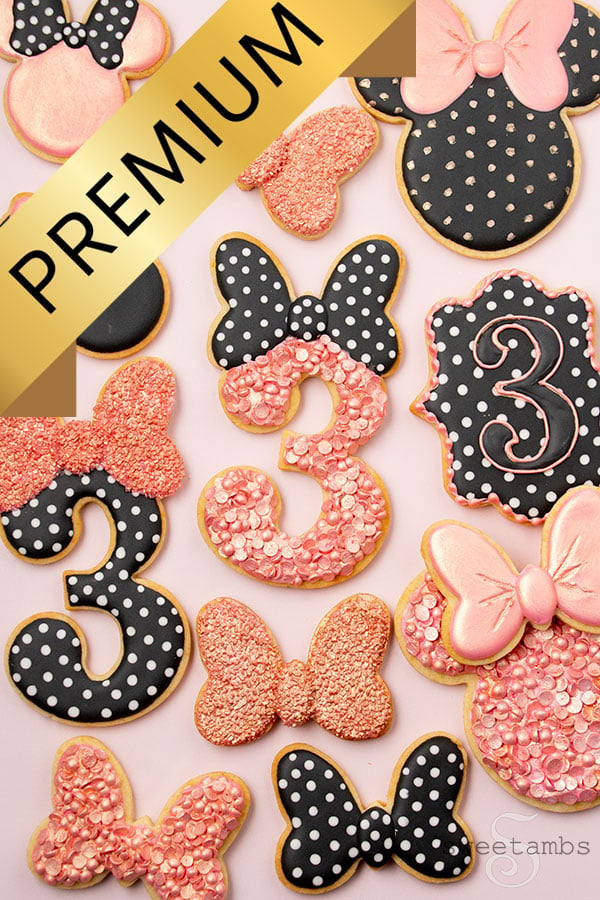
Birthday Cookies


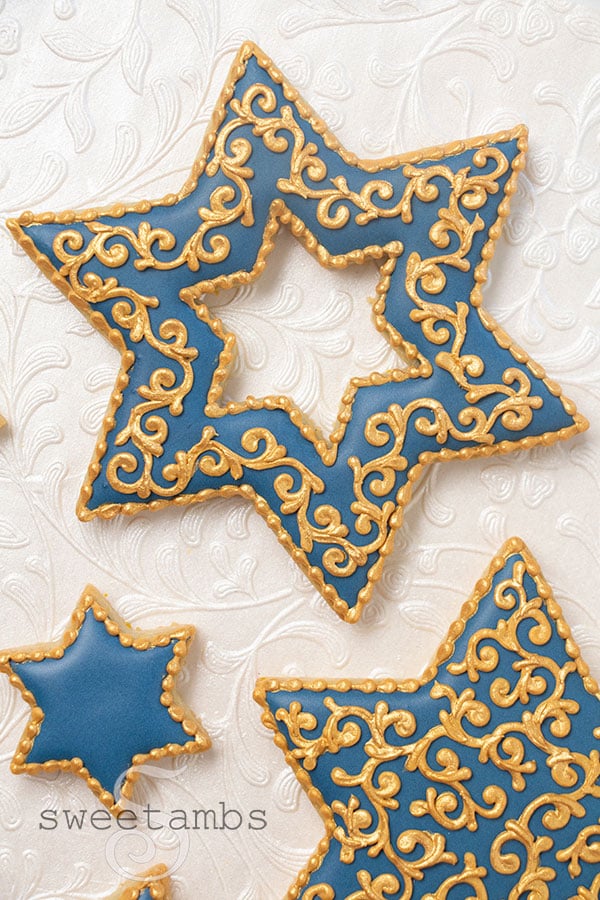
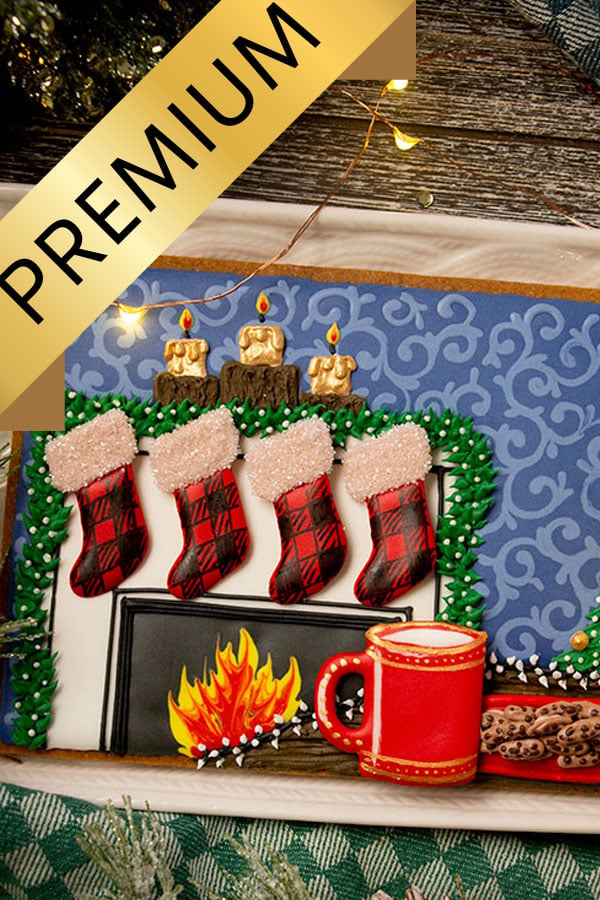
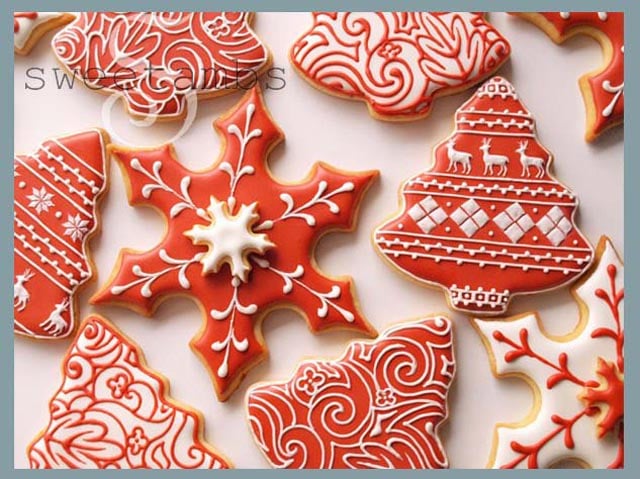
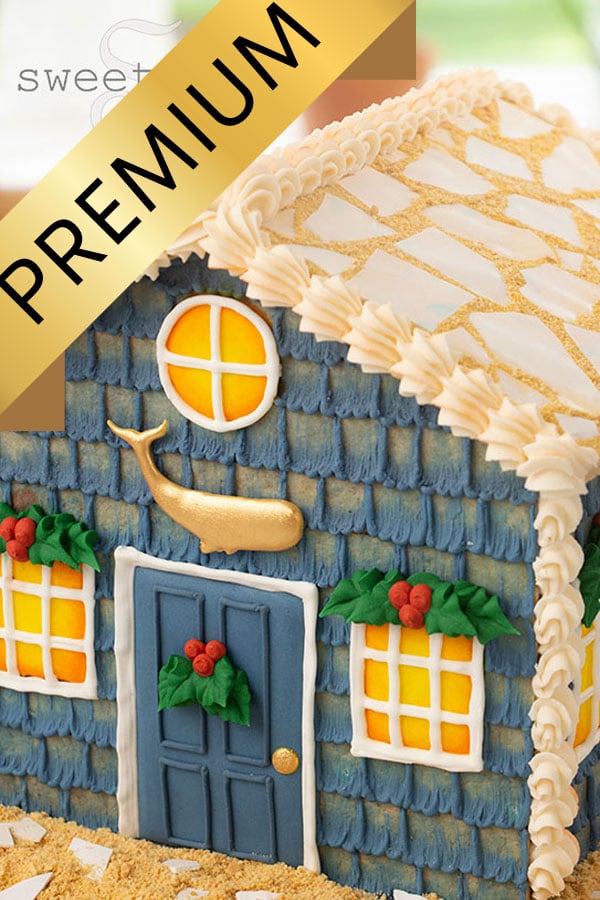
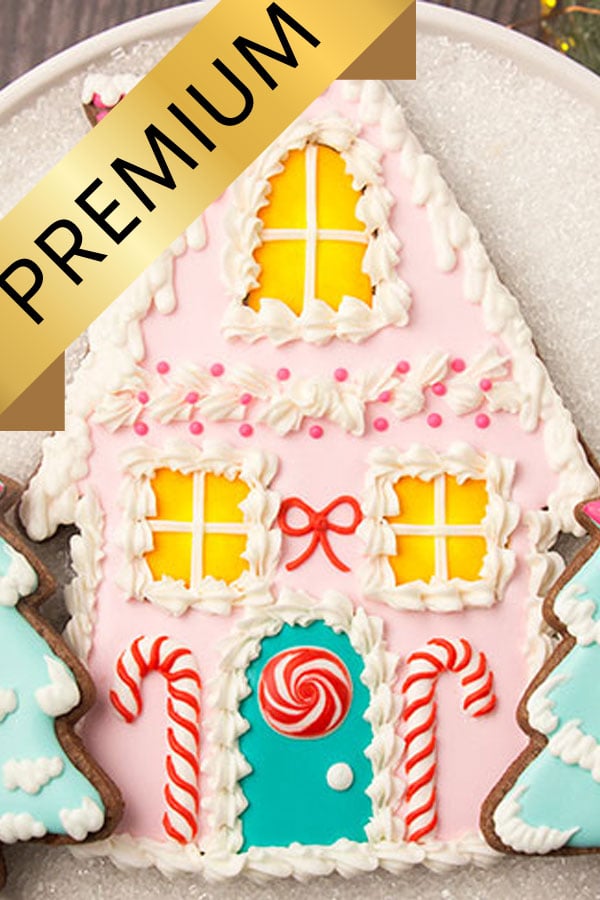
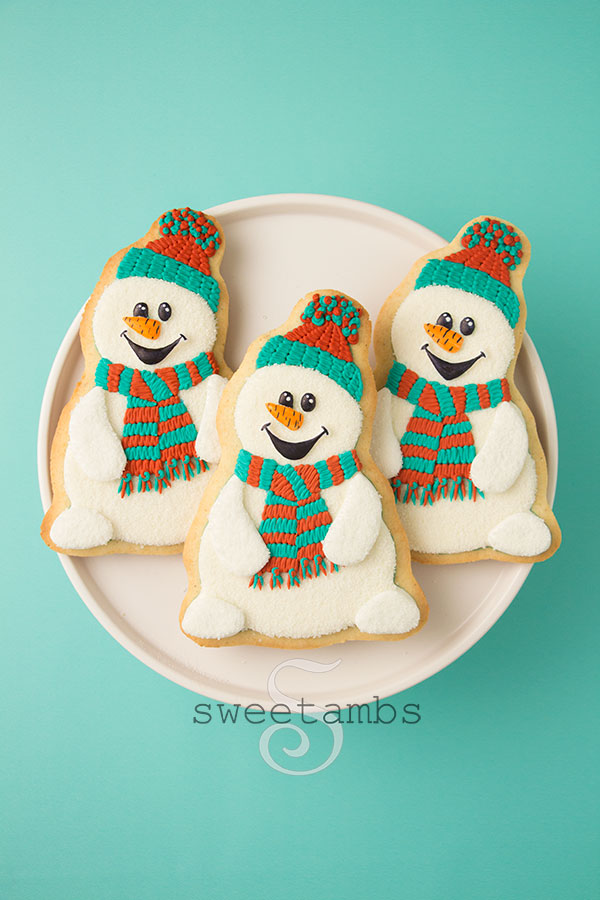
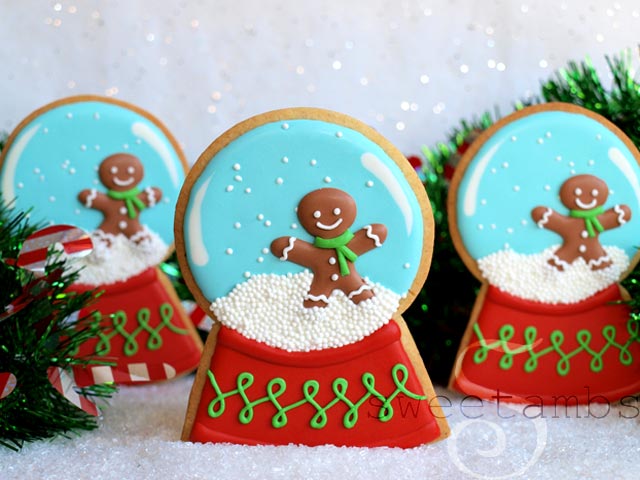
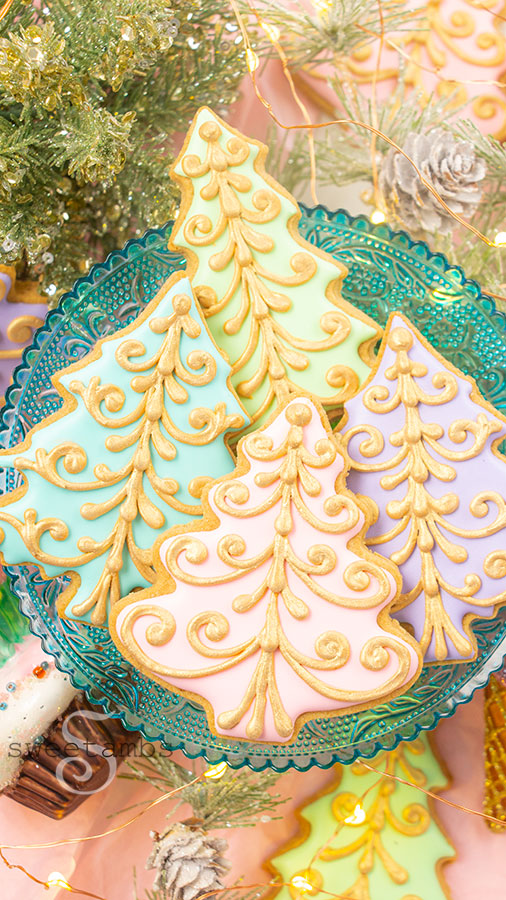
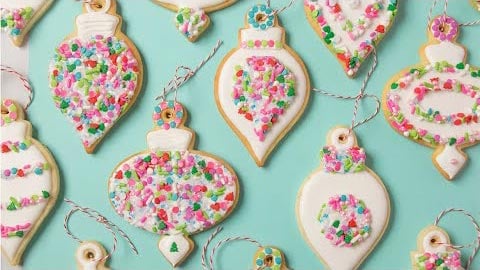
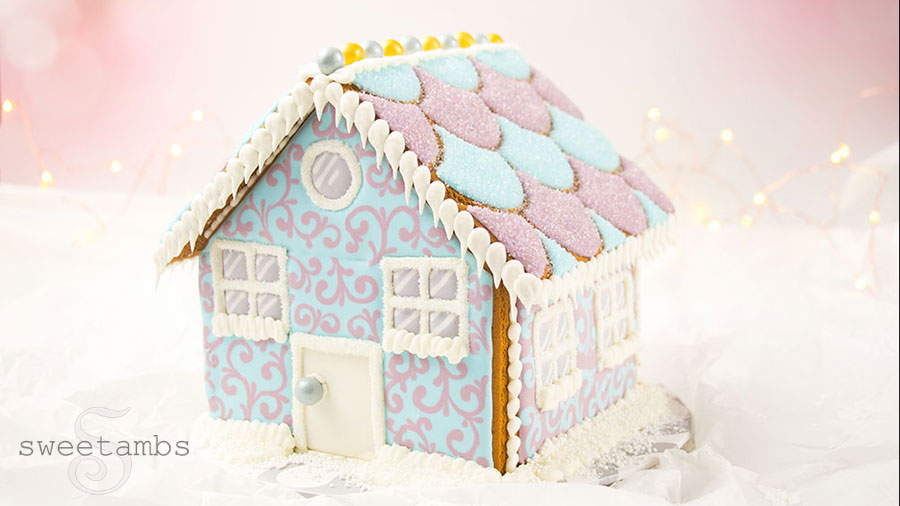
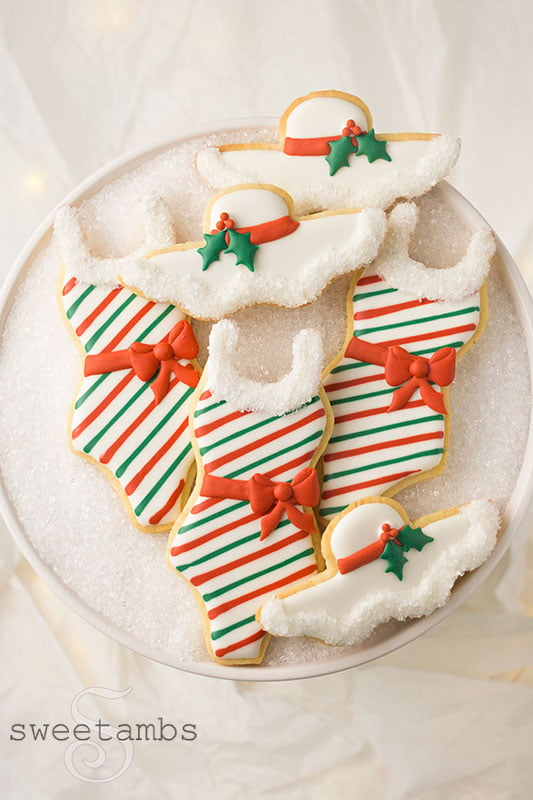
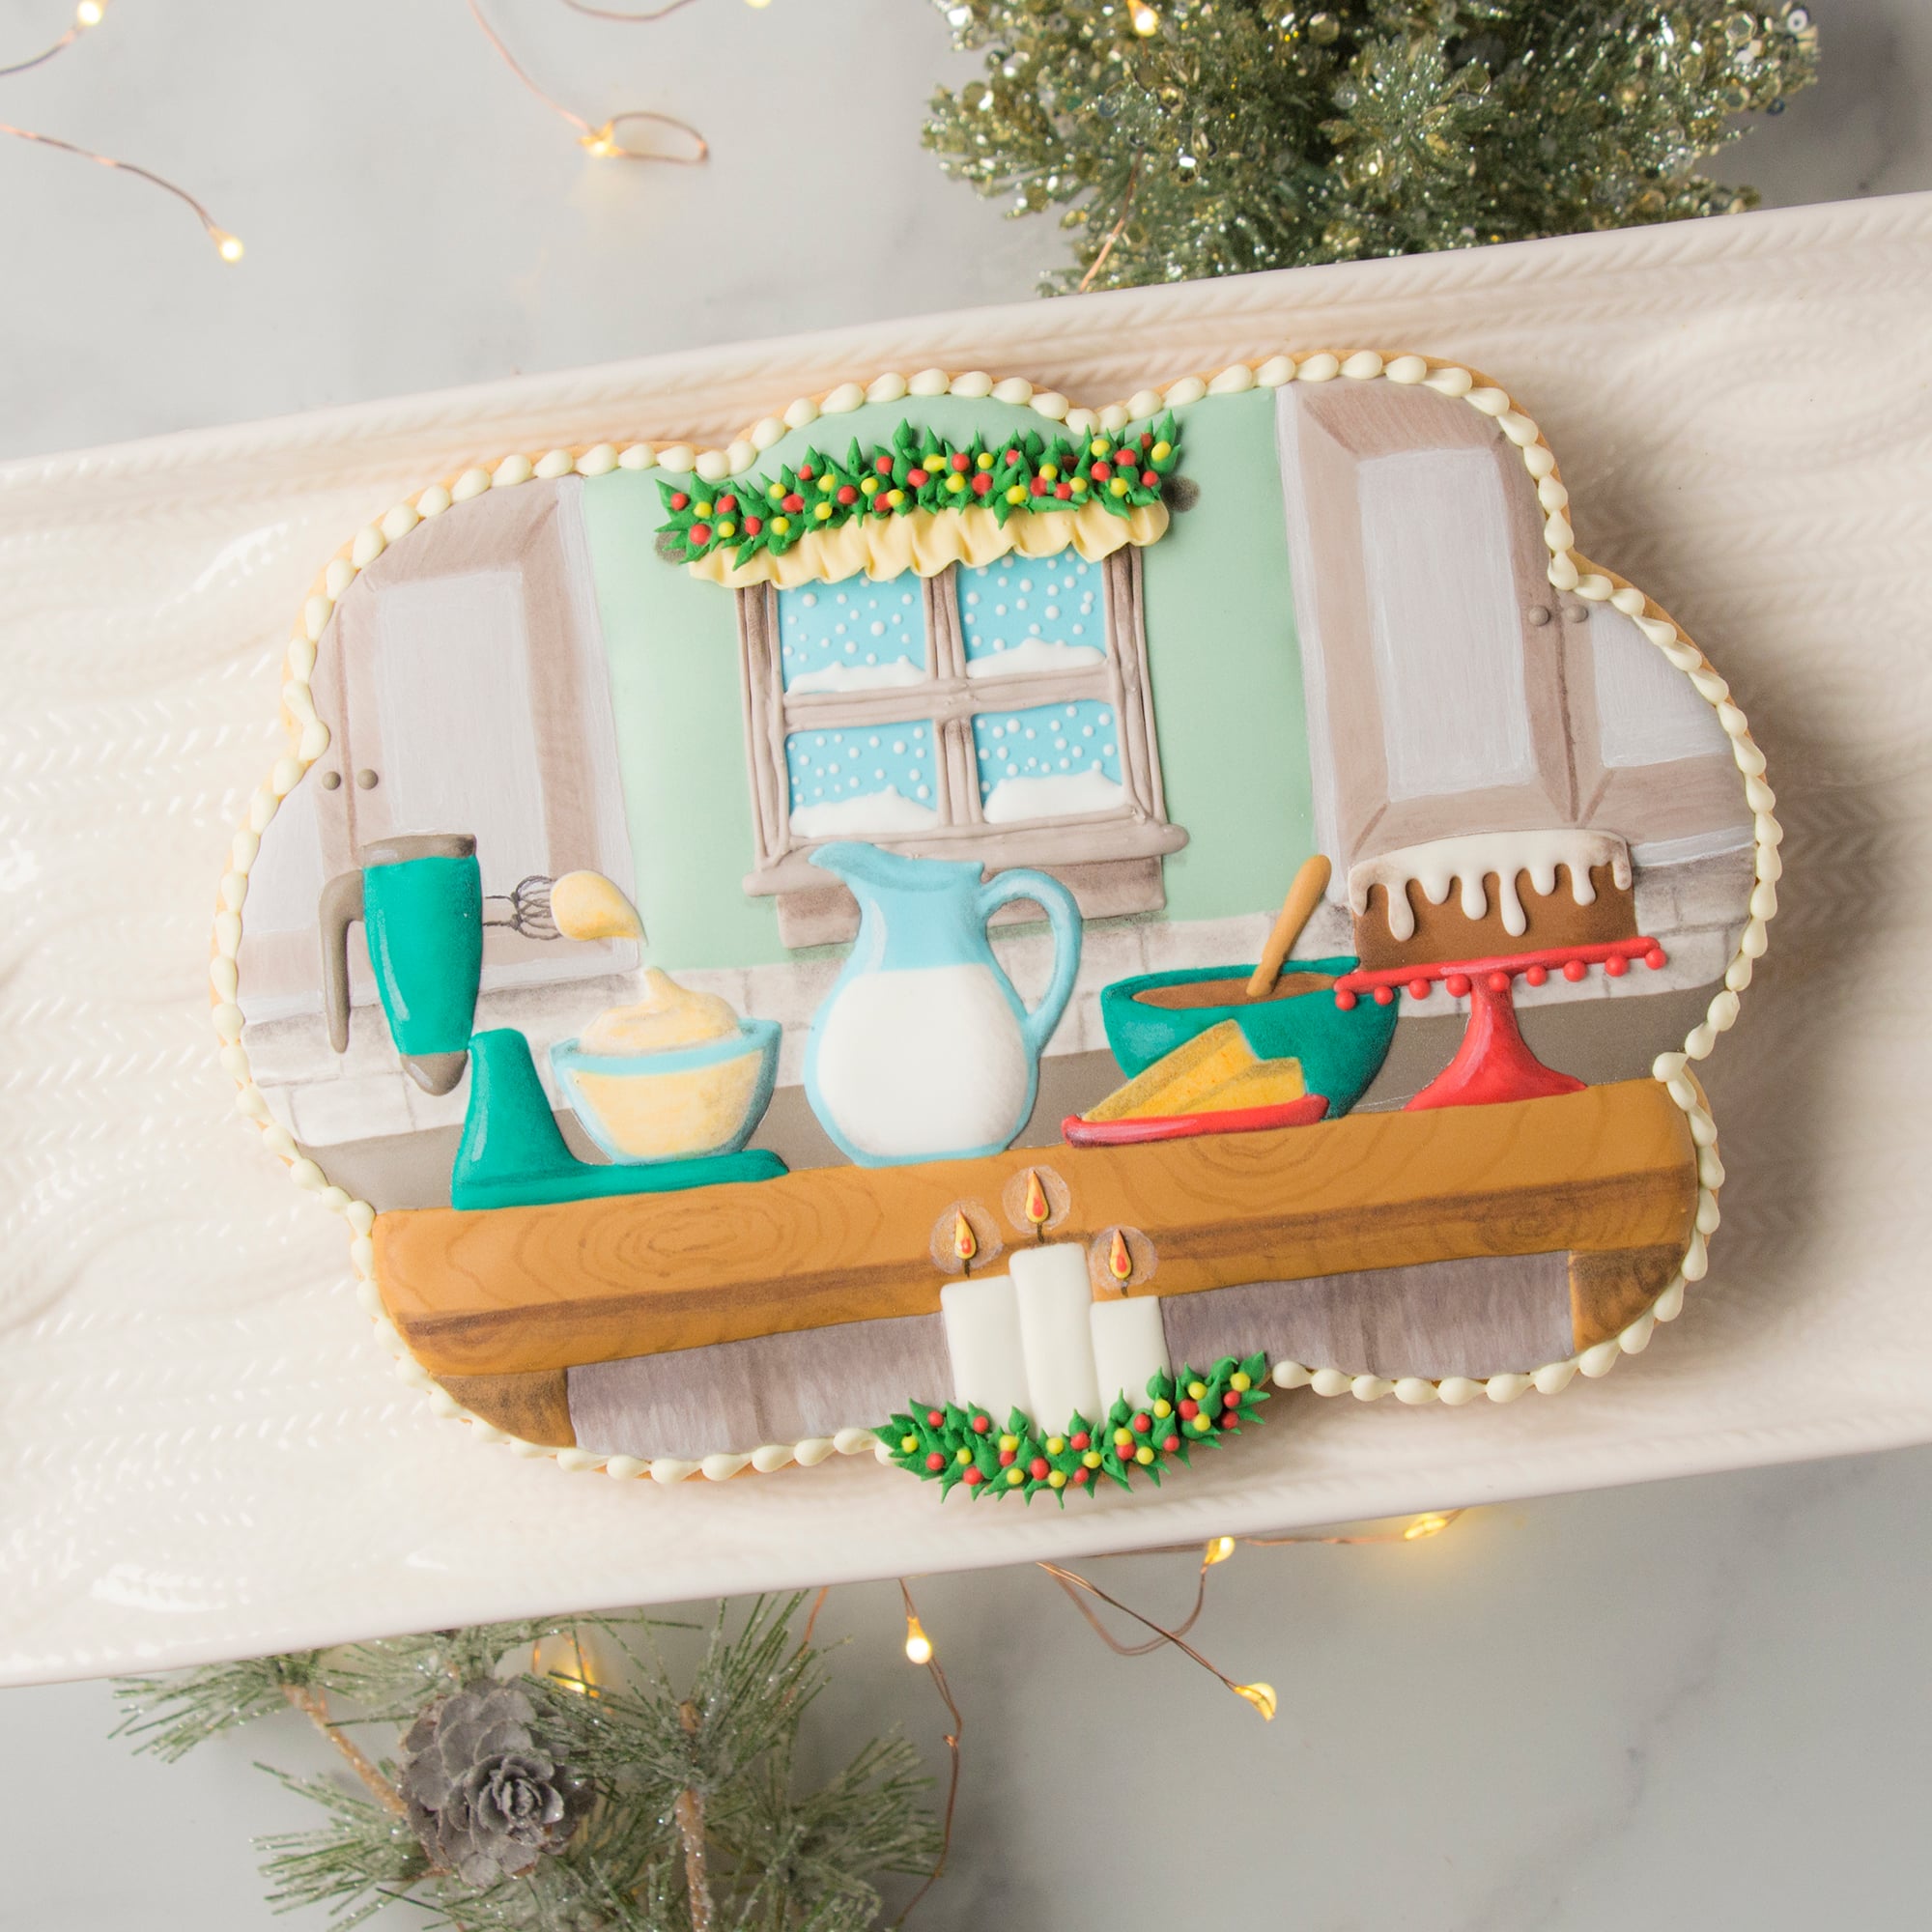
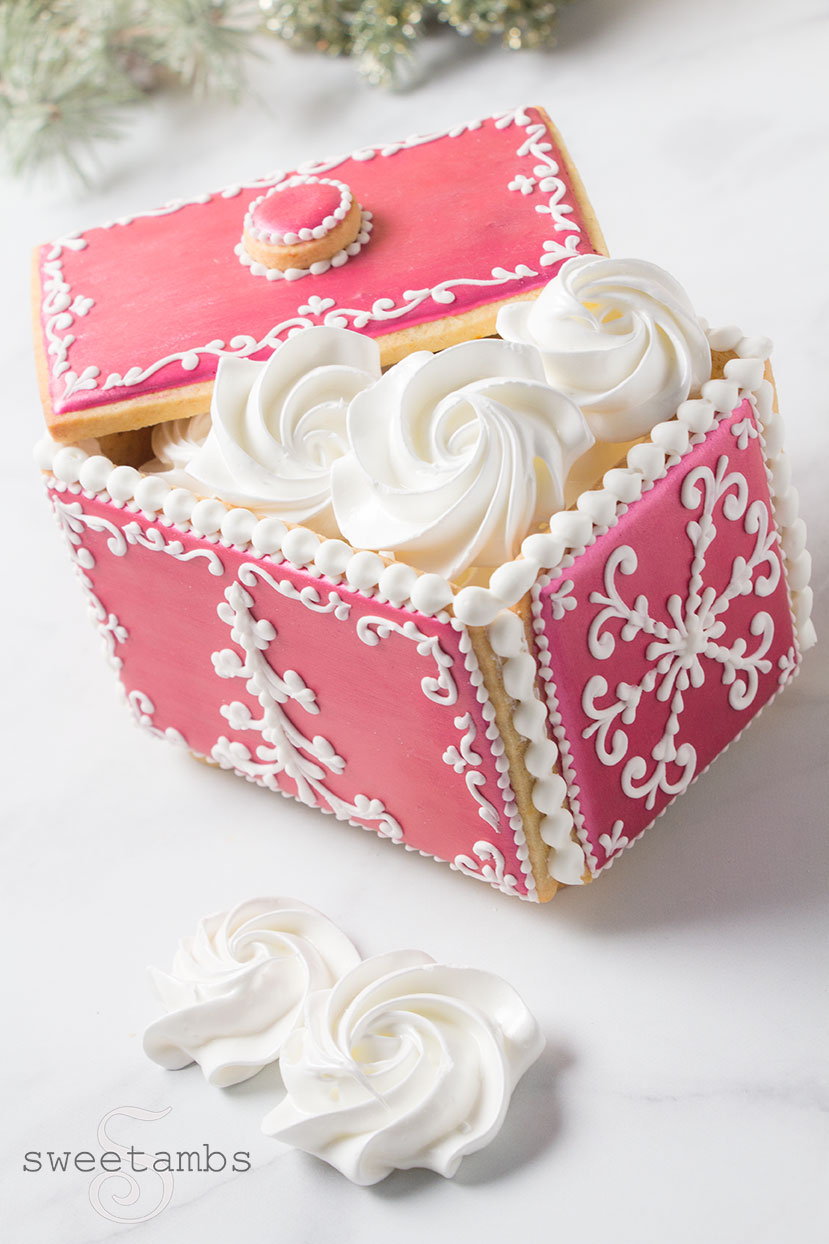
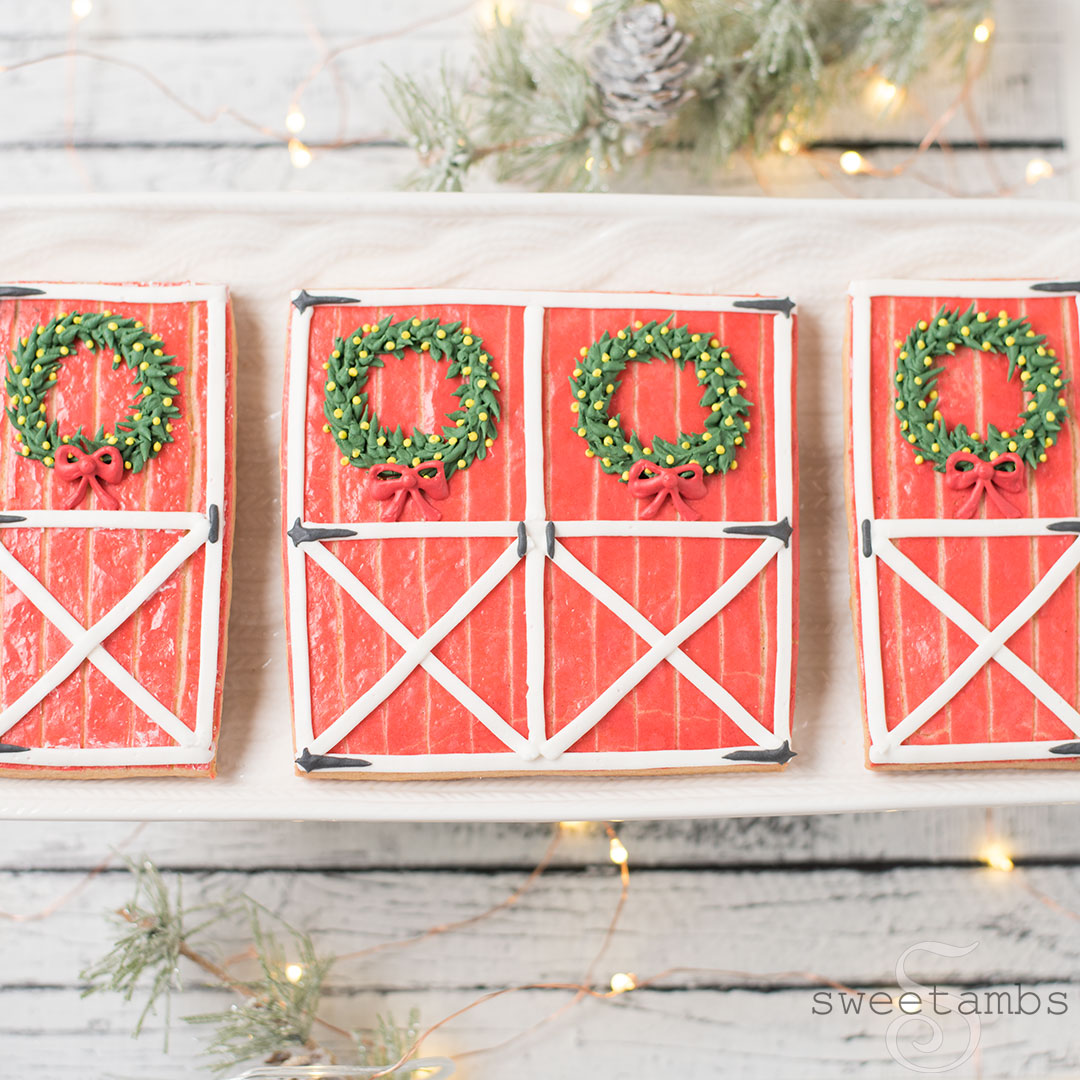
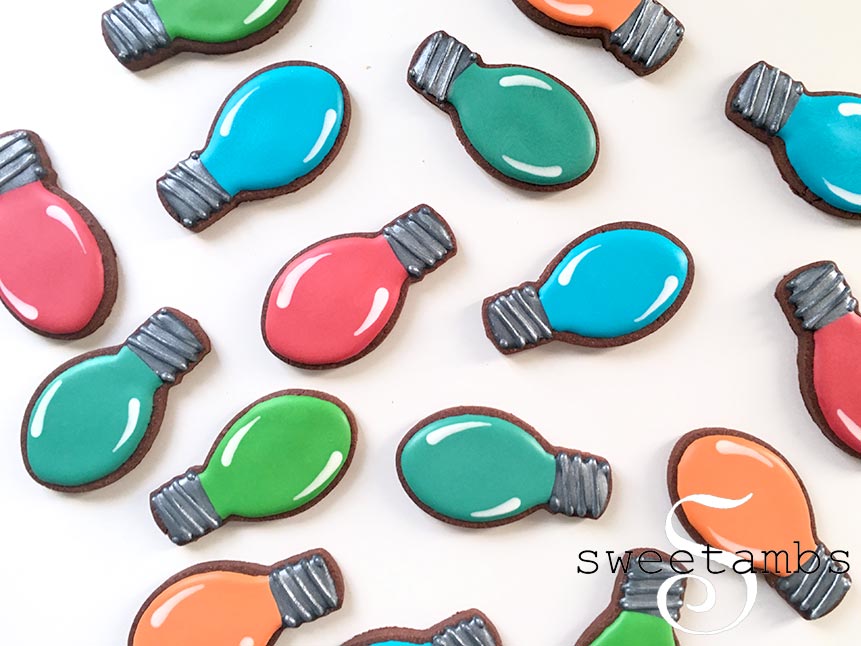
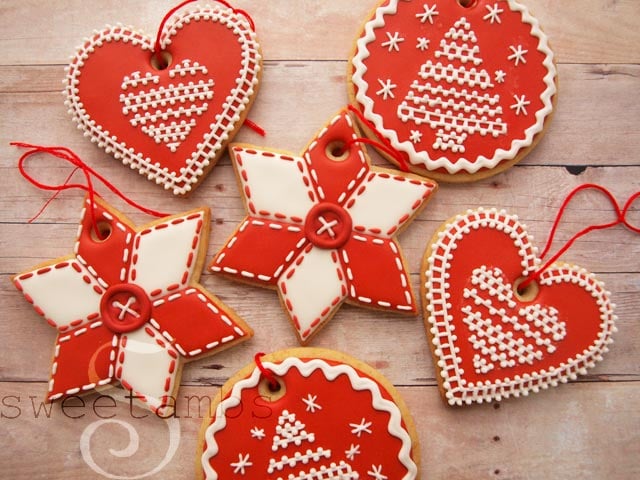
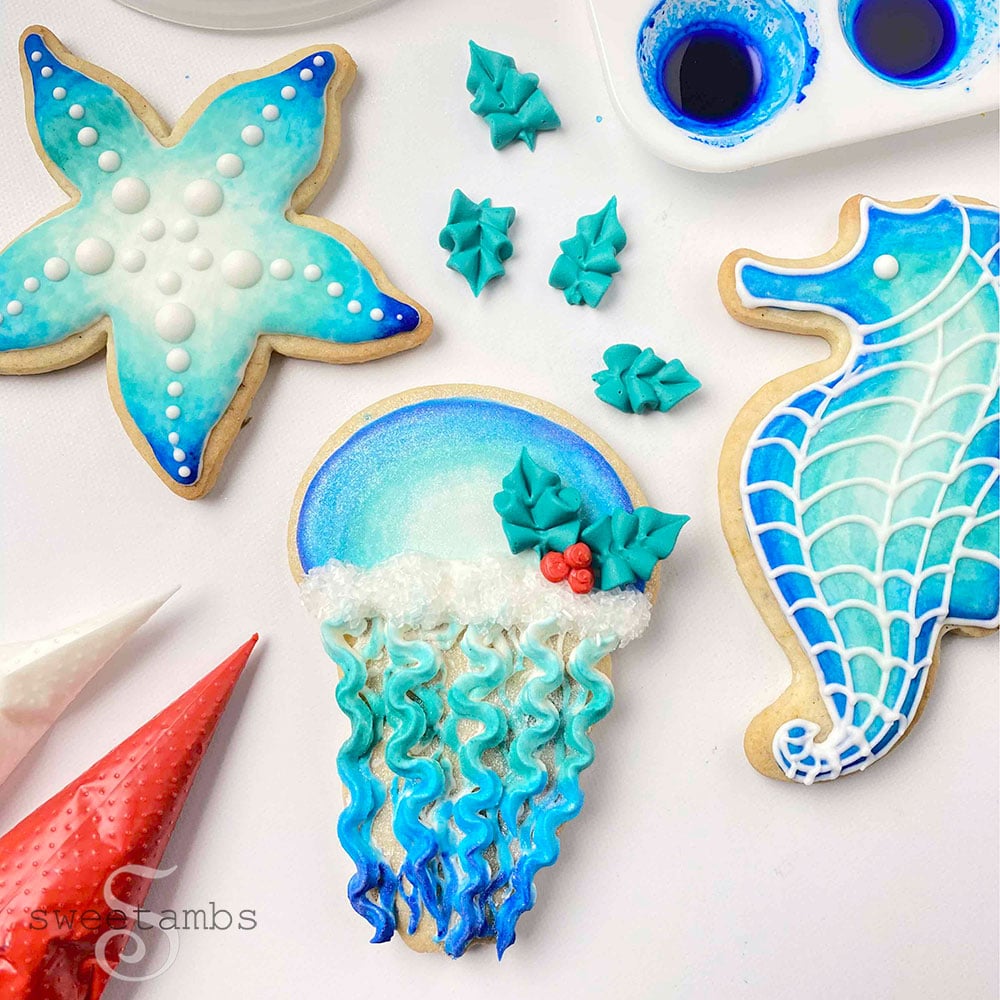
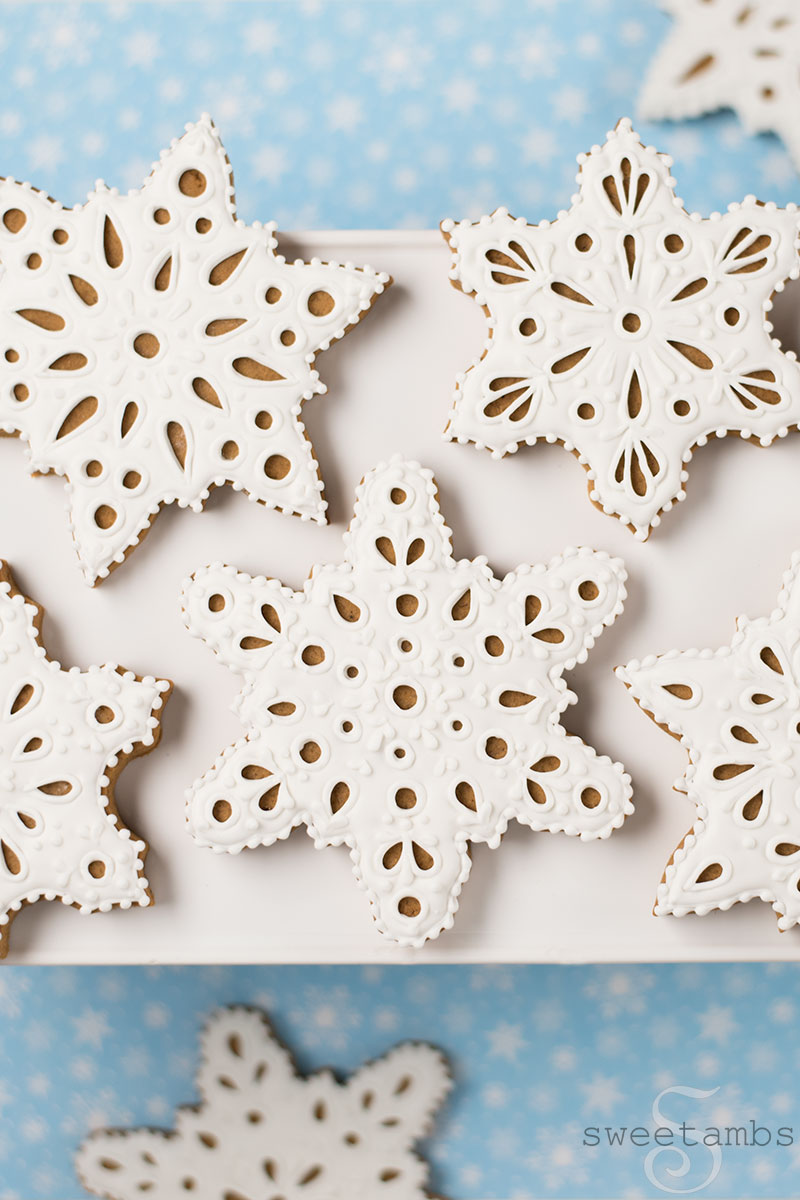
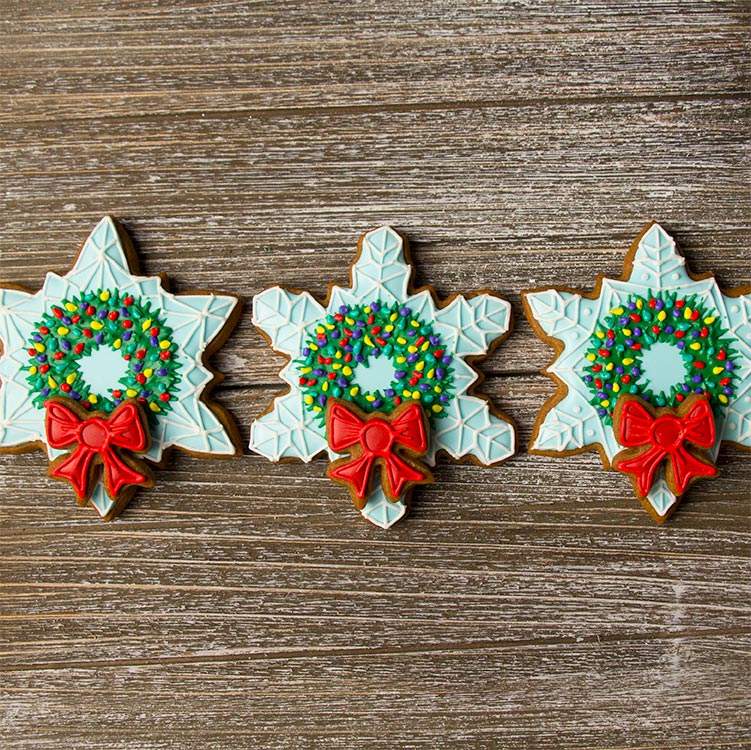
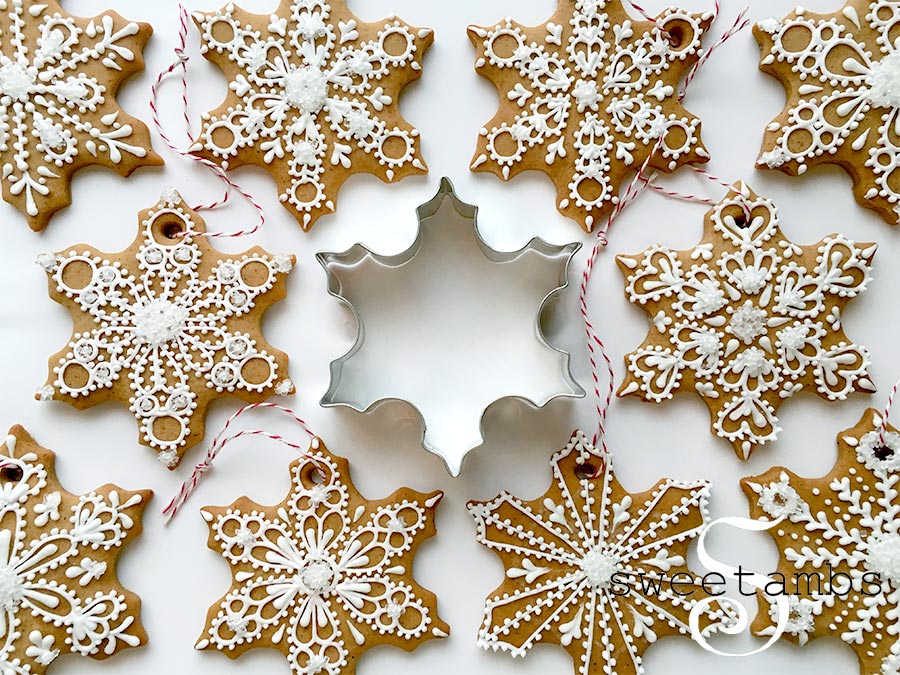
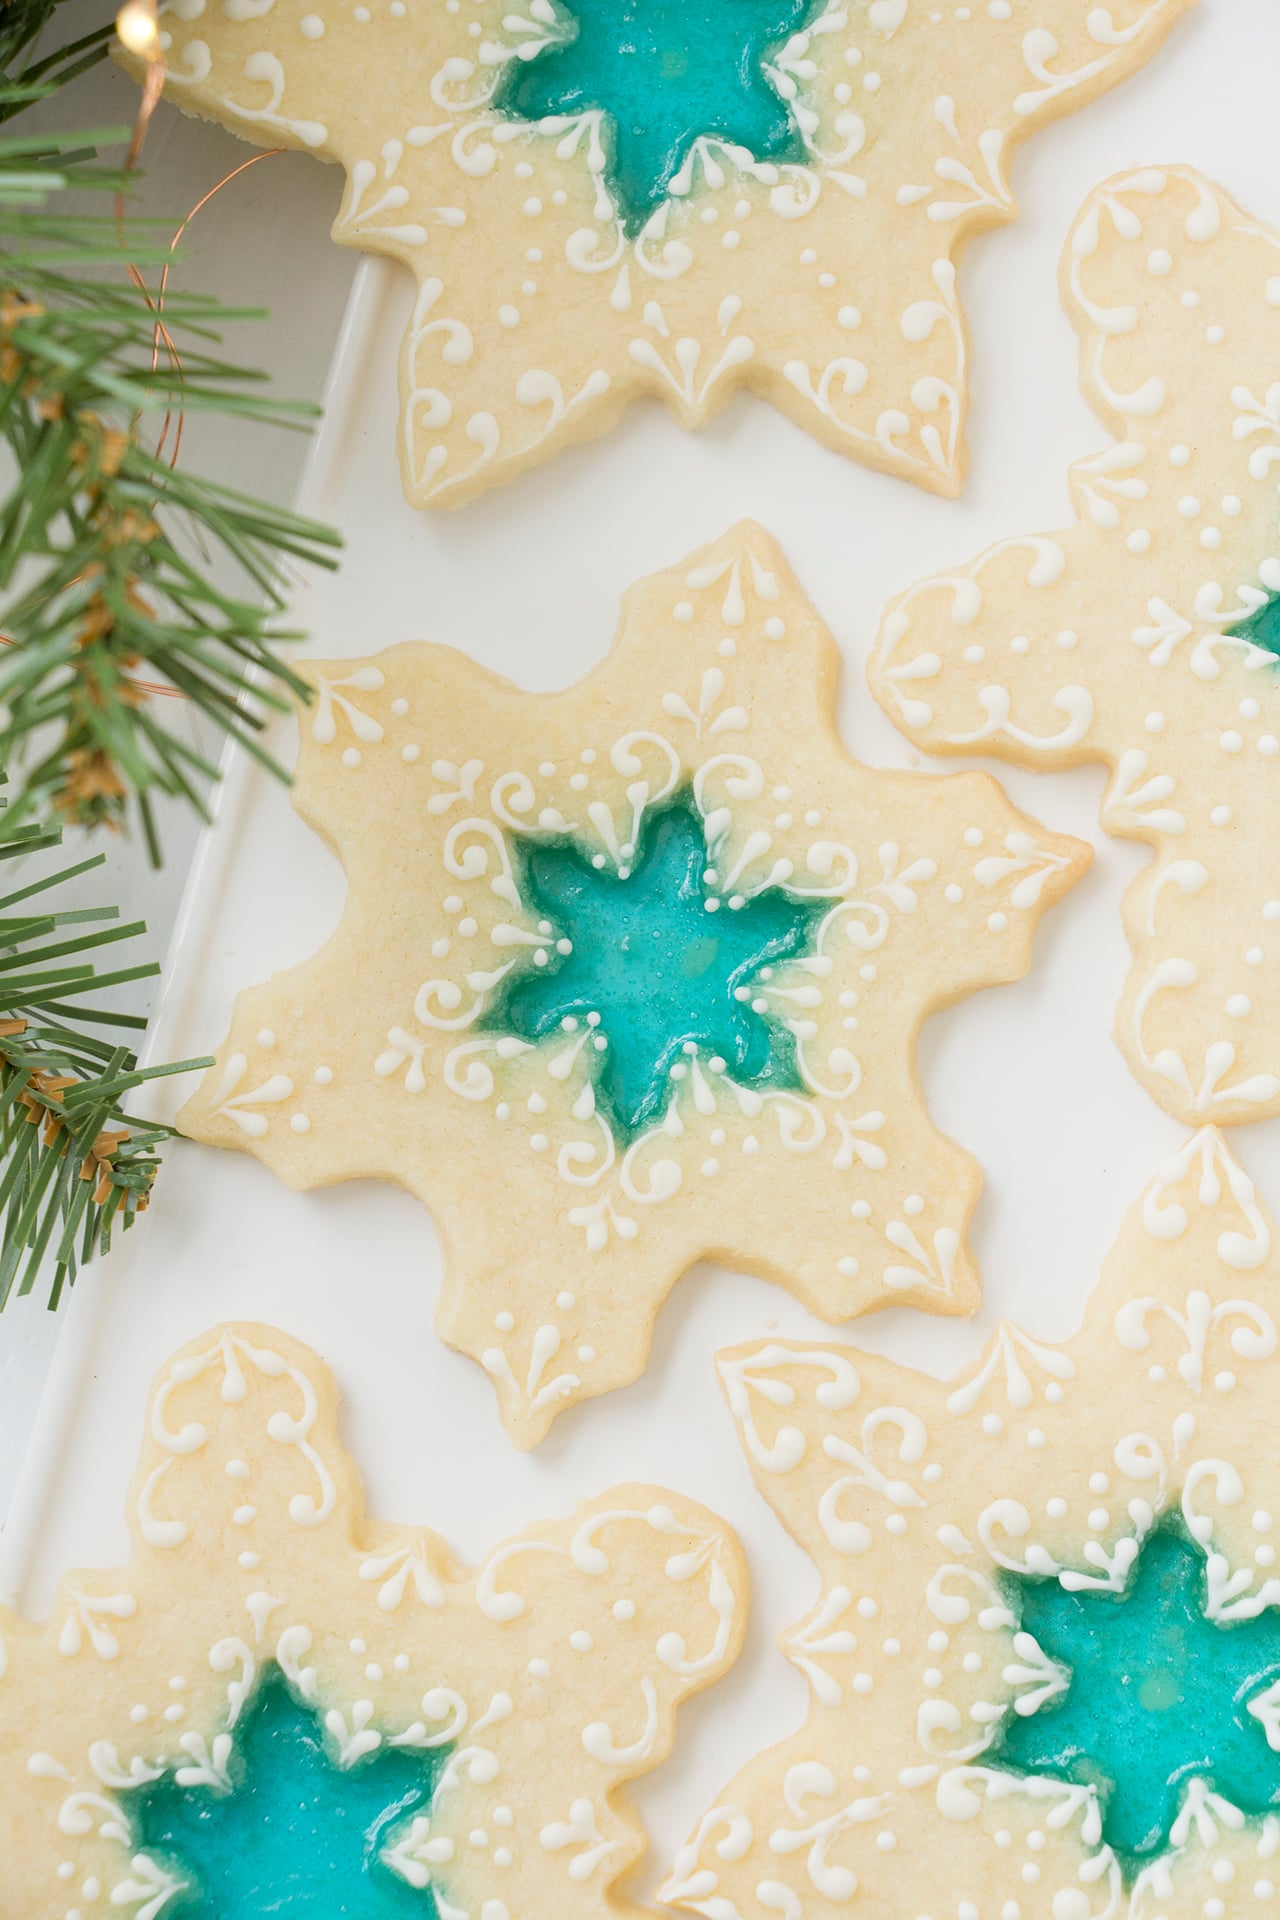
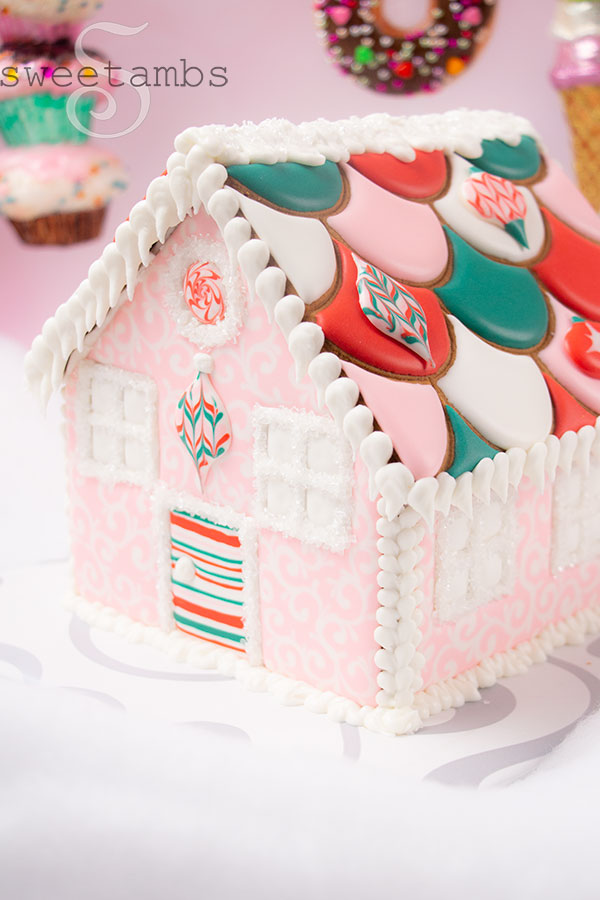
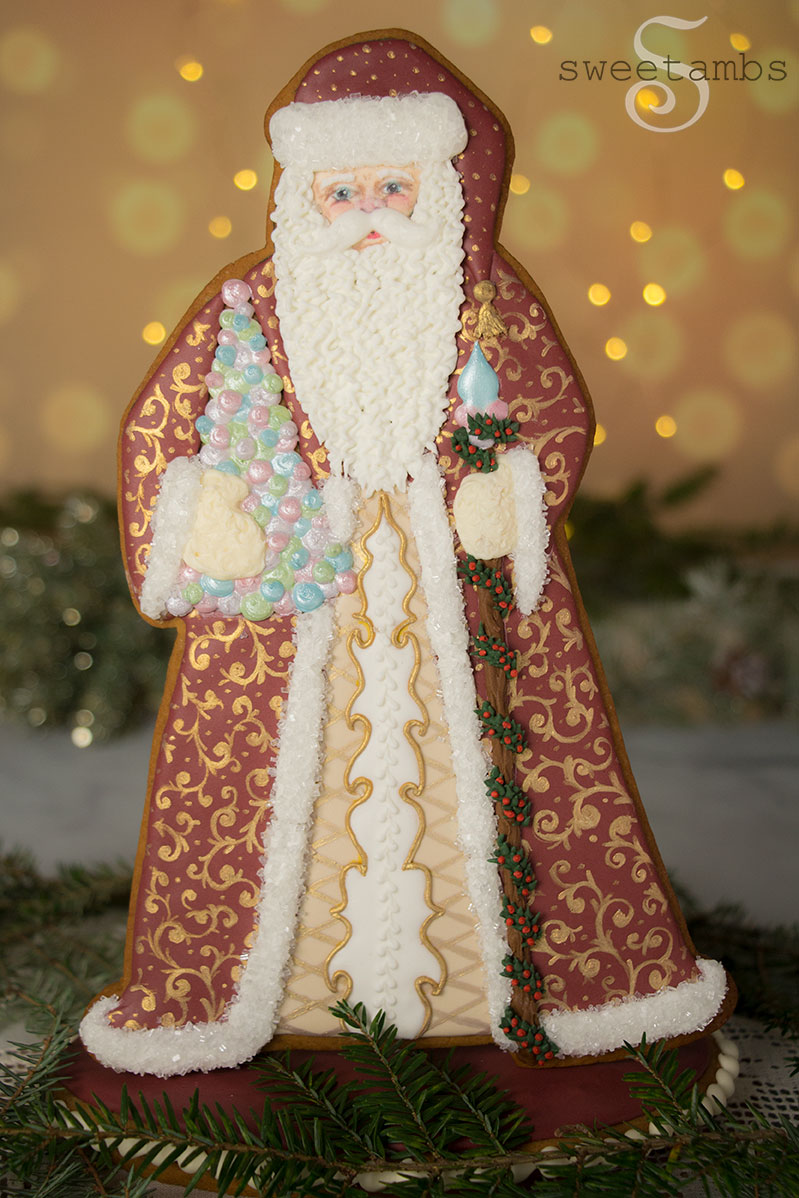
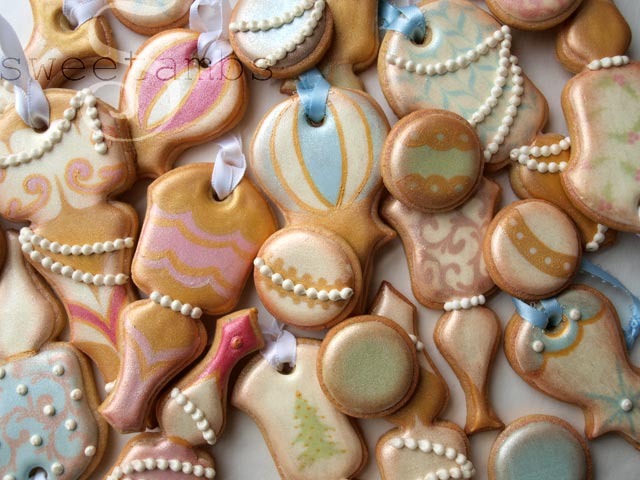
Christmas, Hanukkah, and Winter Cookies


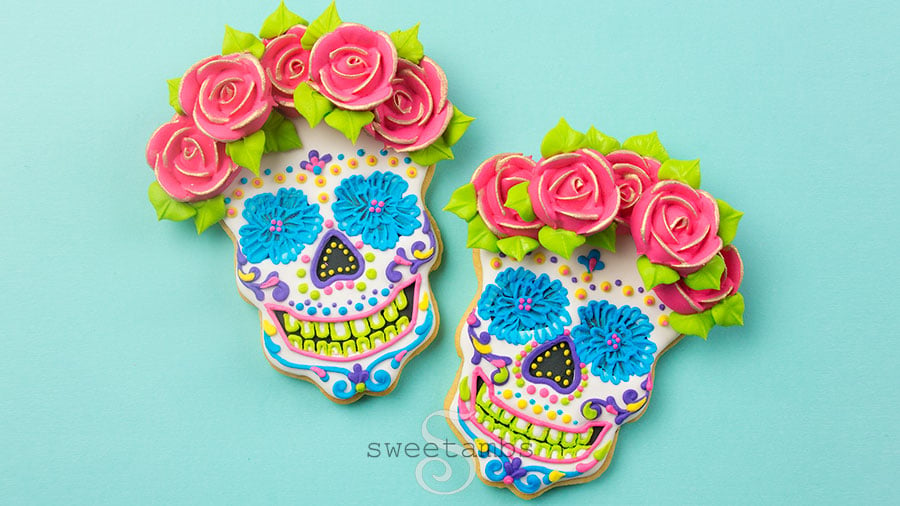
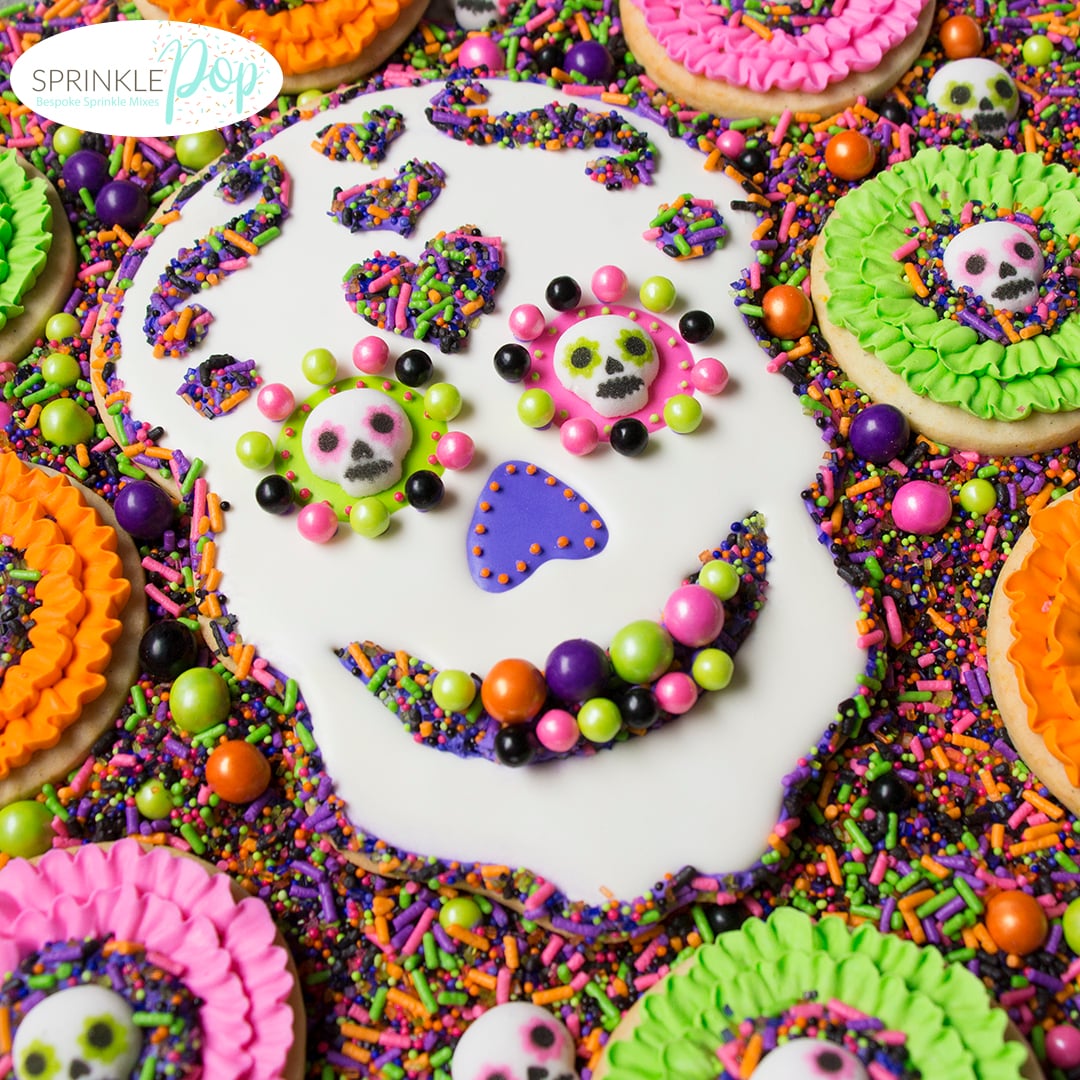
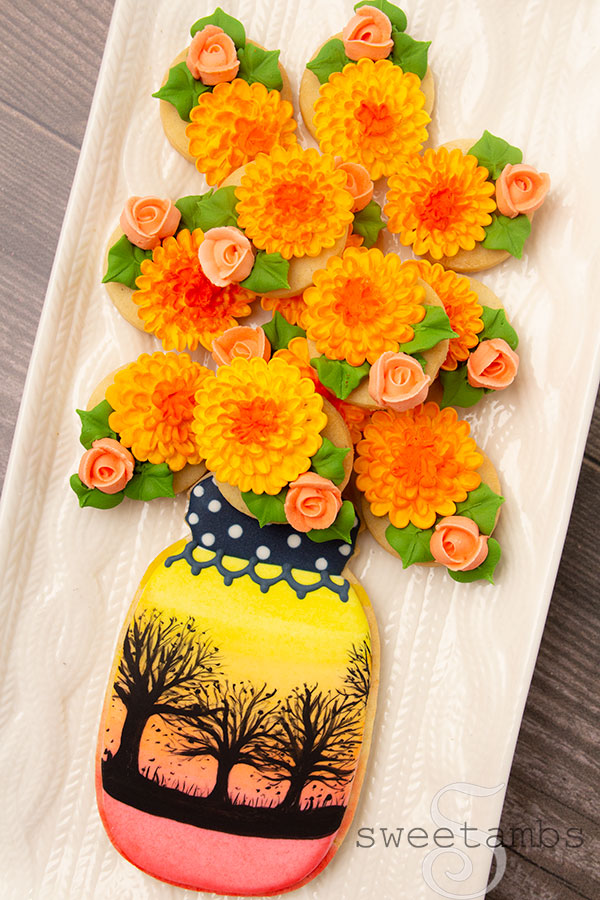
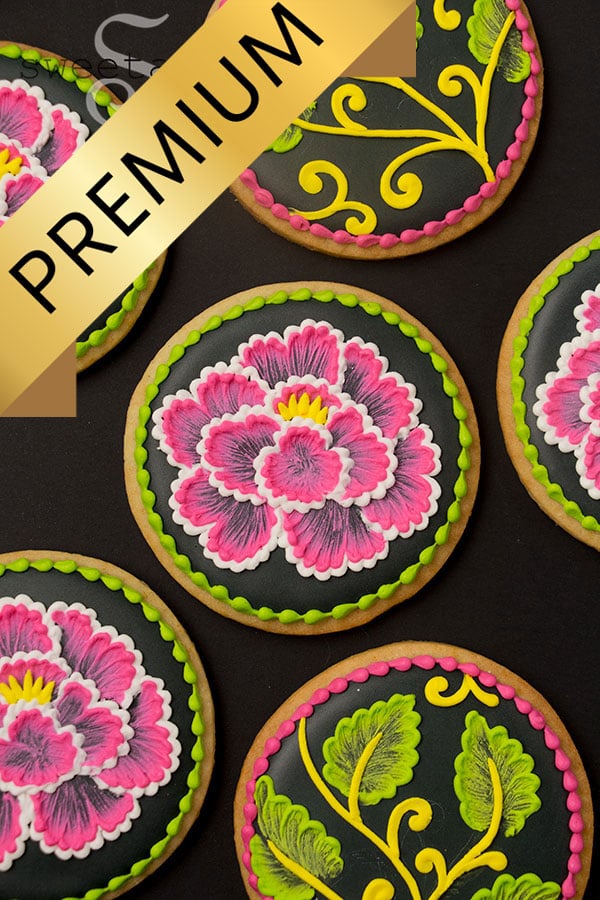
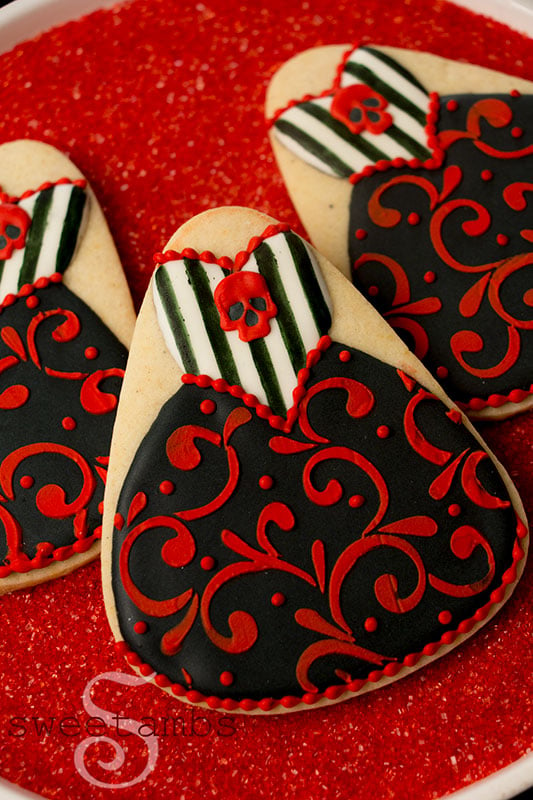
Día de Muertos Cookies

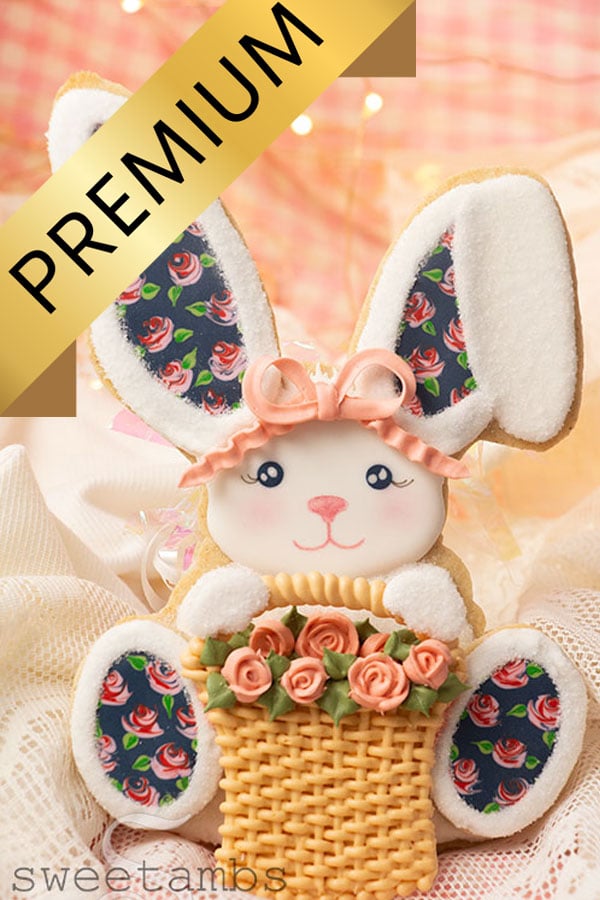
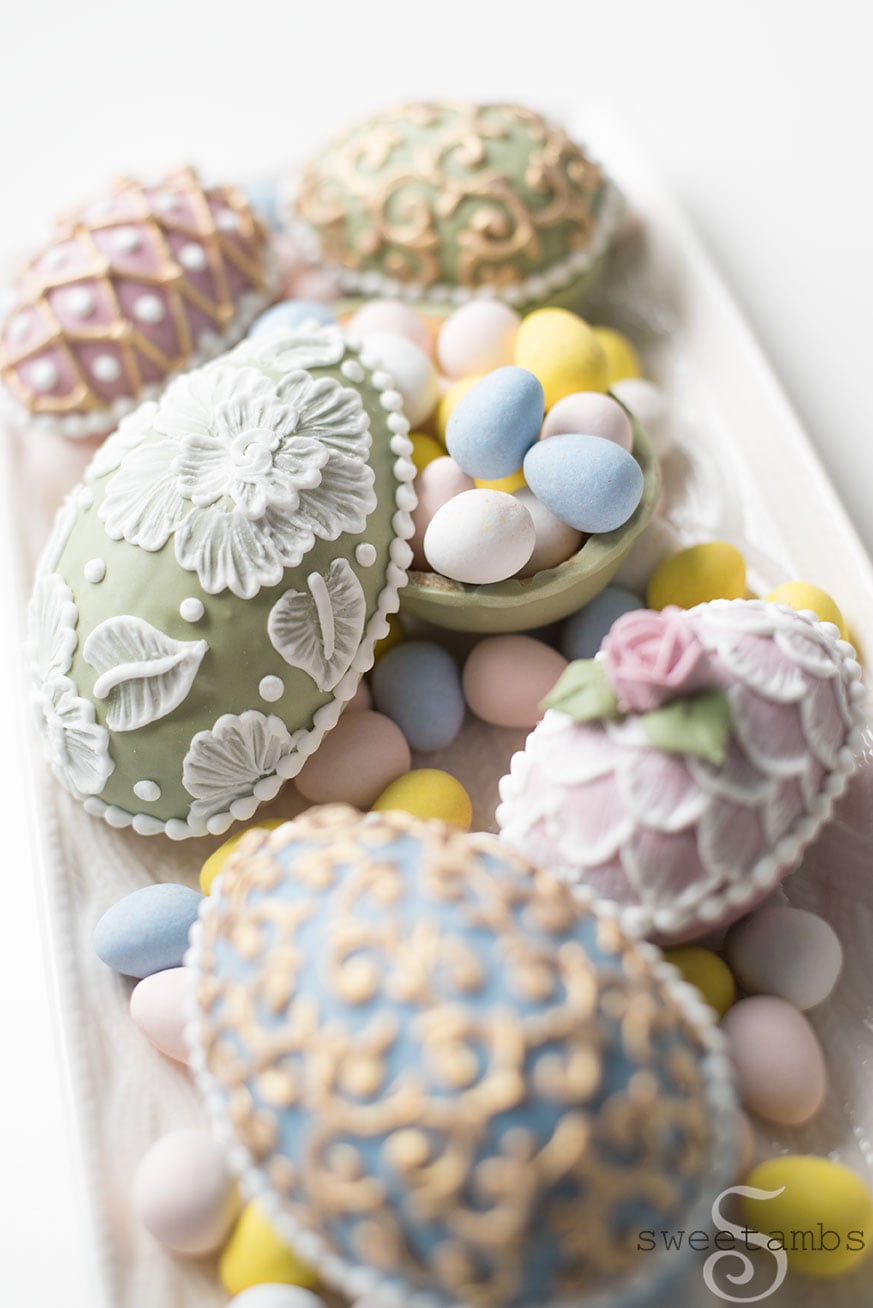
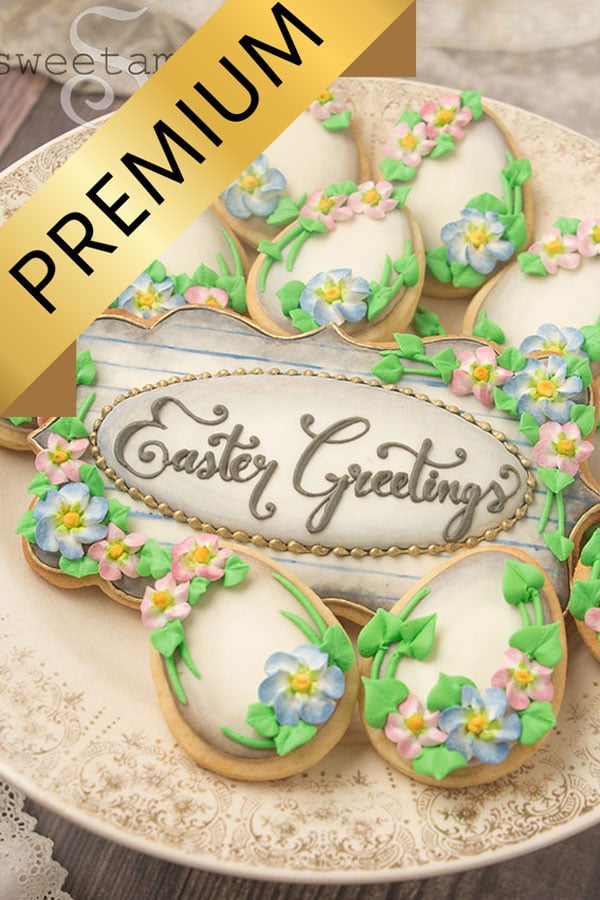
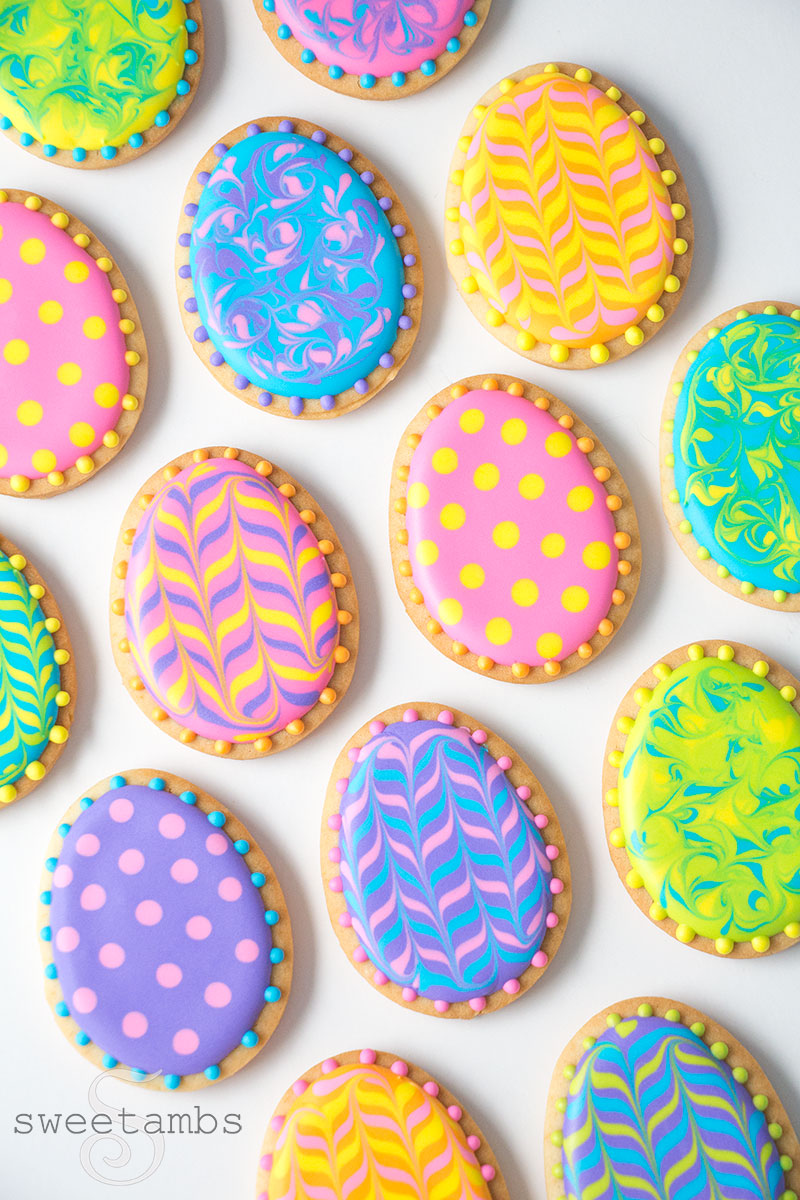
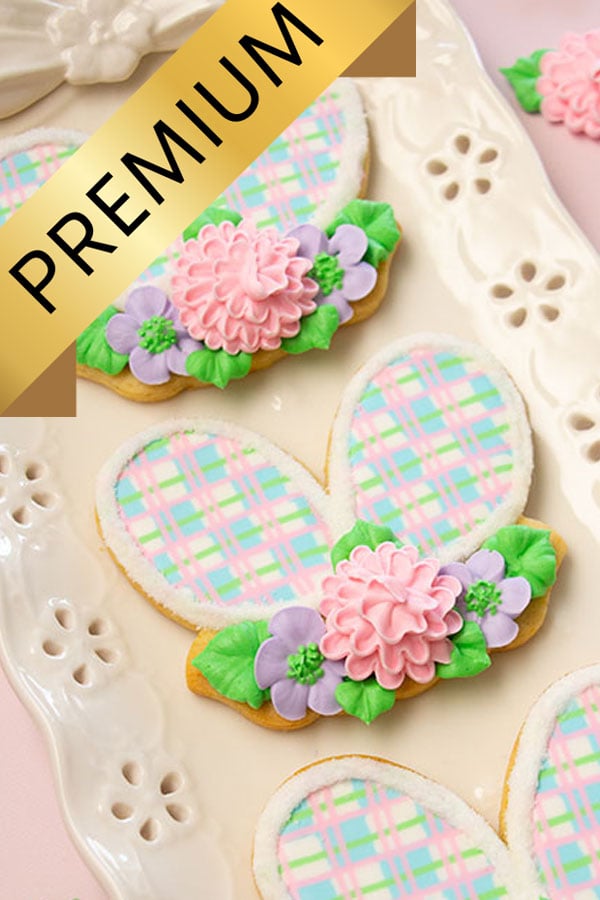
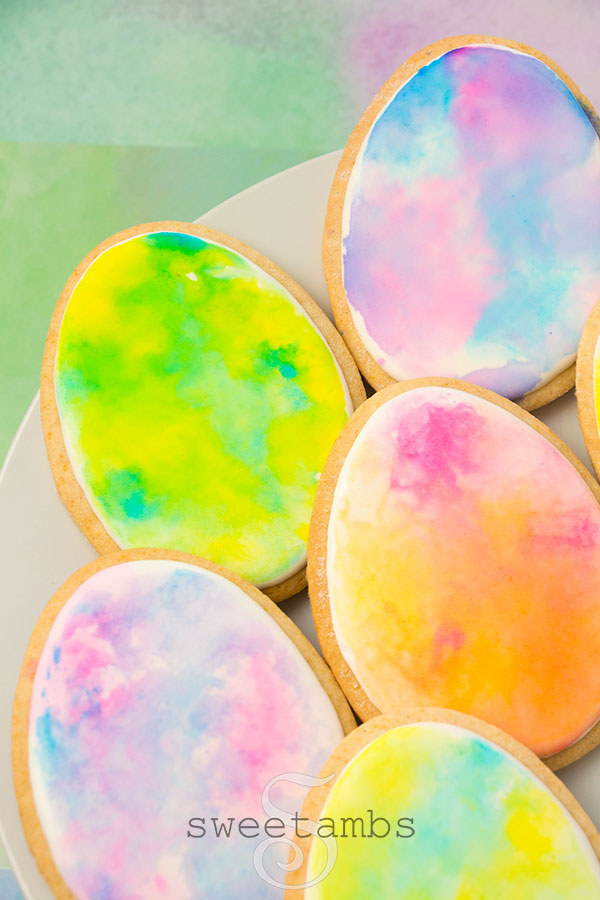
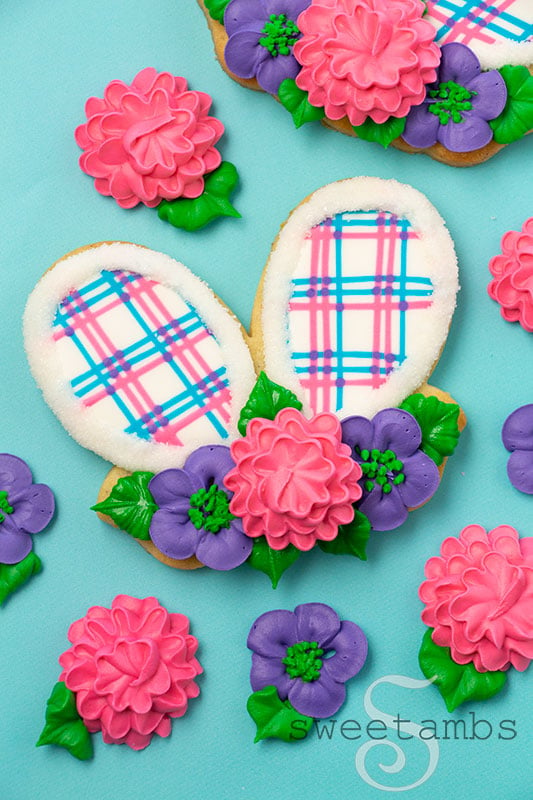
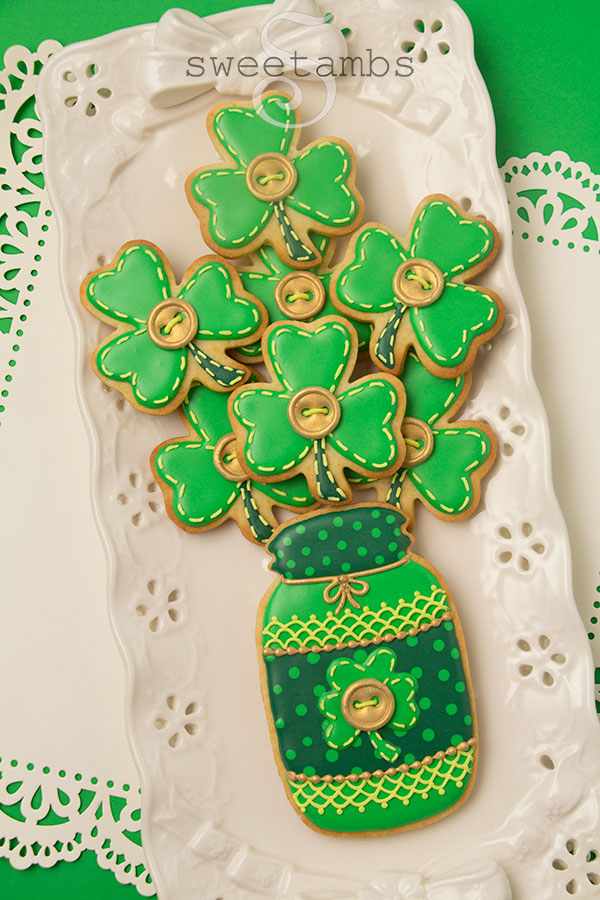
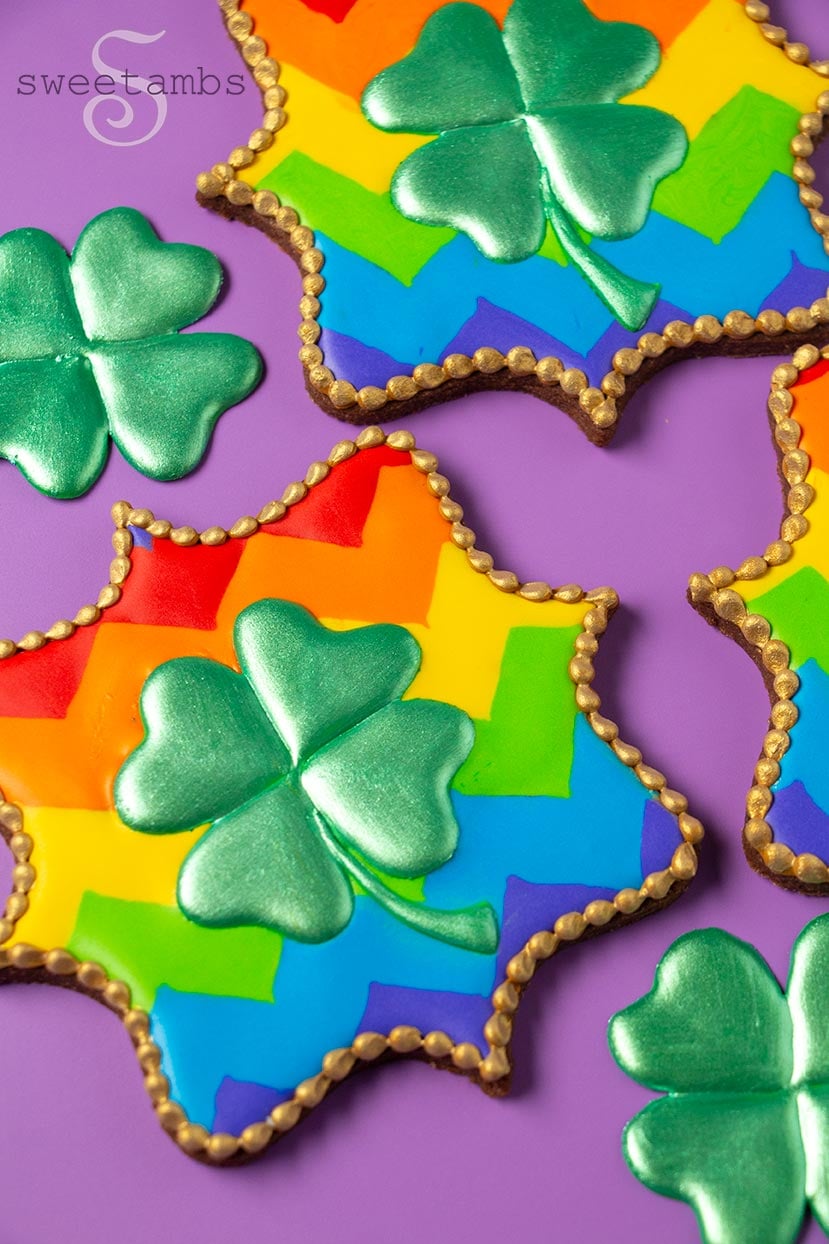
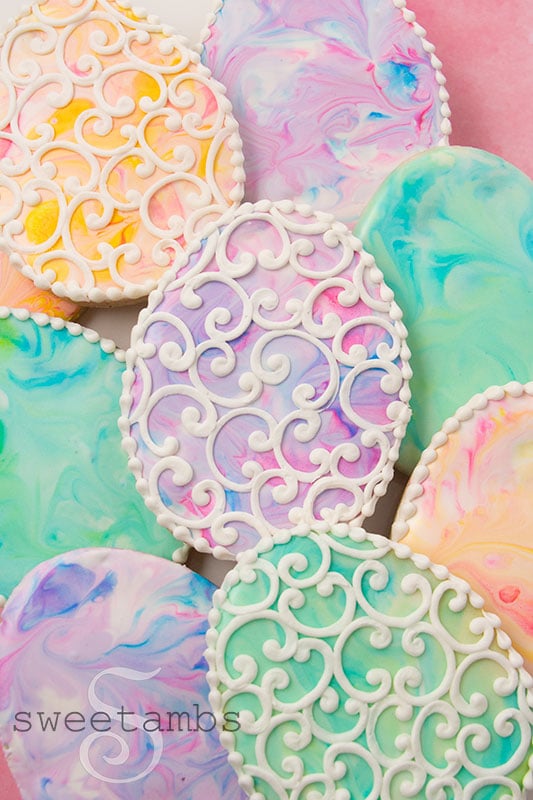
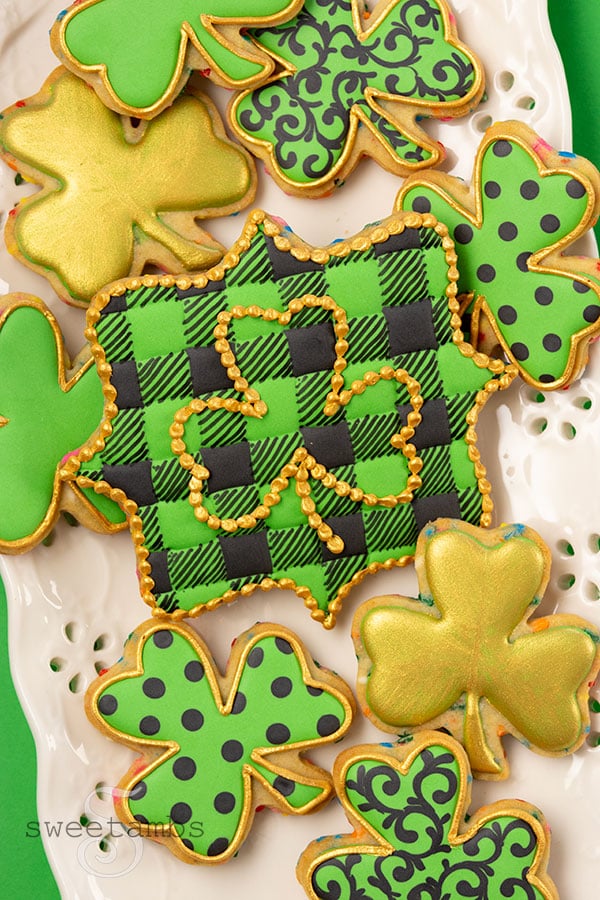
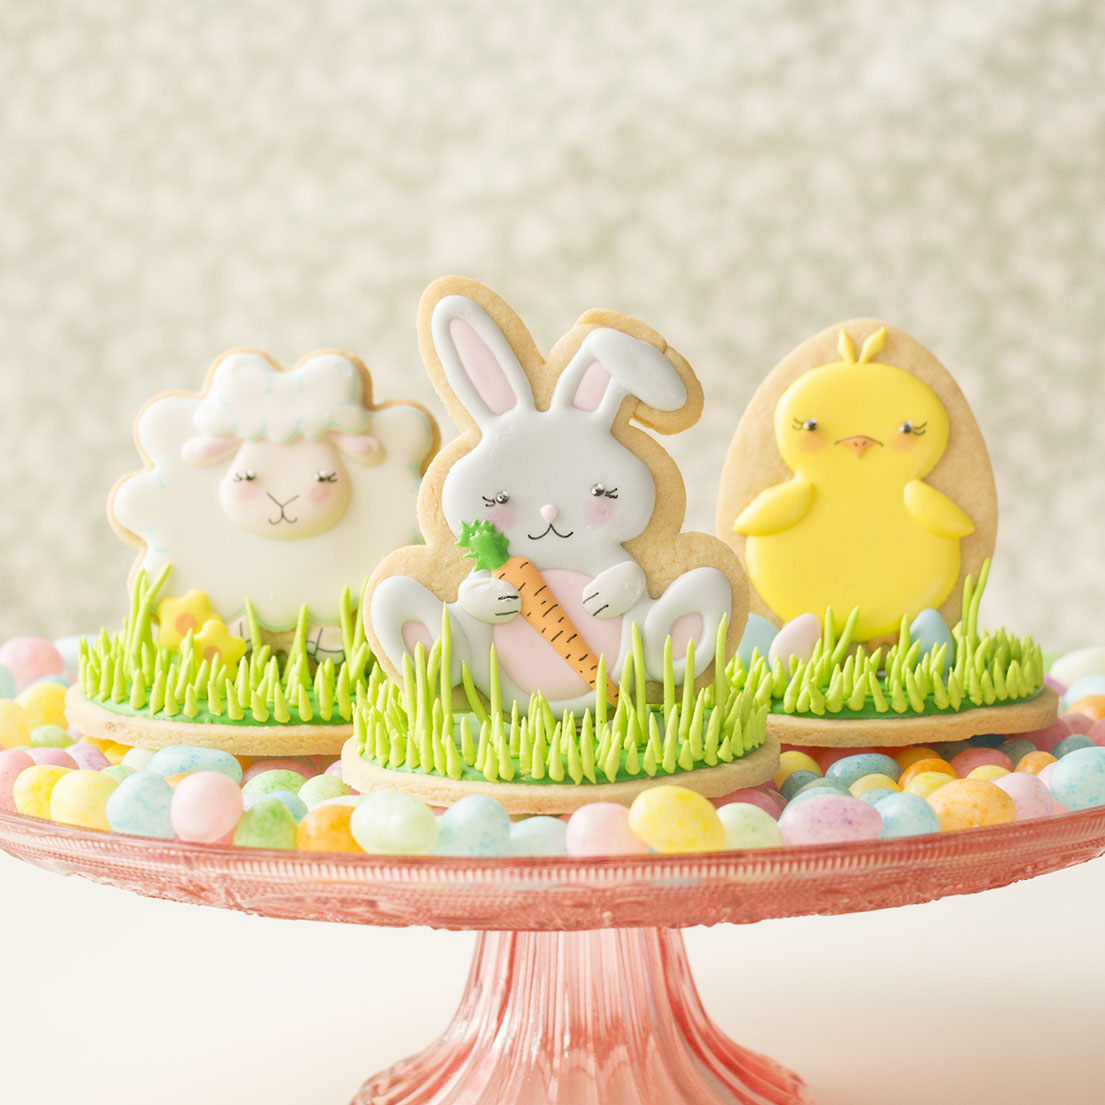
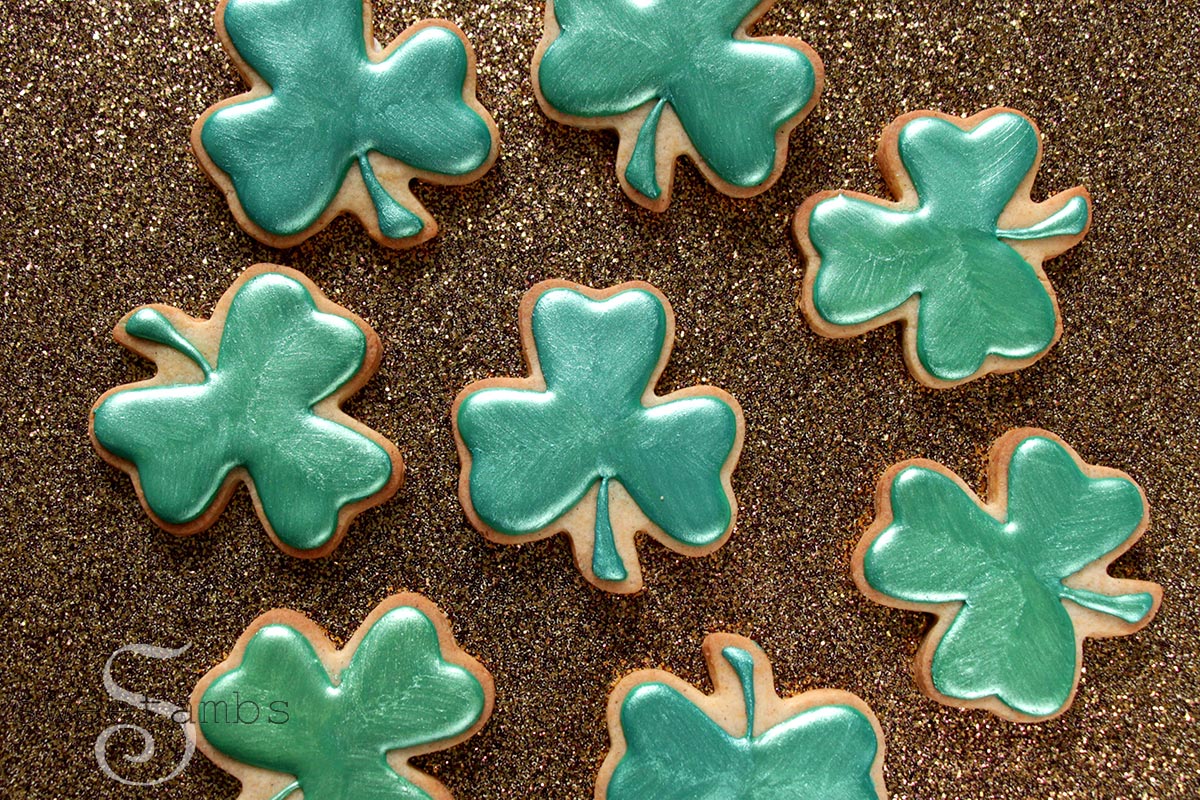
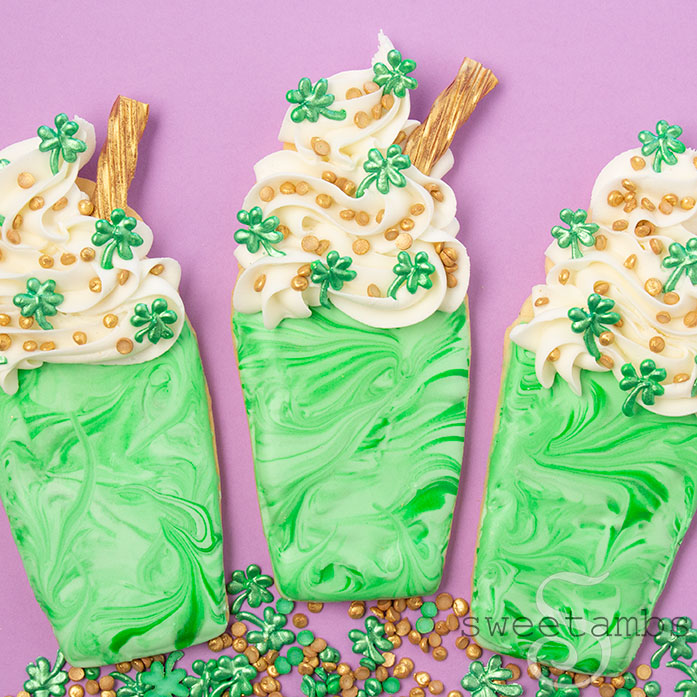
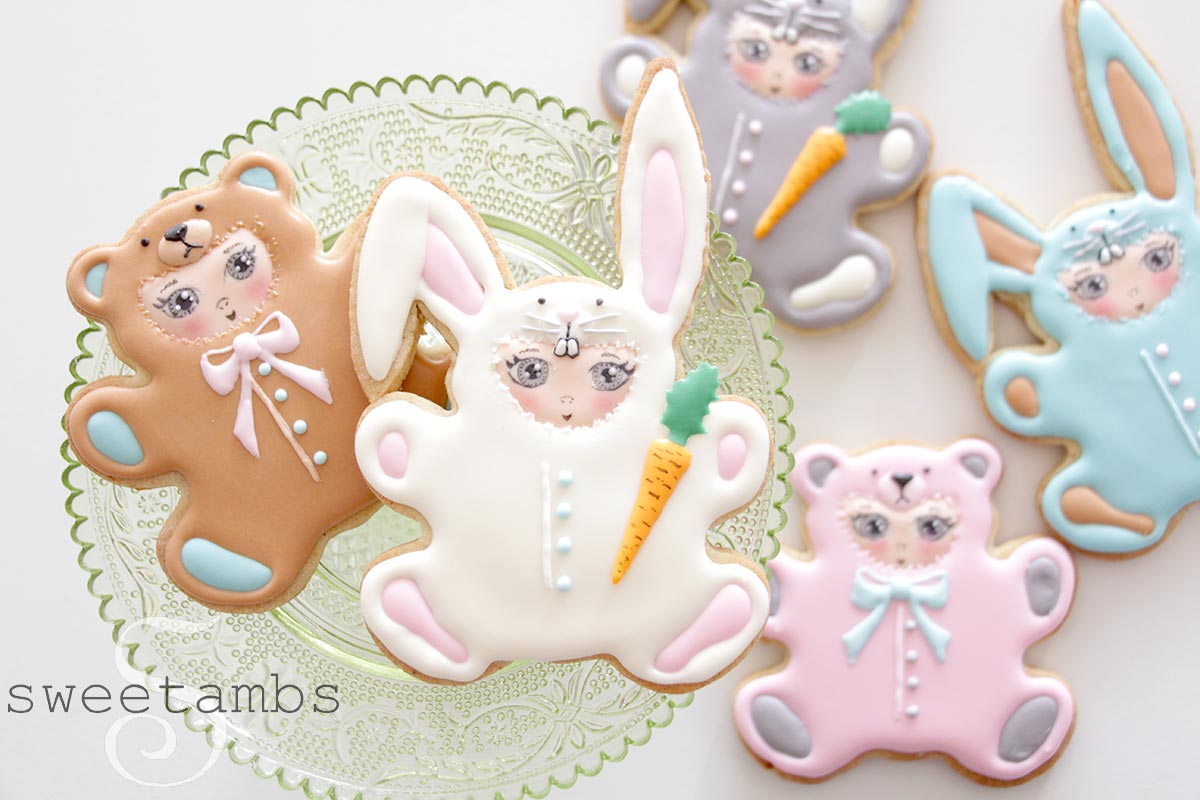
Easter, Spring, and Saint Patrick's Day Cookies


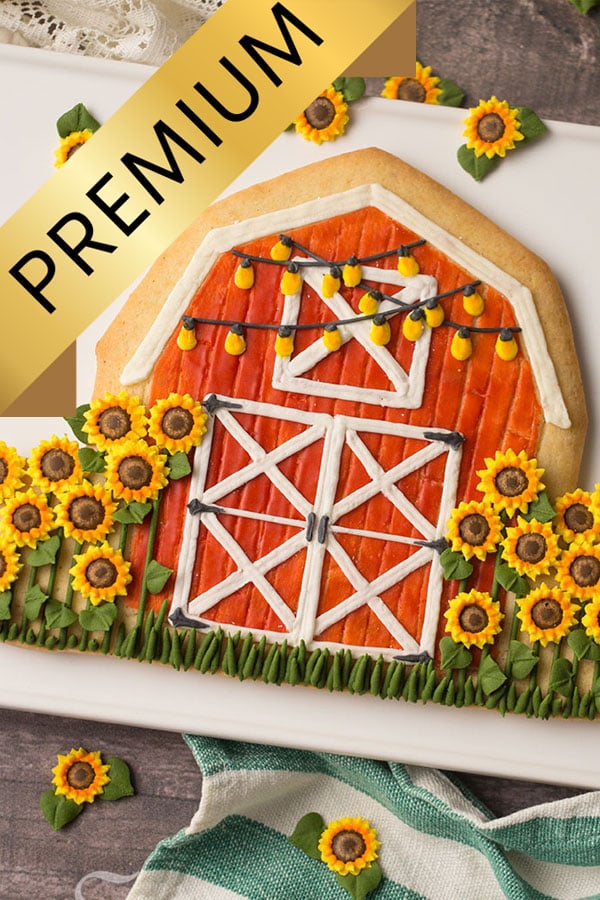
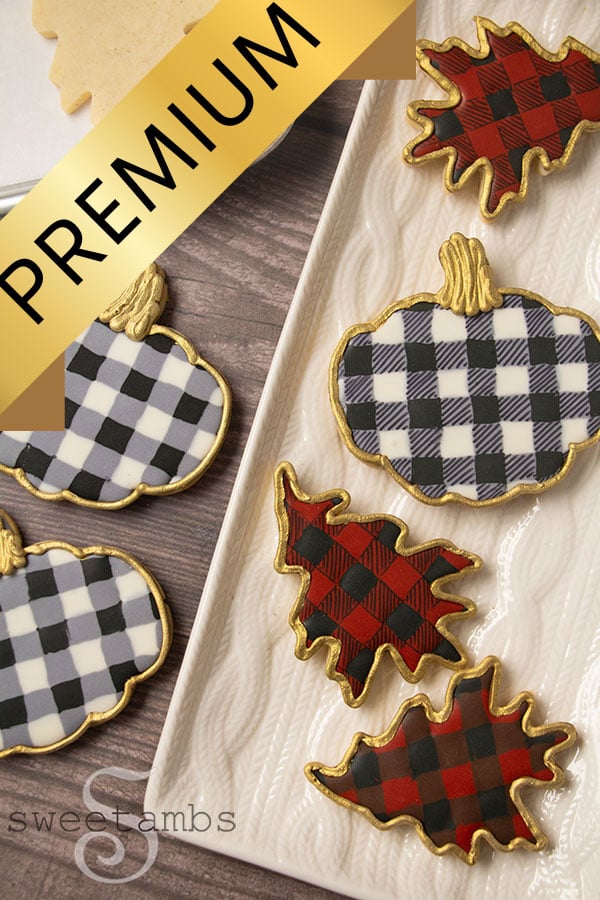
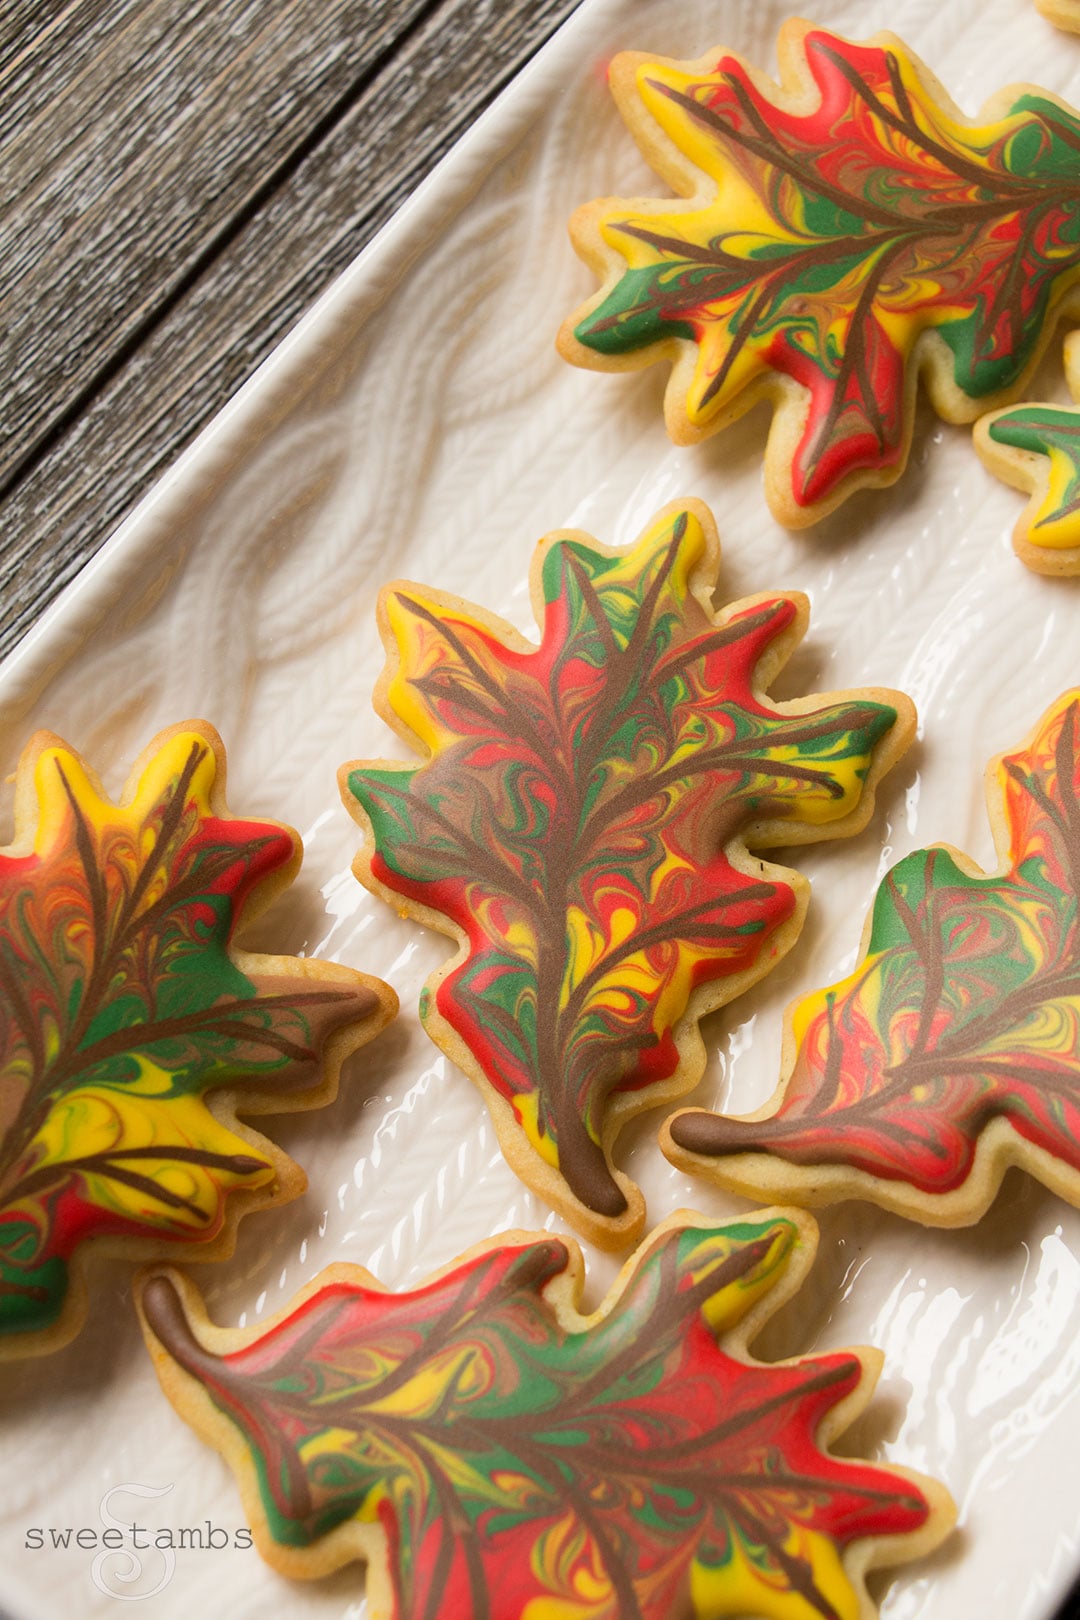
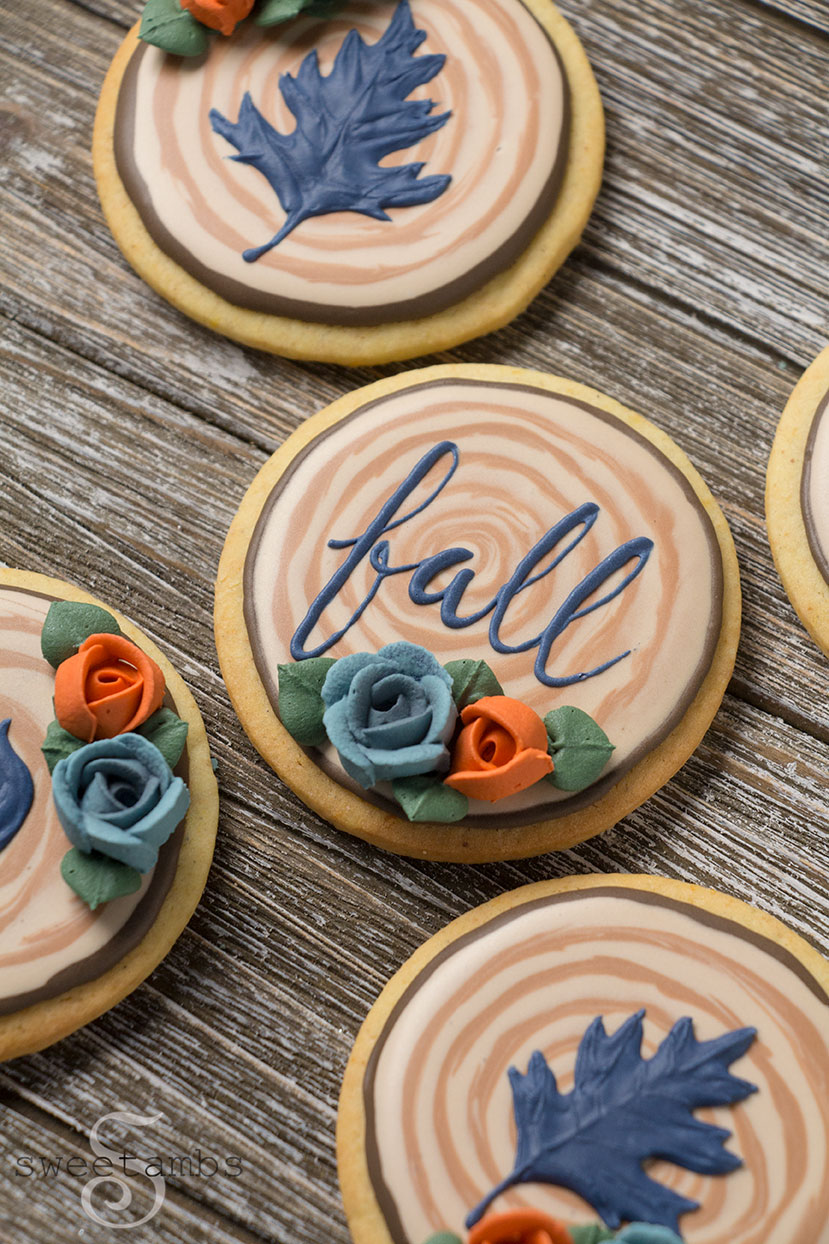
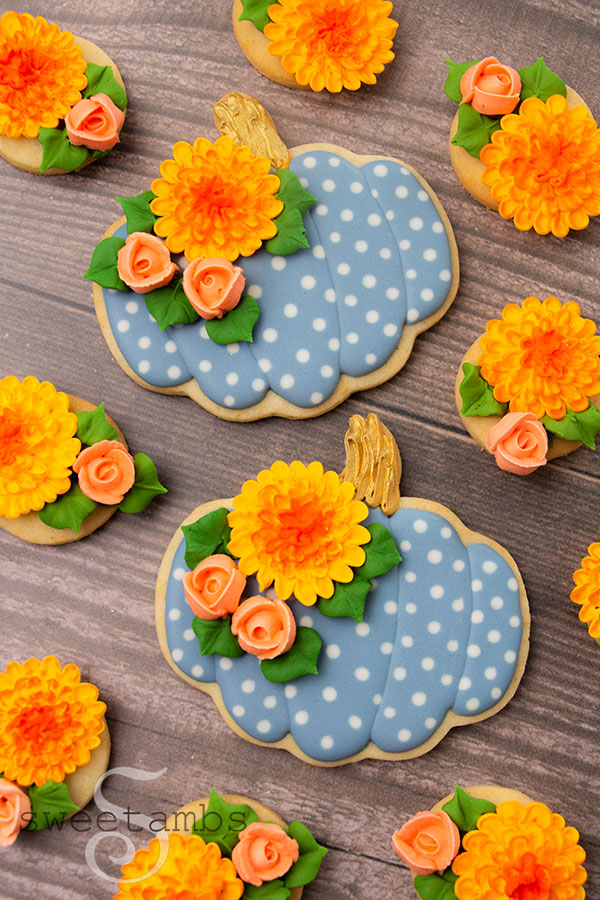
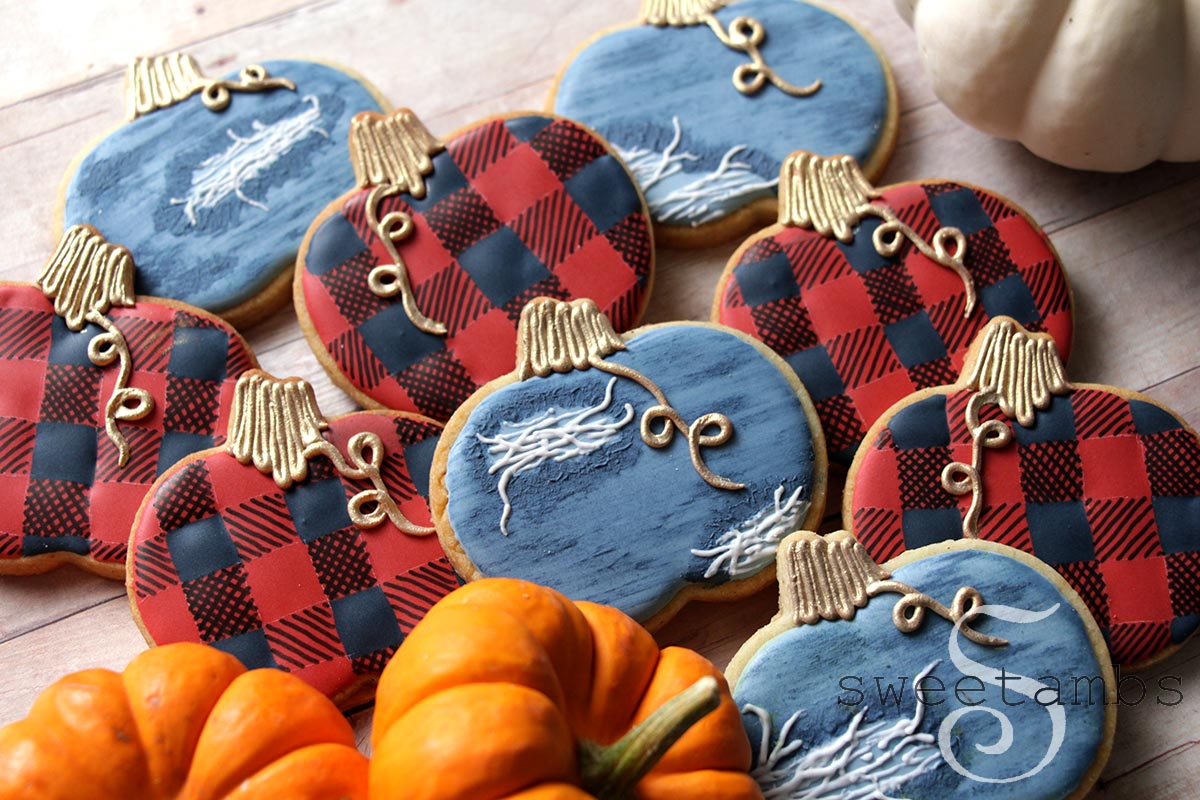
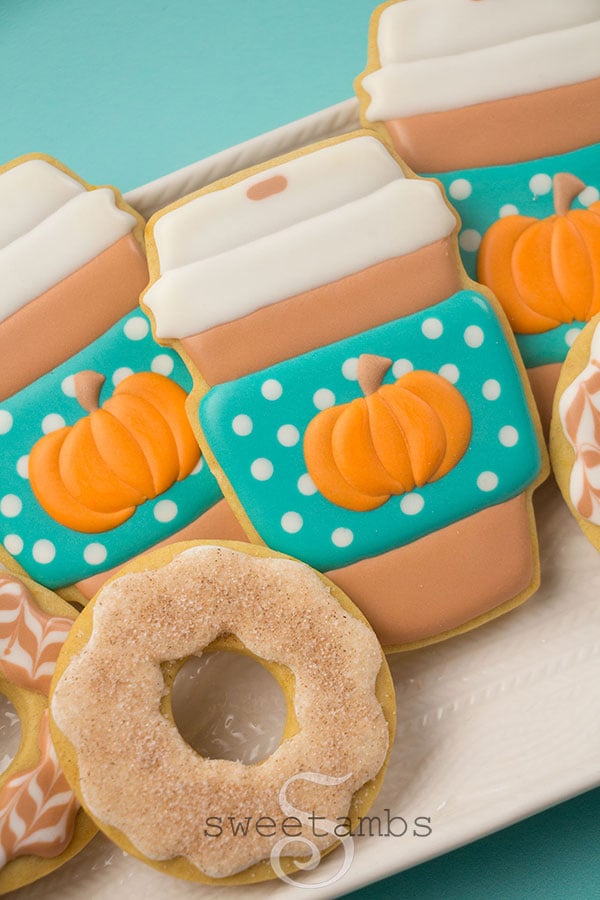
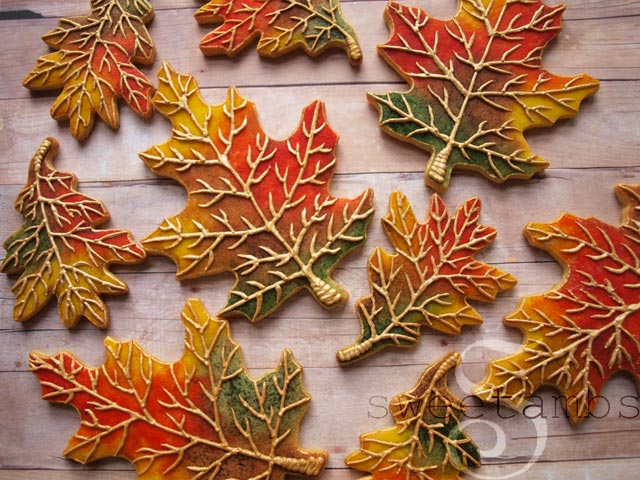
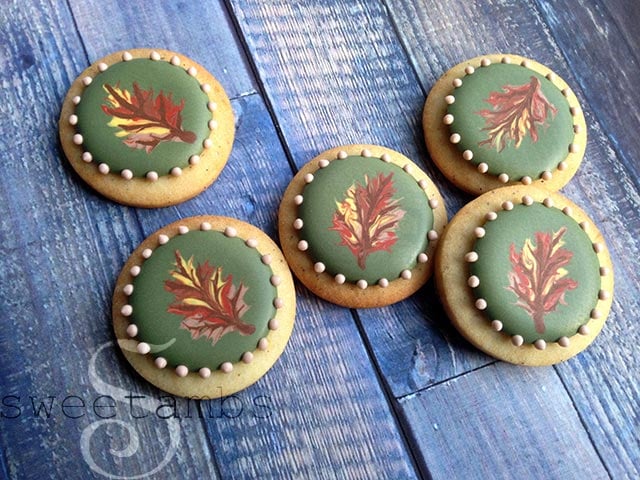
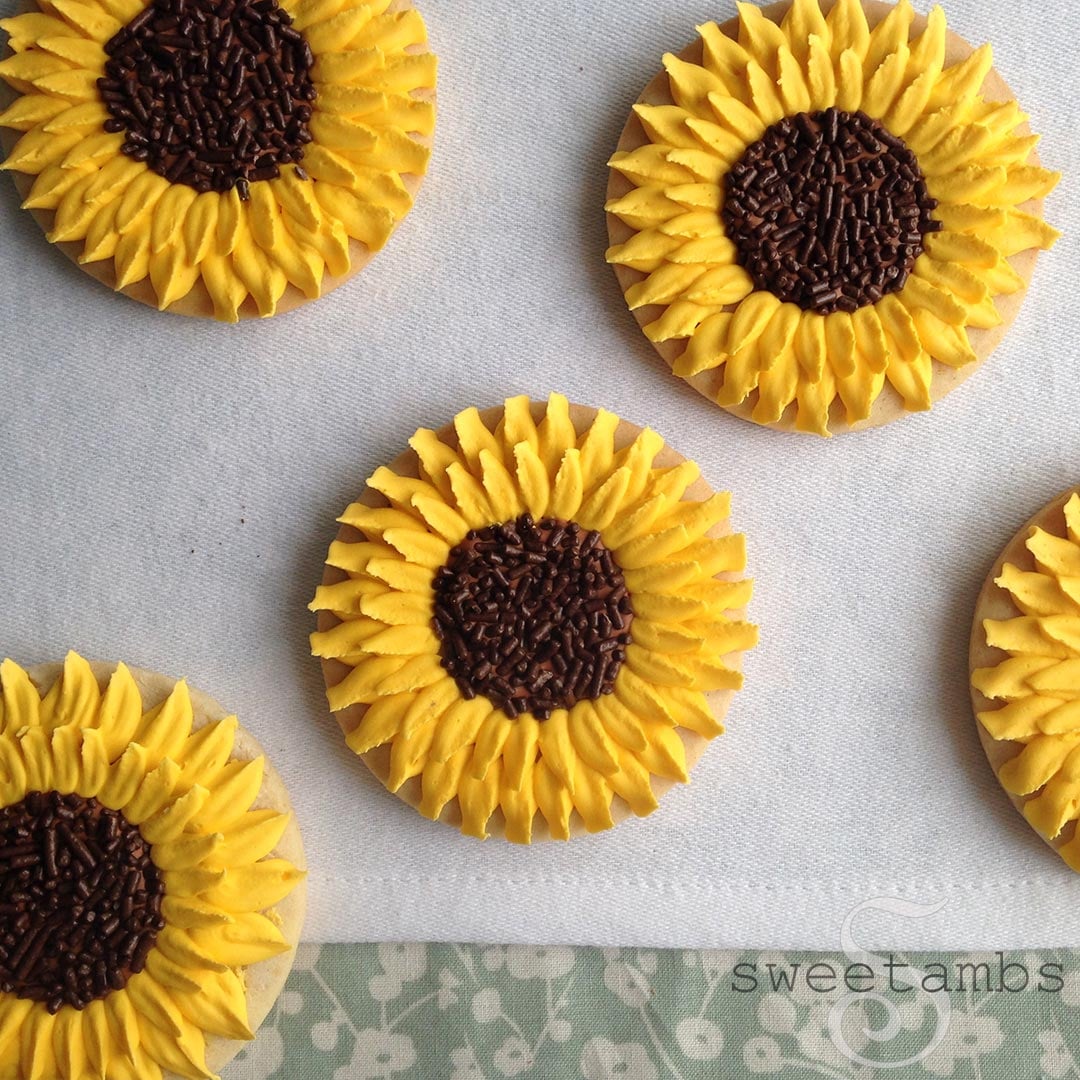
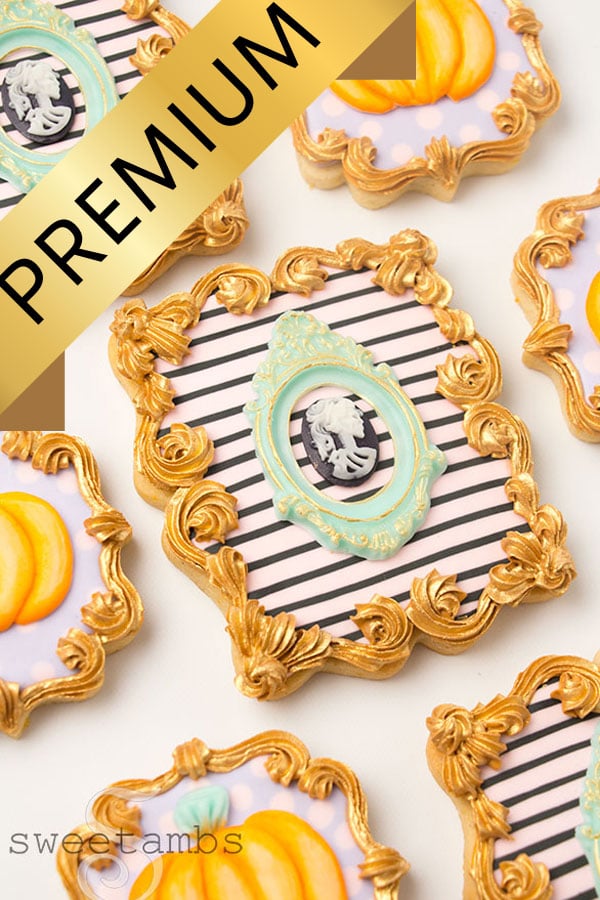
Fall Cookies
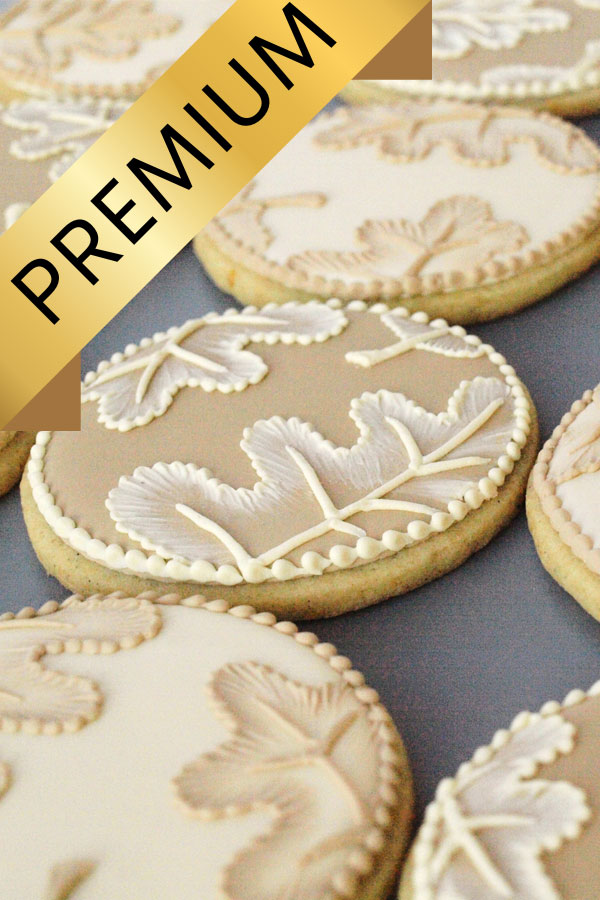
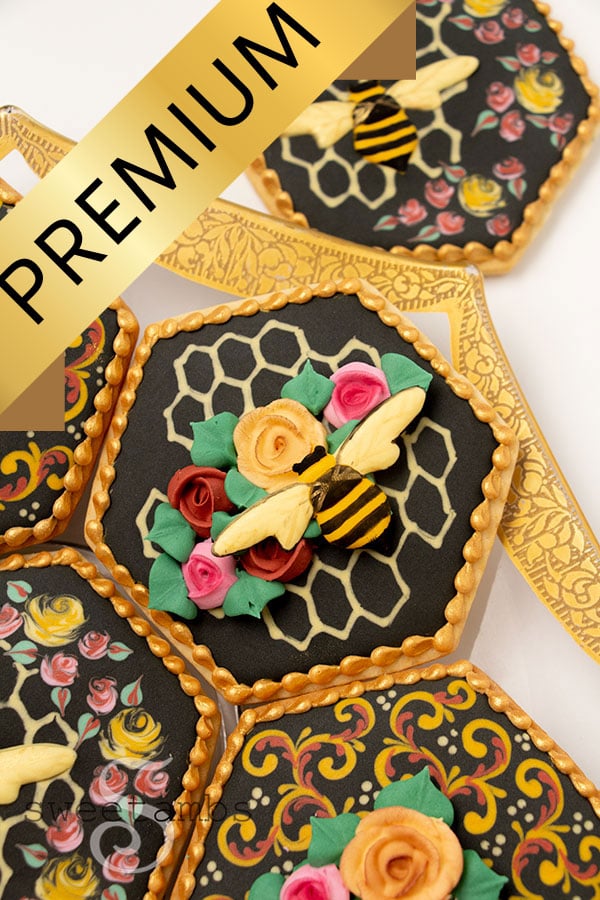
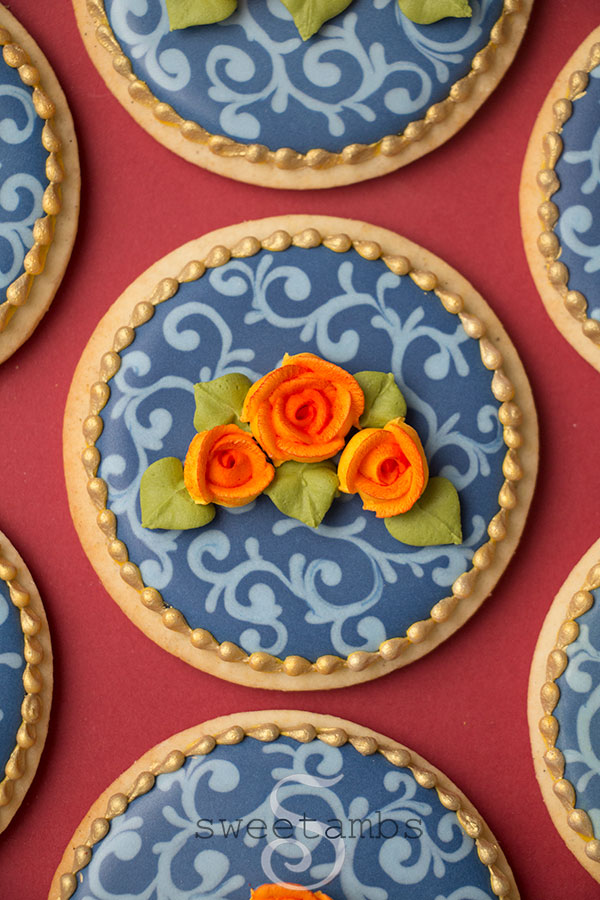

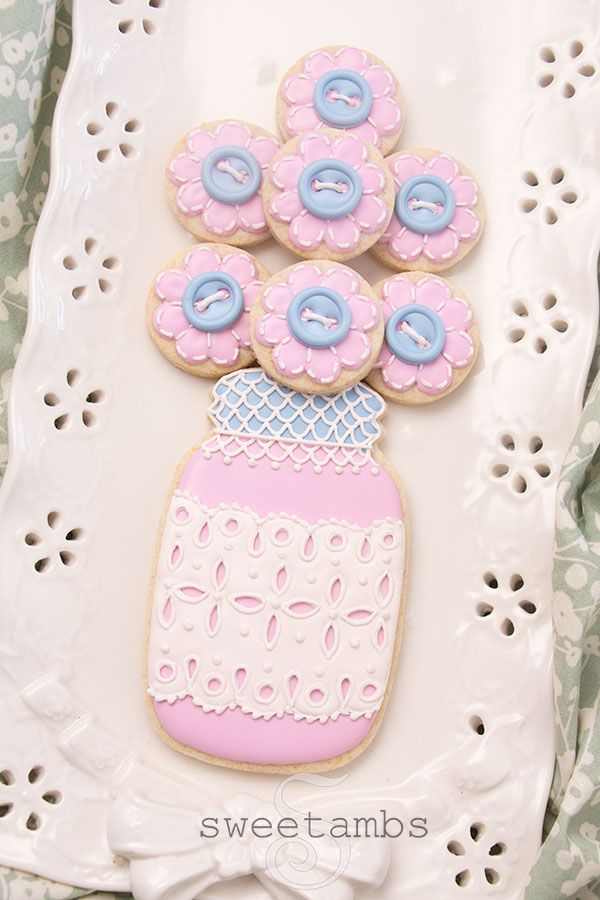
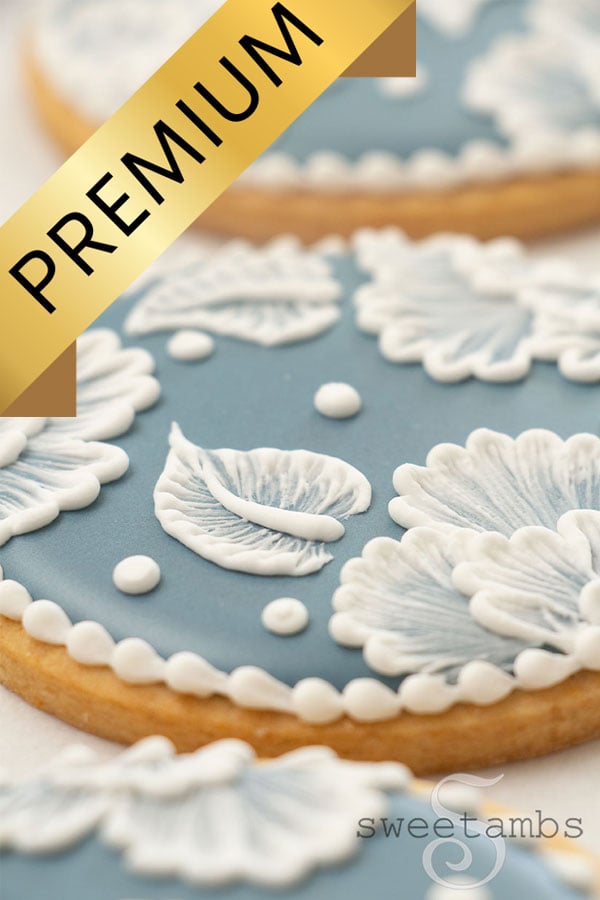
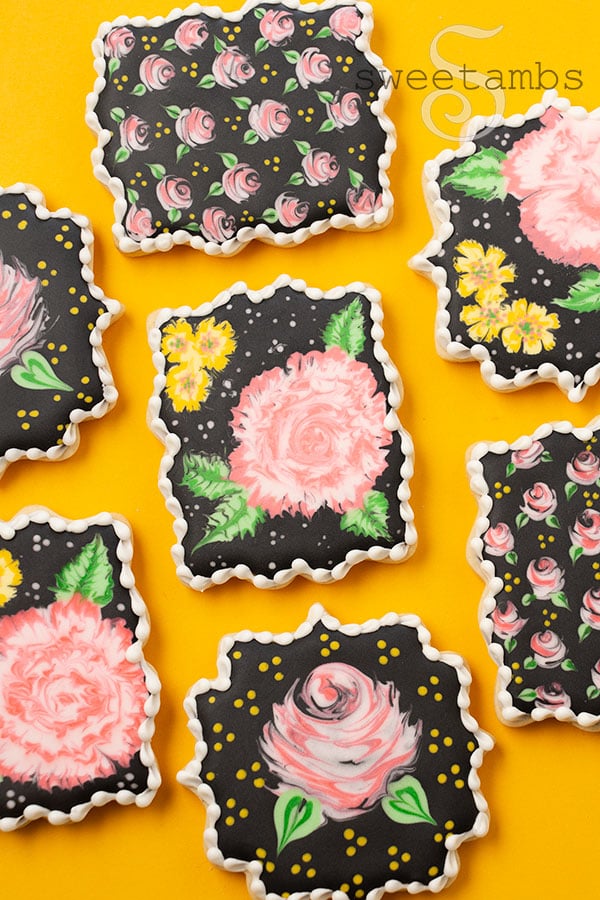
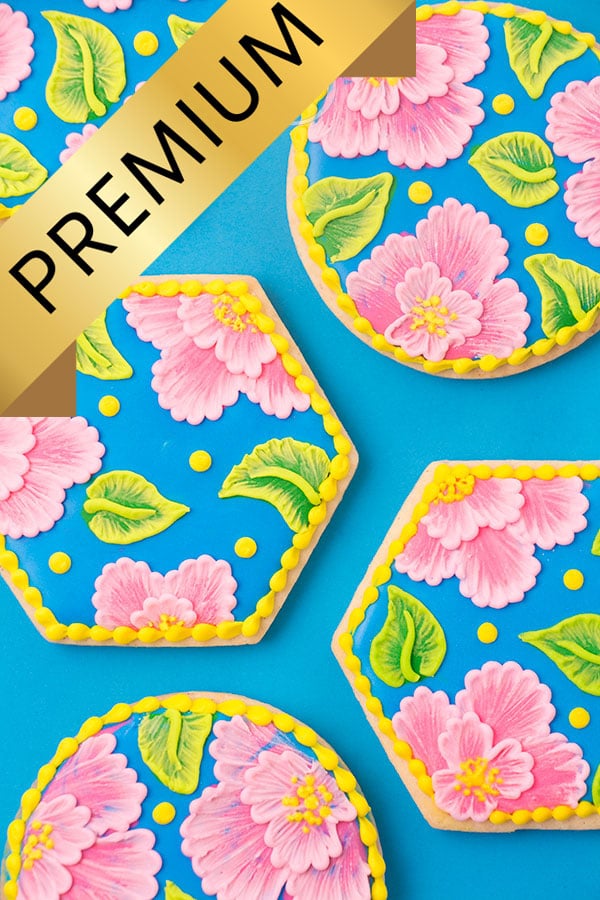
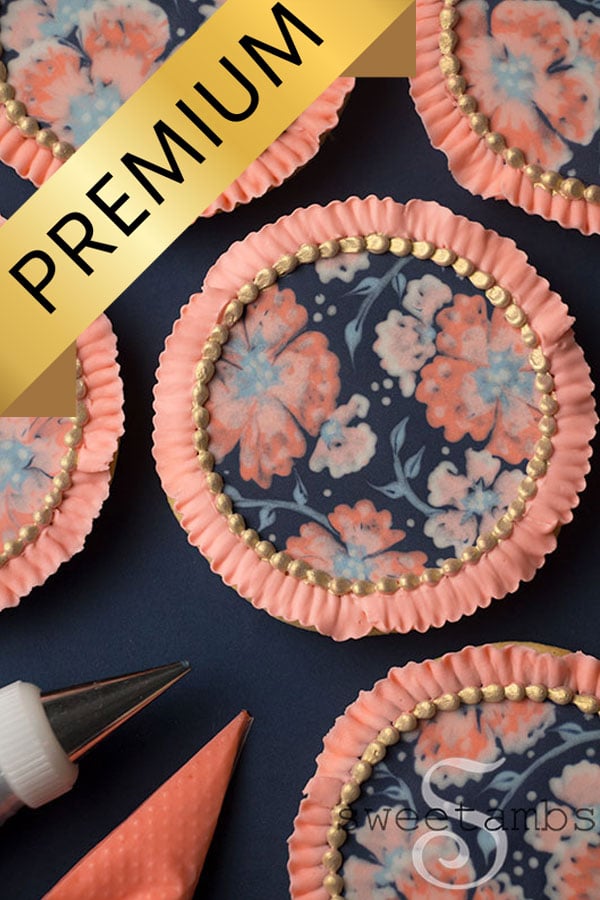
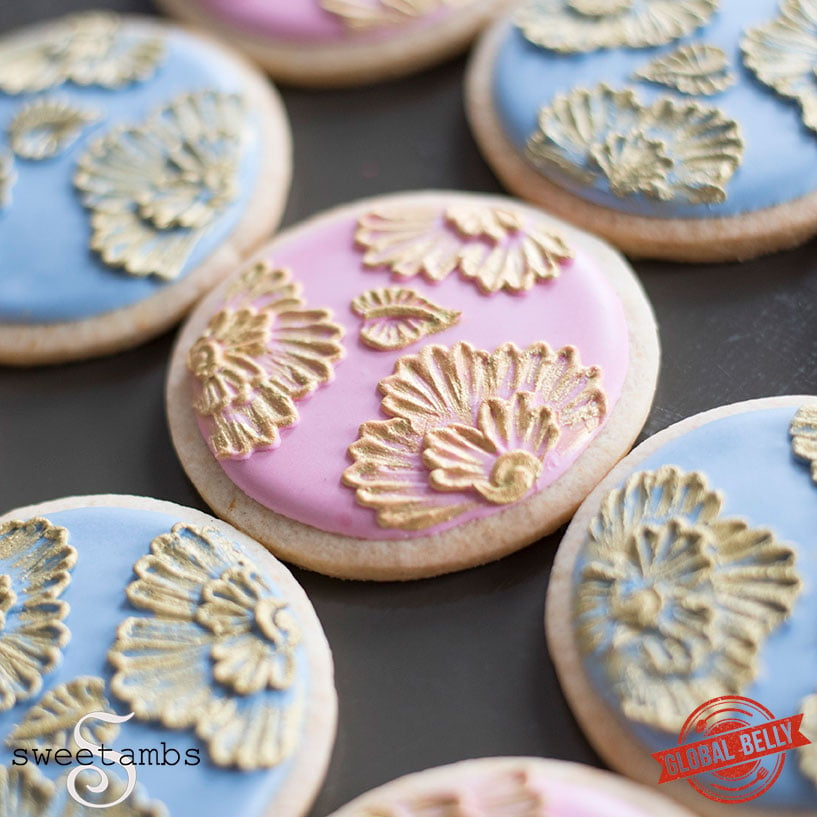
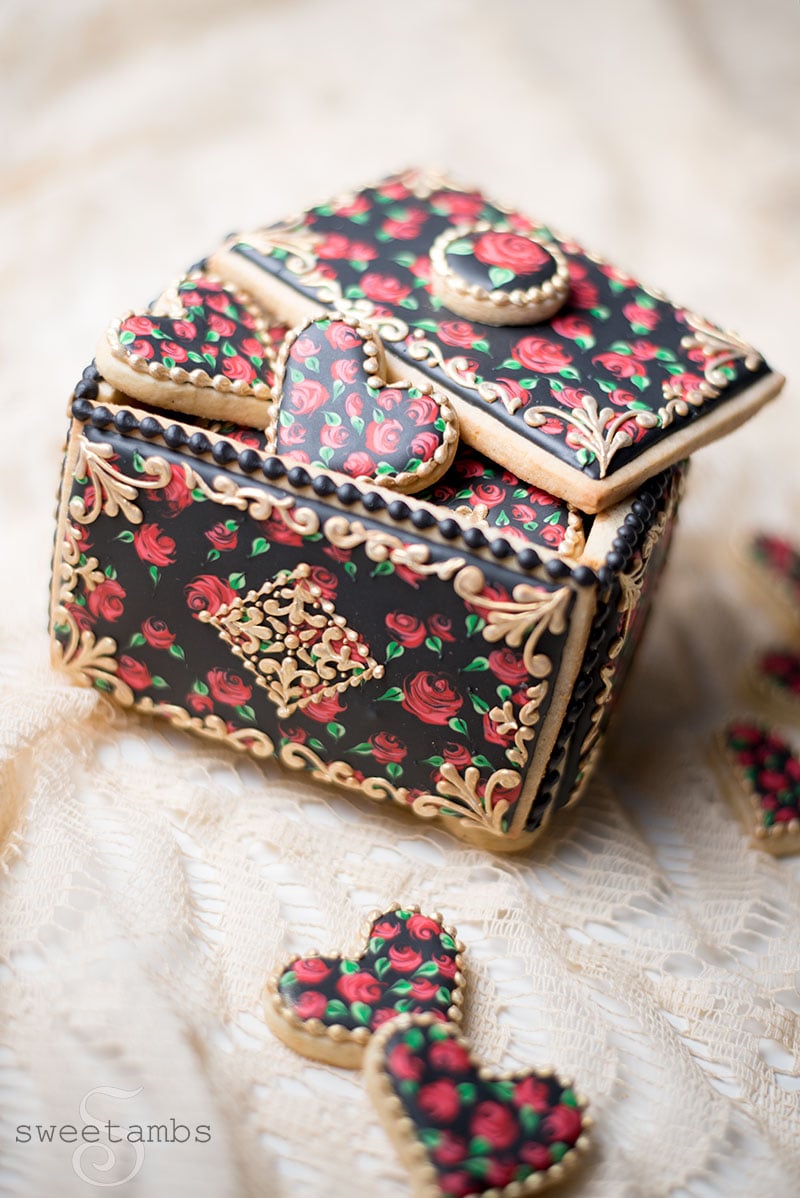
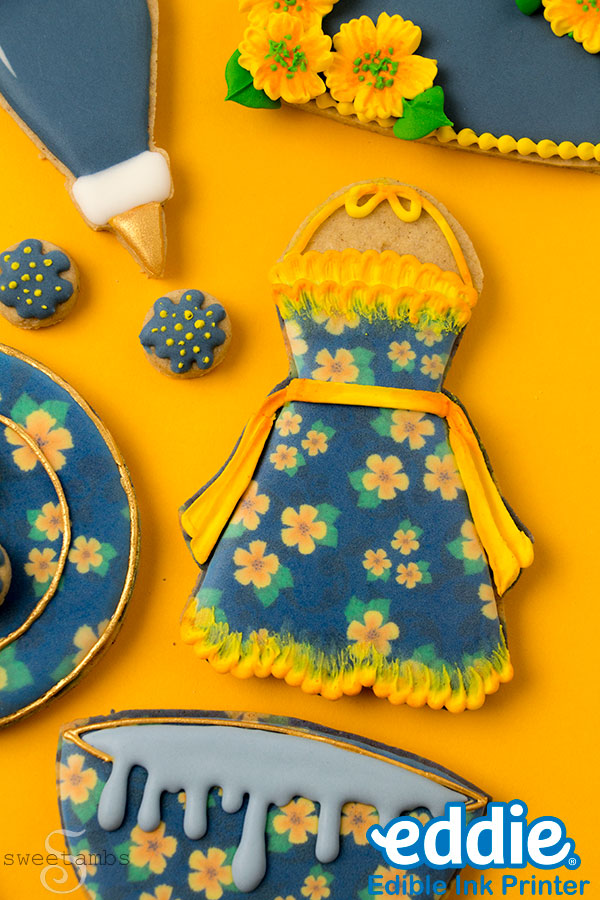
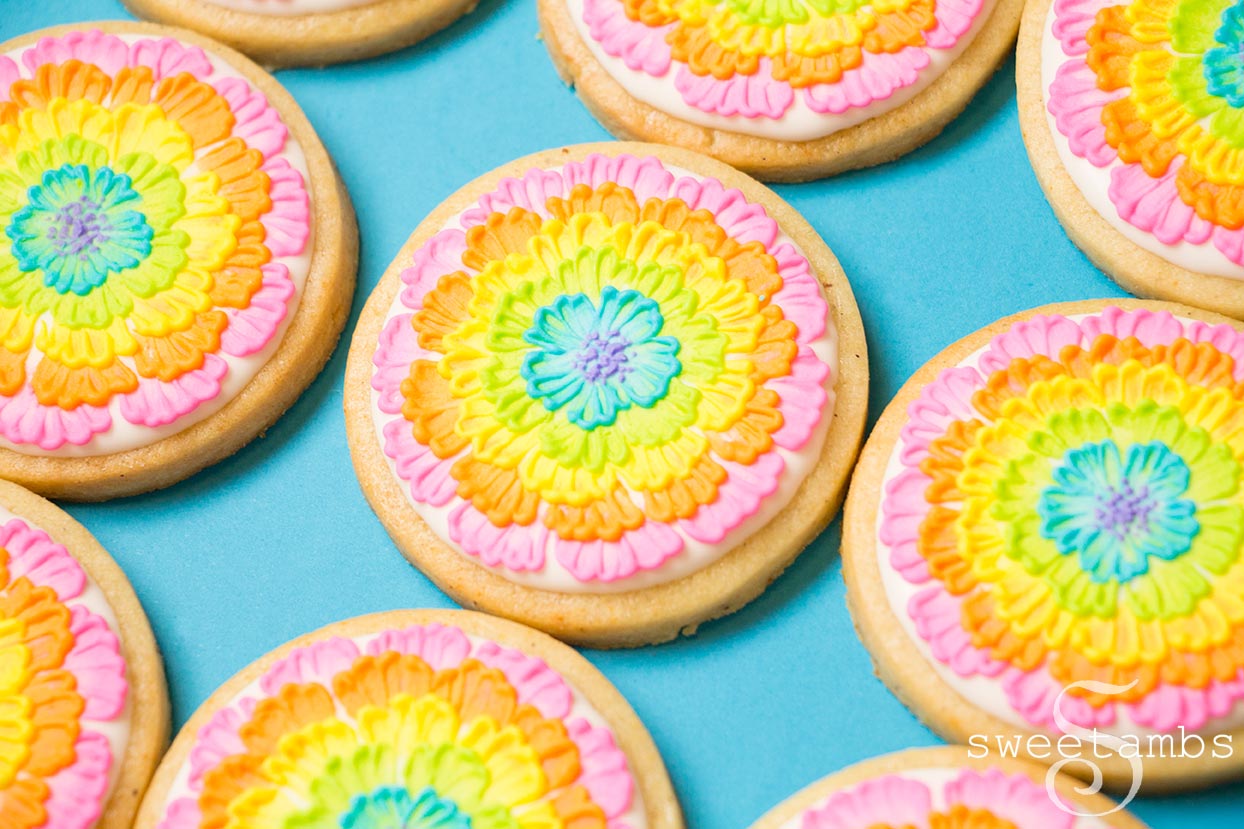
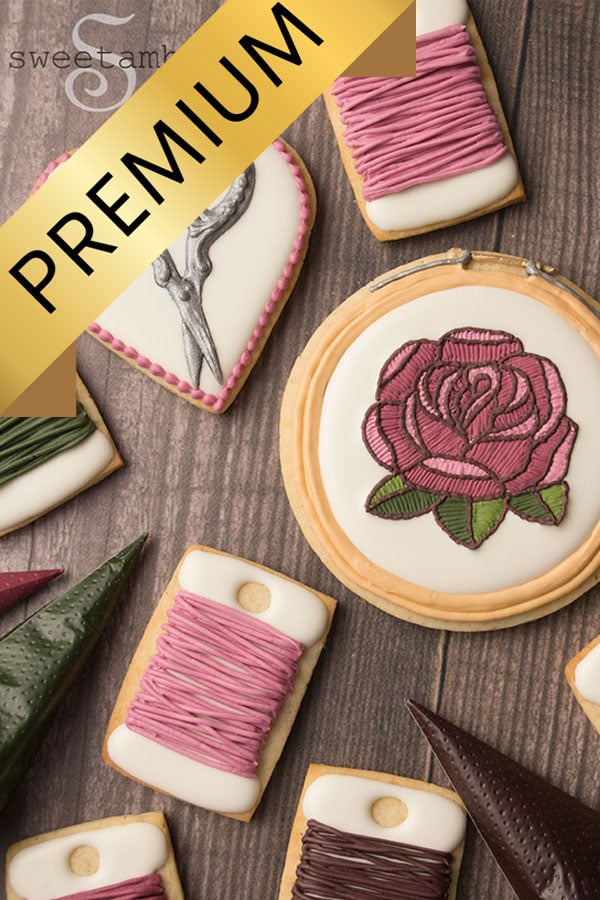
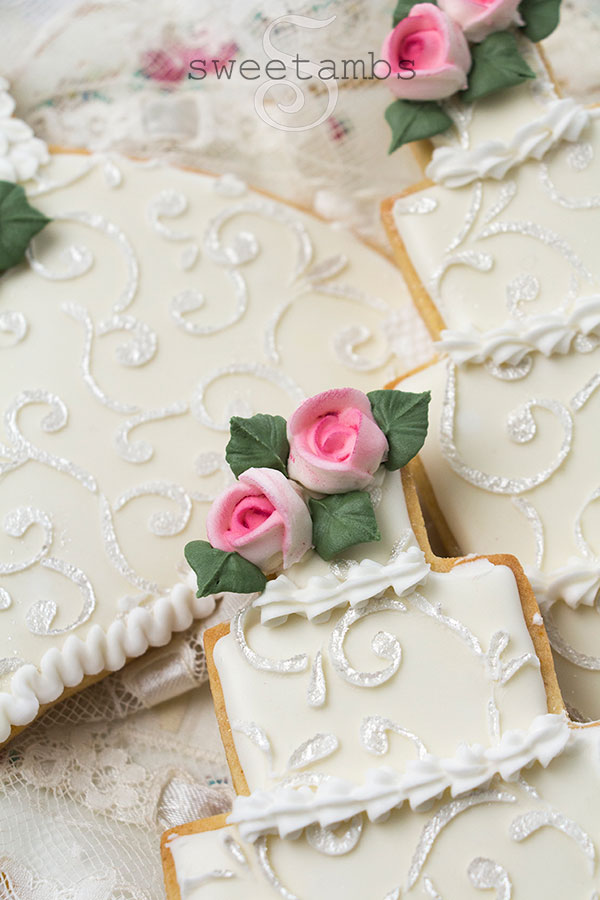
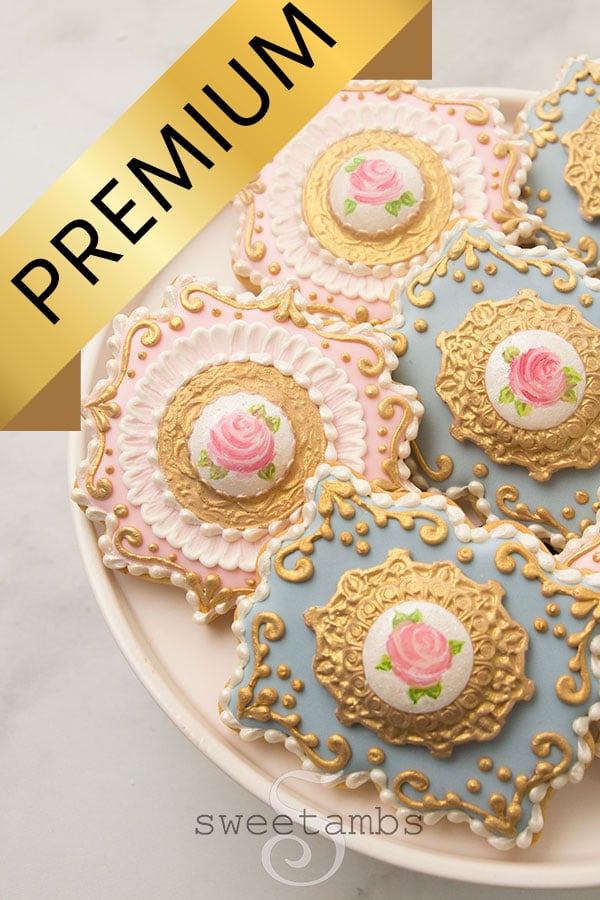
Floral Cookies

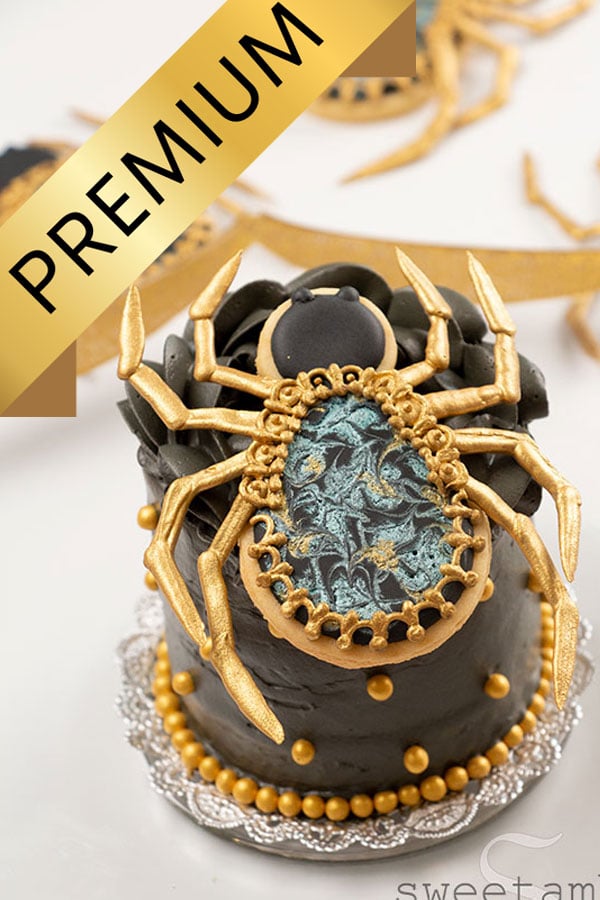
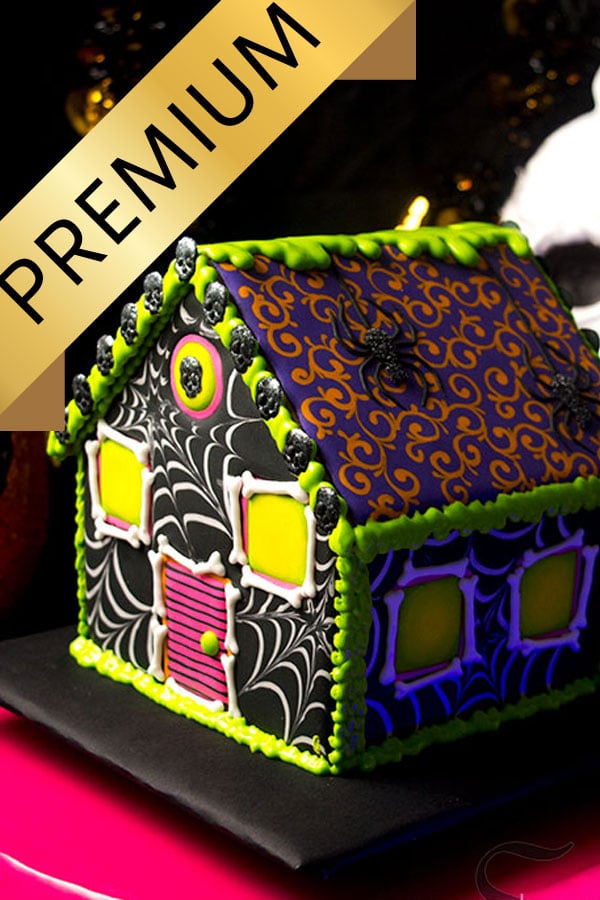
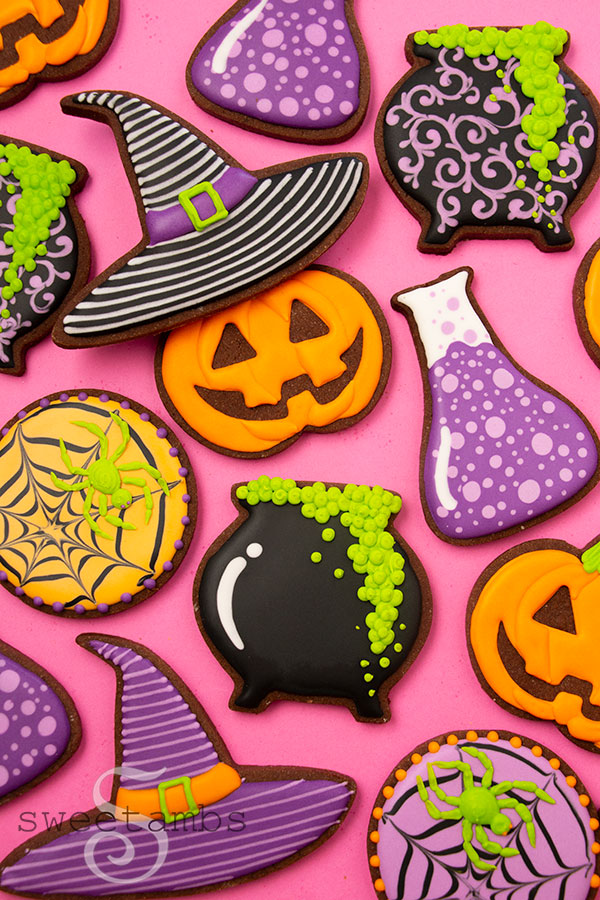
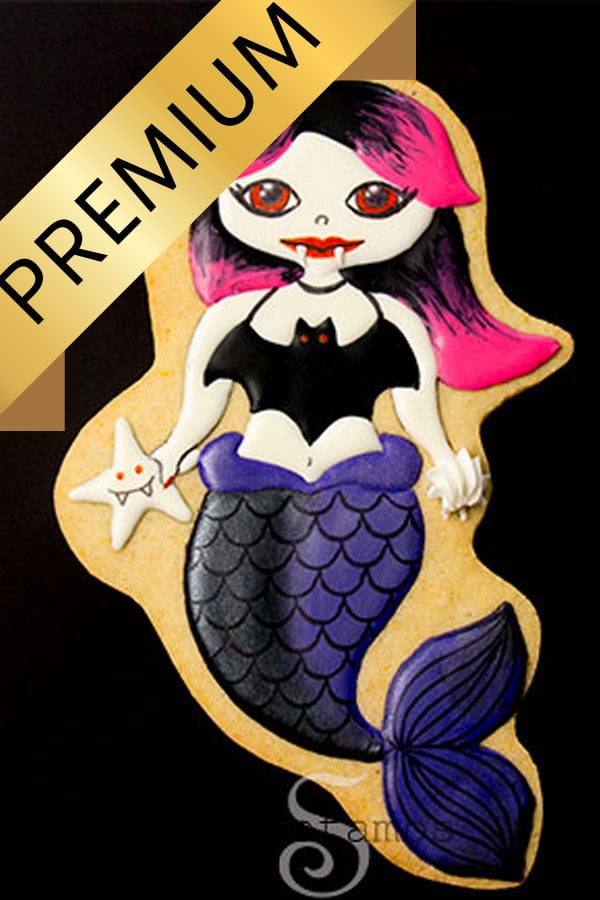
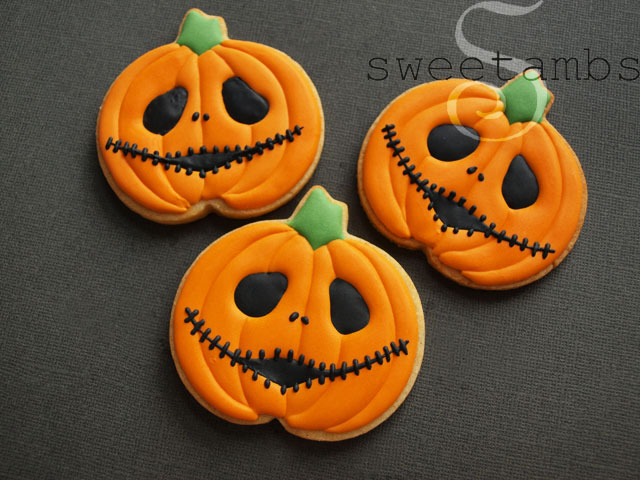
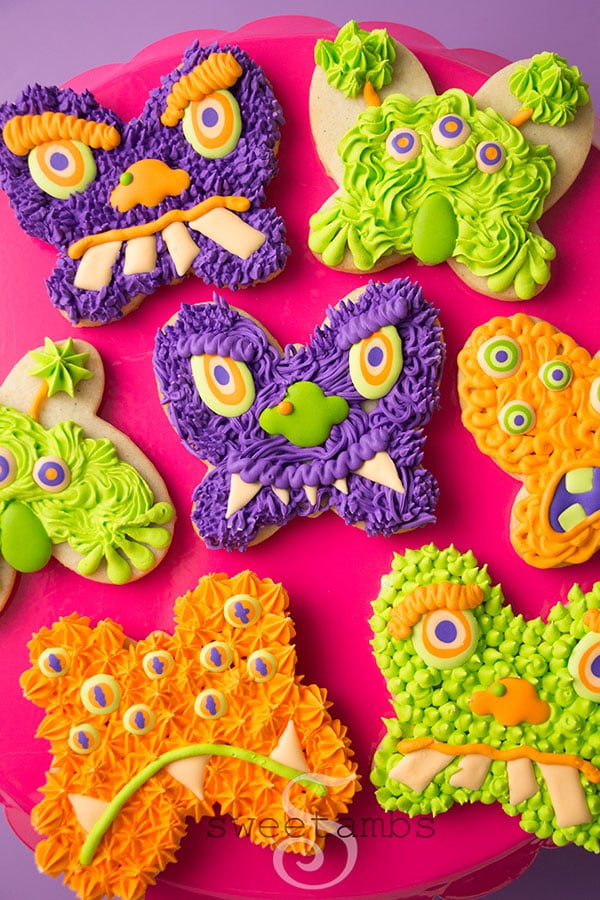
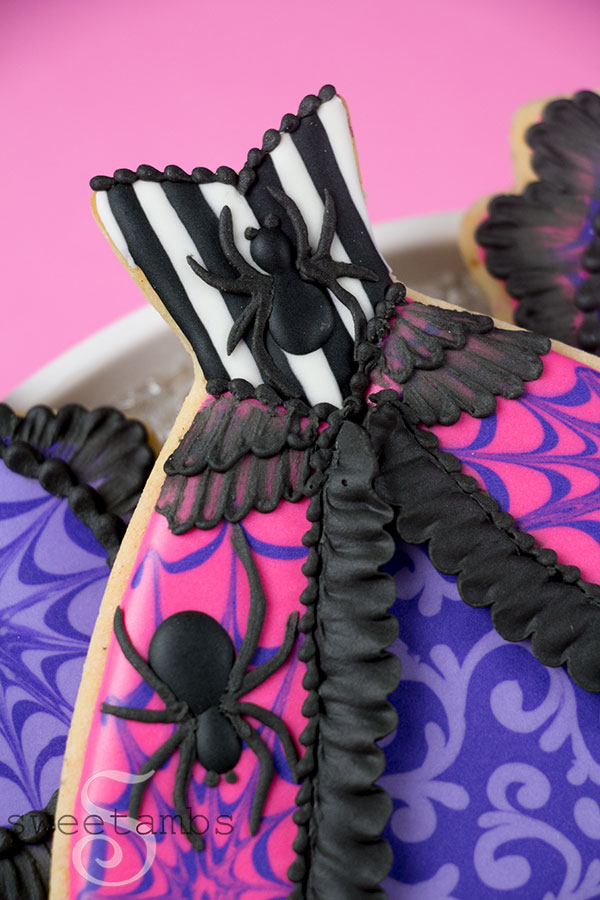
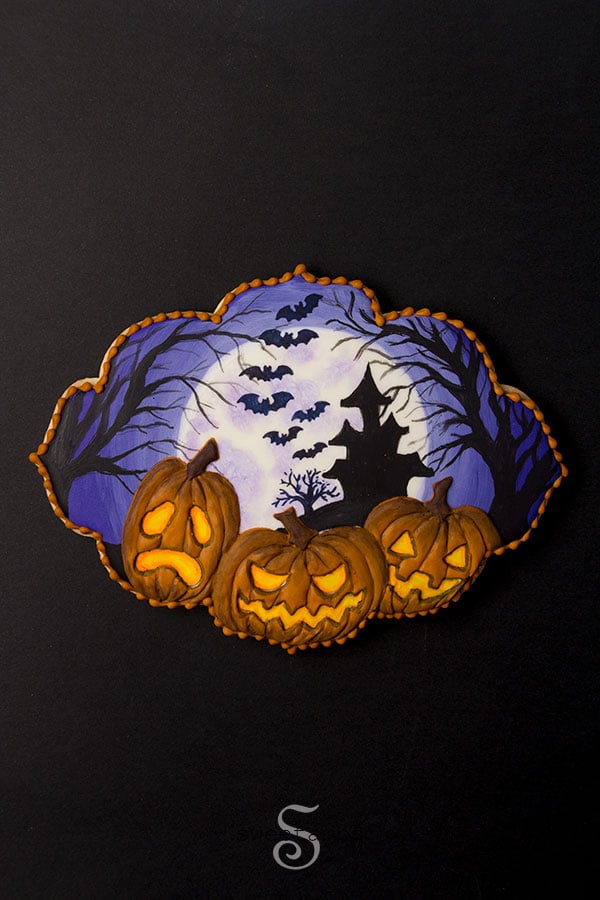
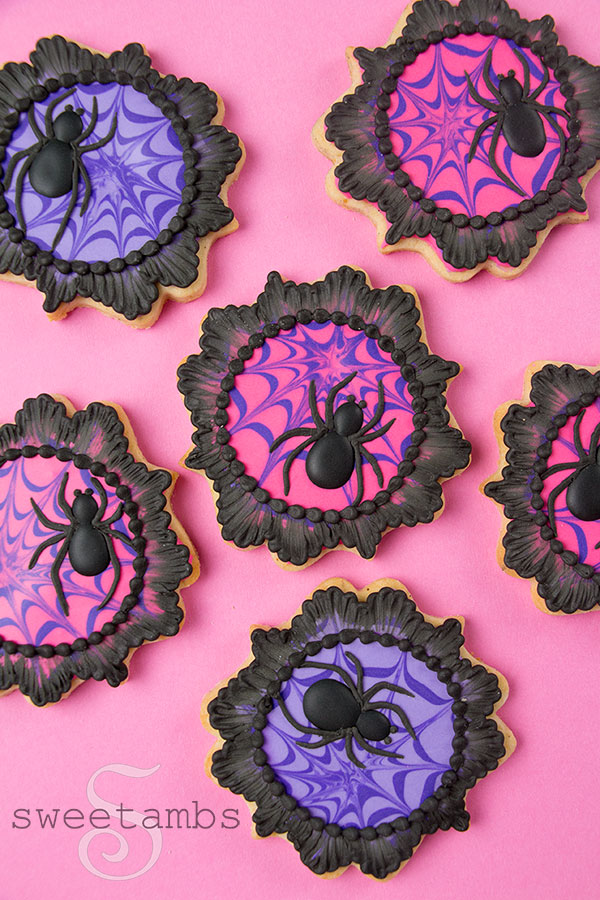
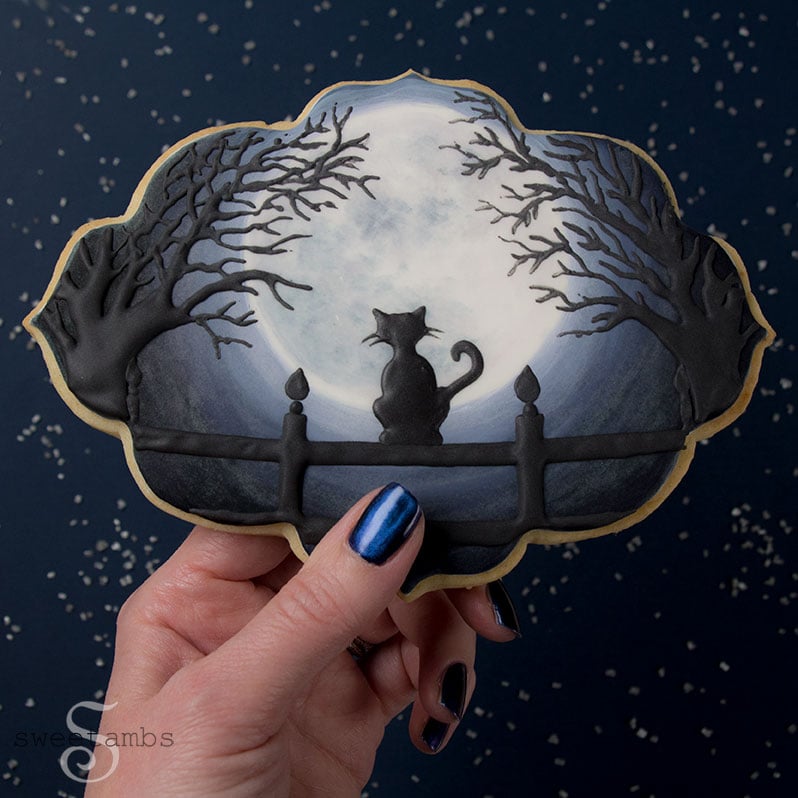
Halloween Cookies


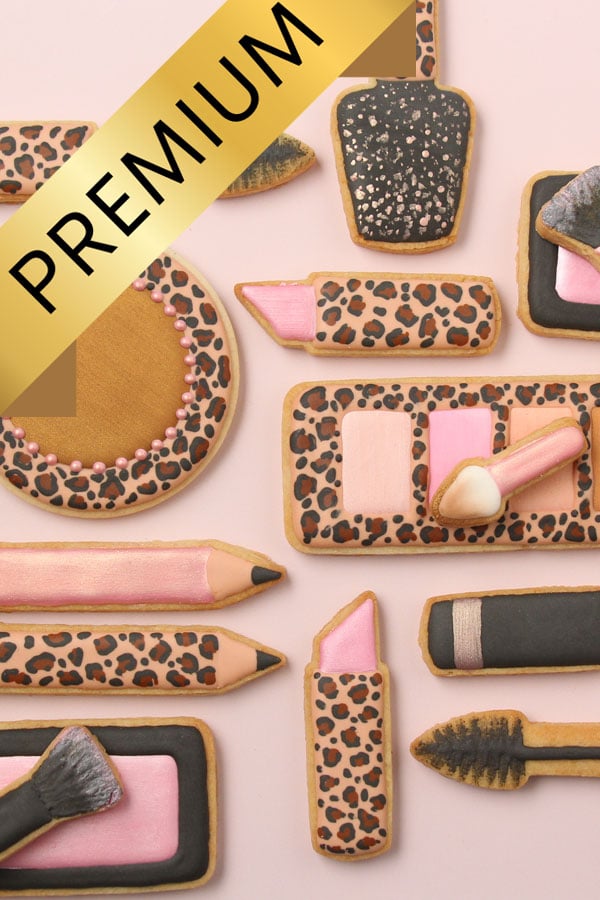
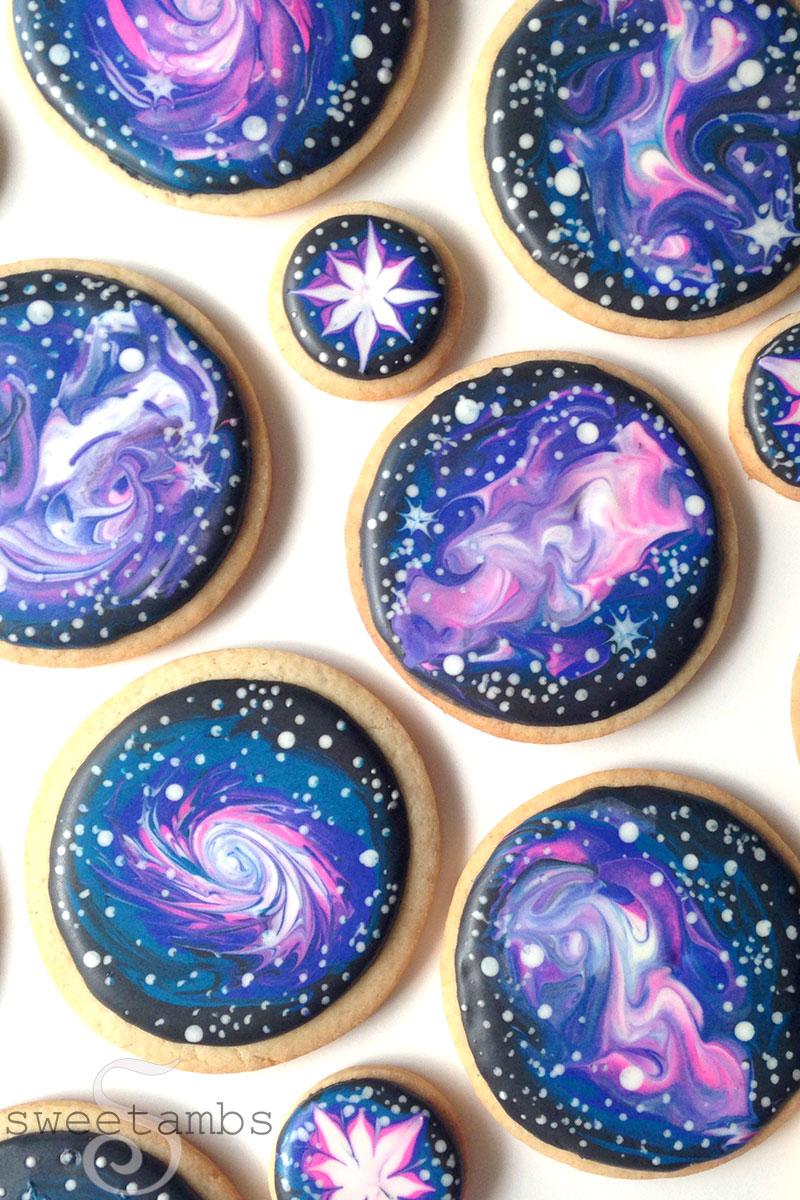
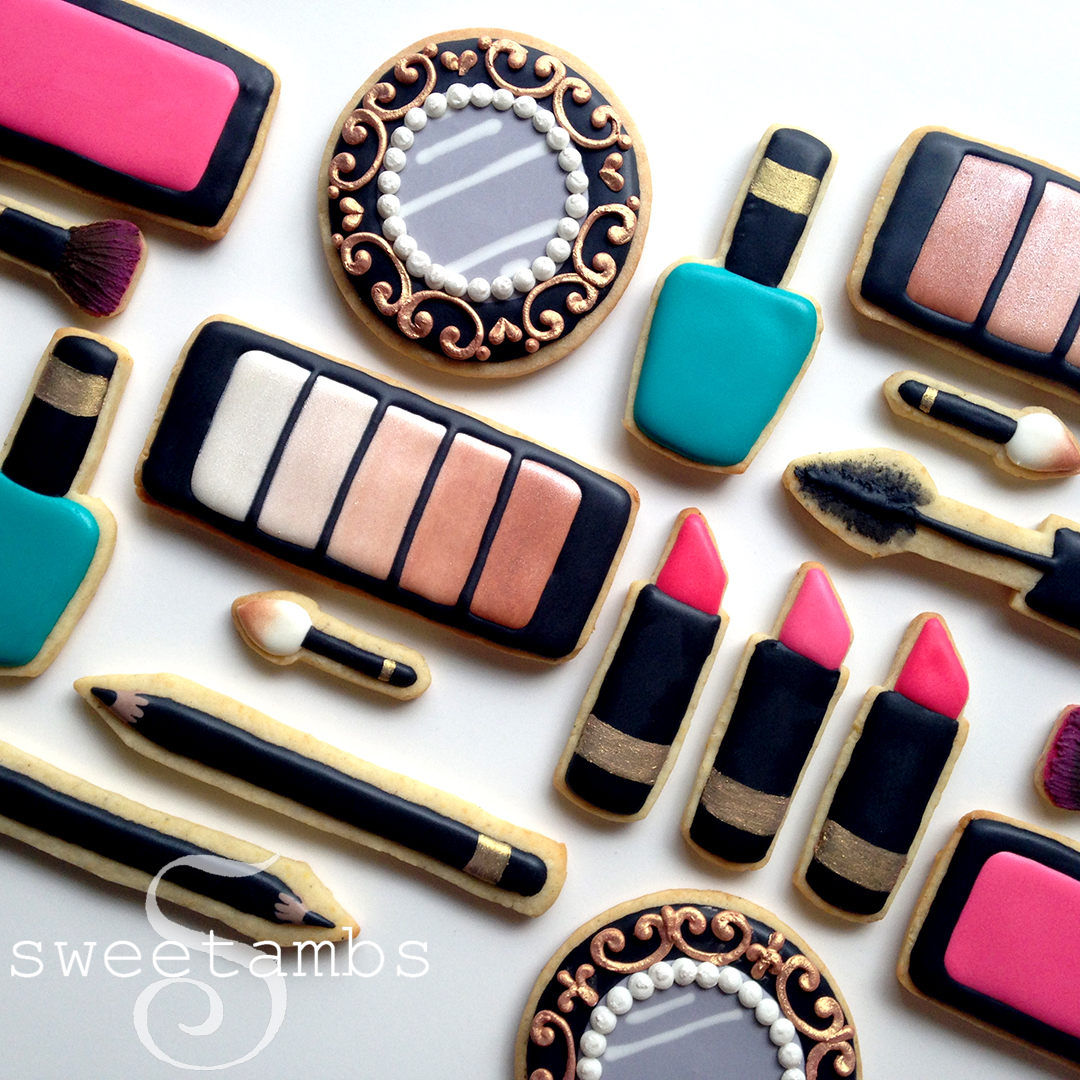
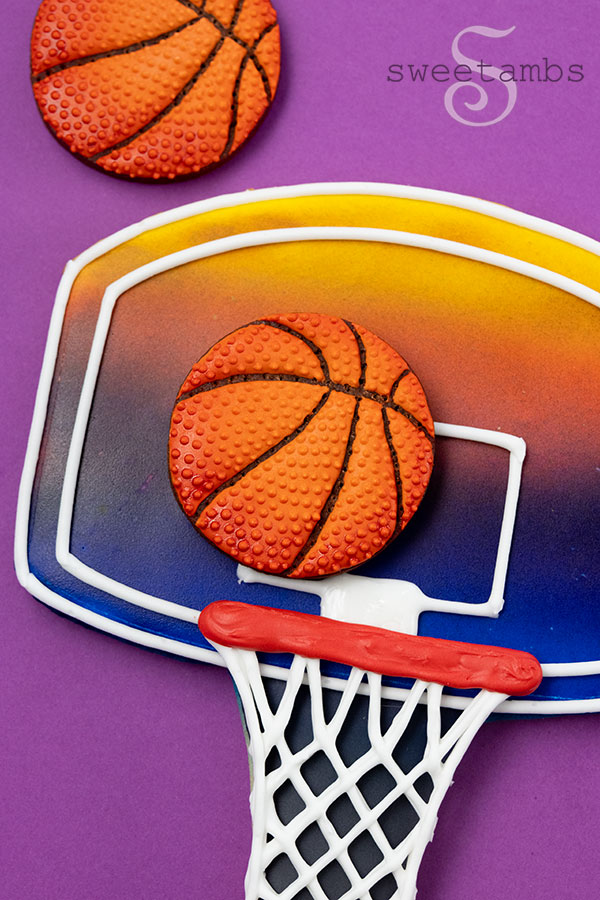
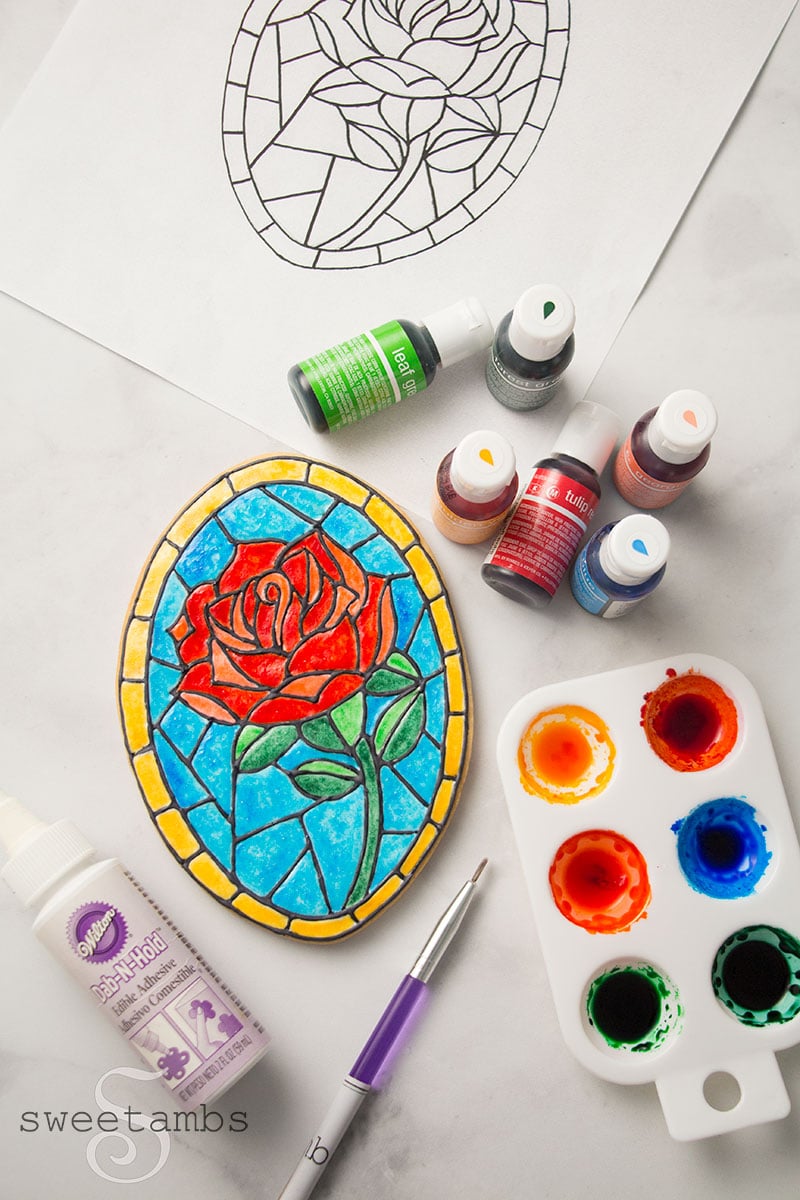
Just For Fun Cookies
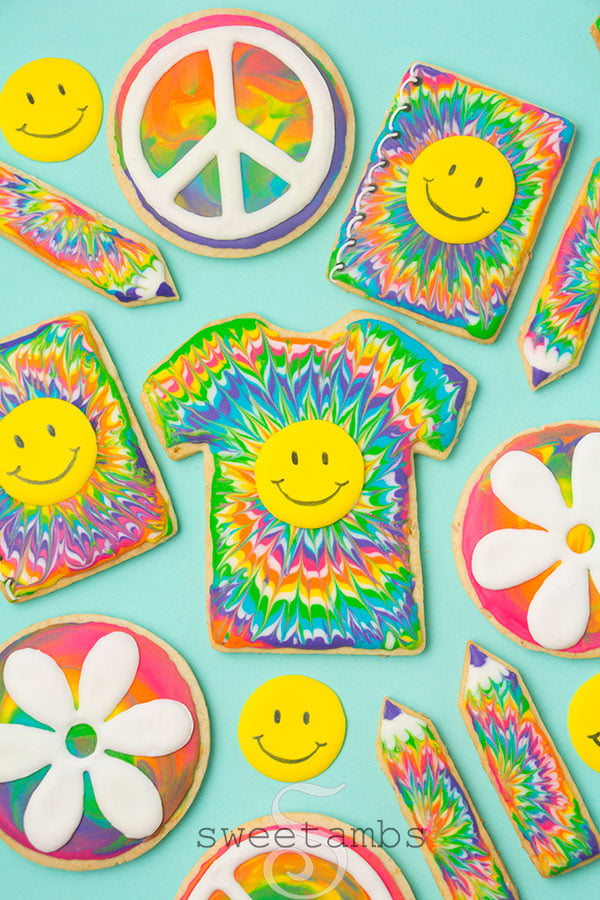
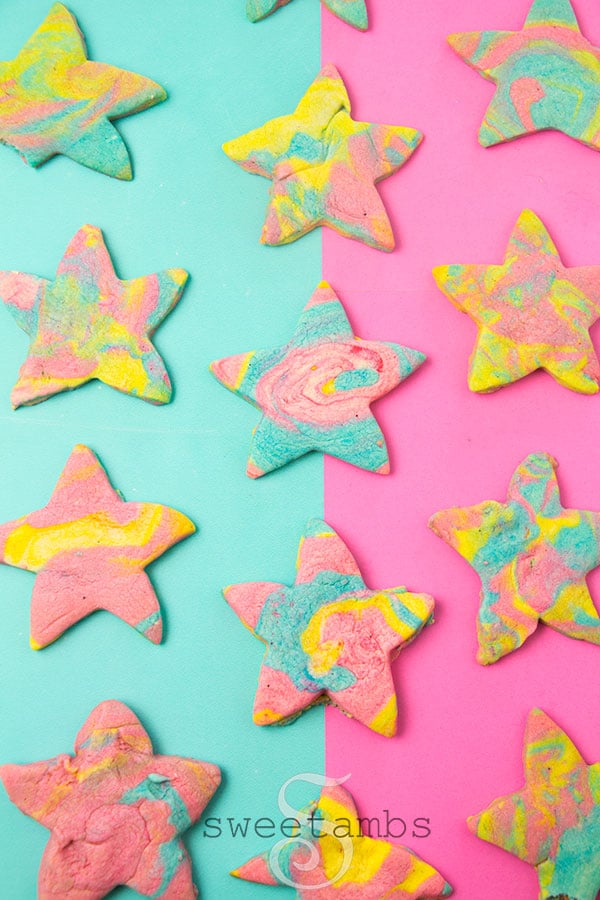
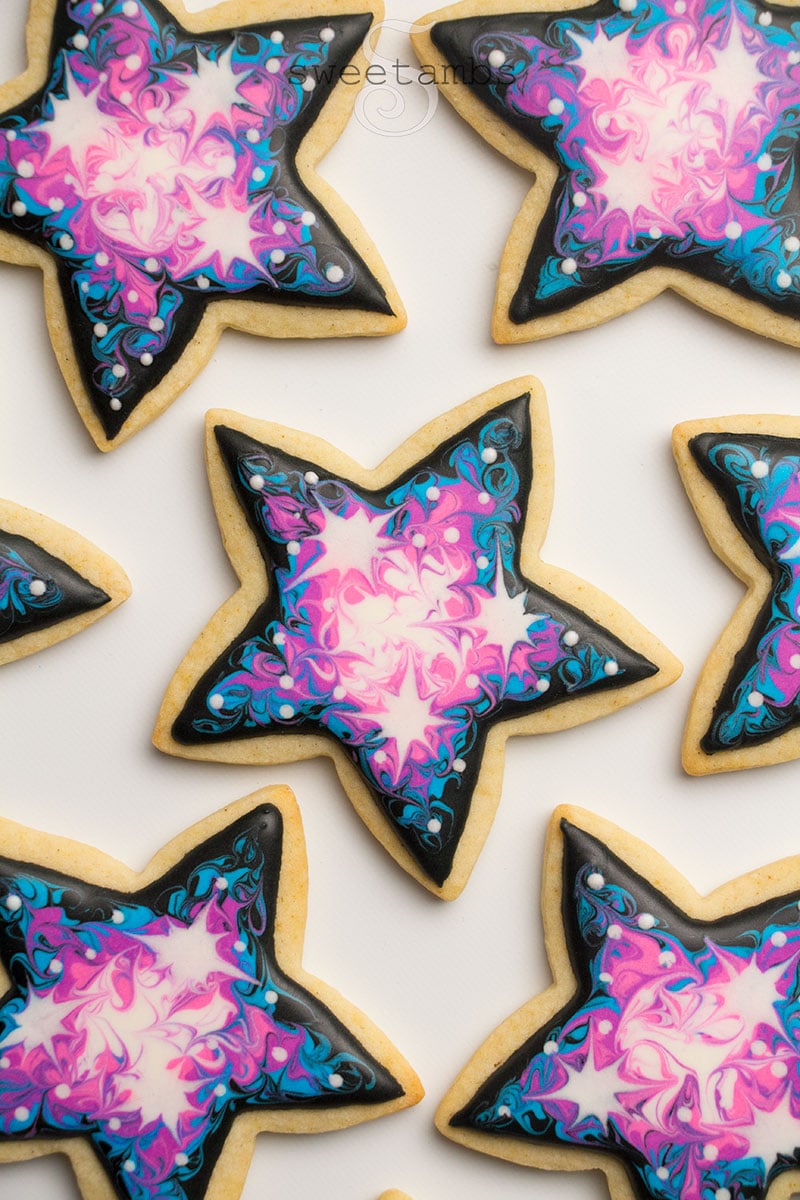


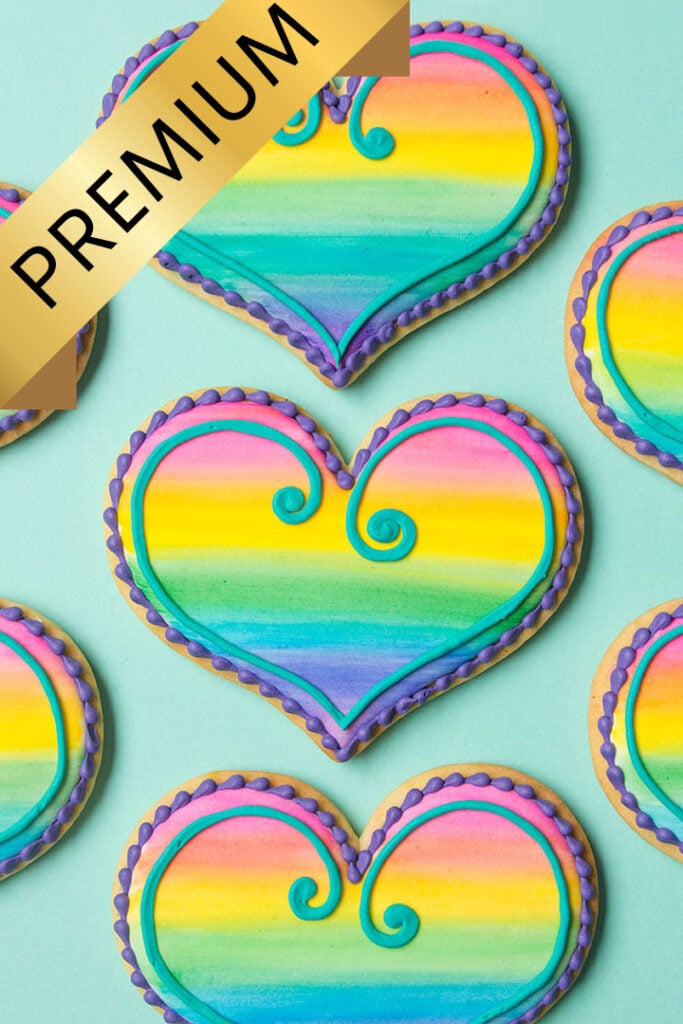
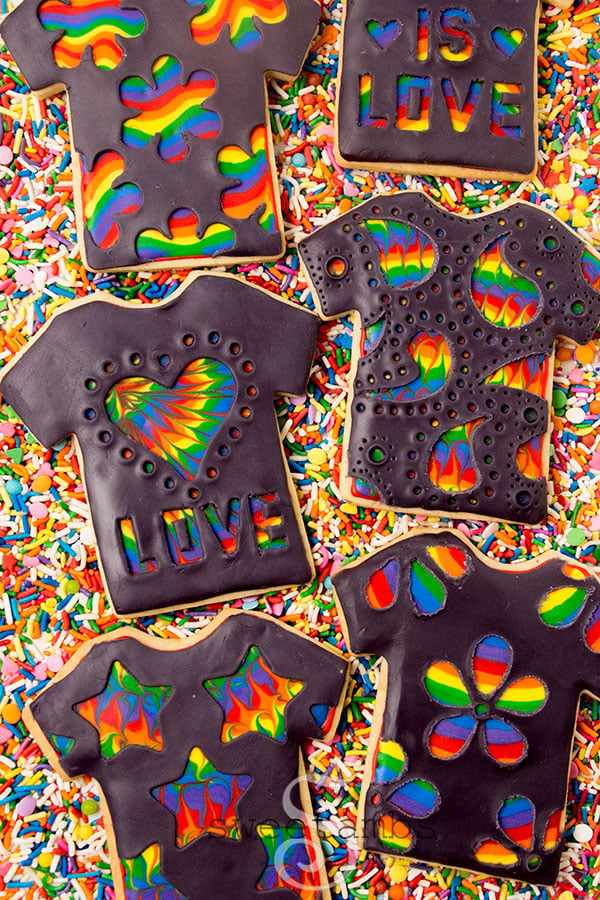
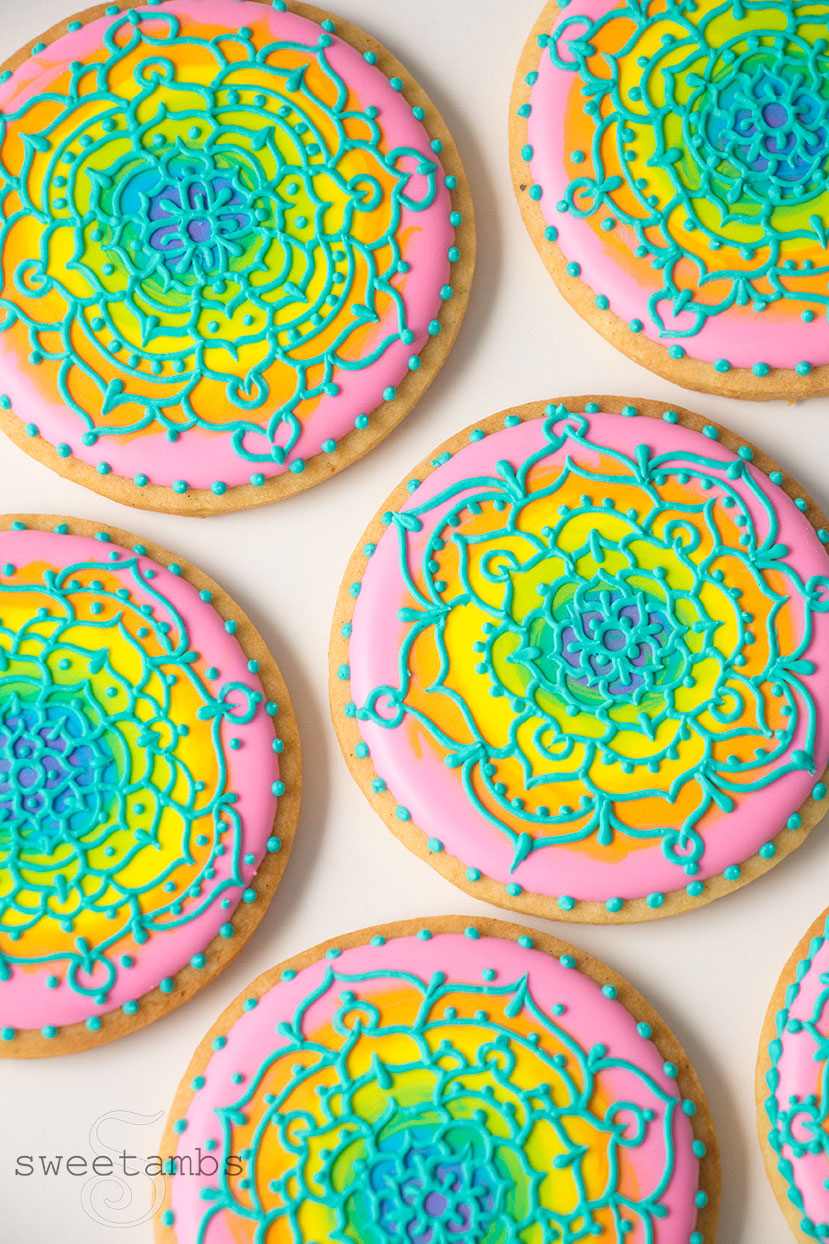
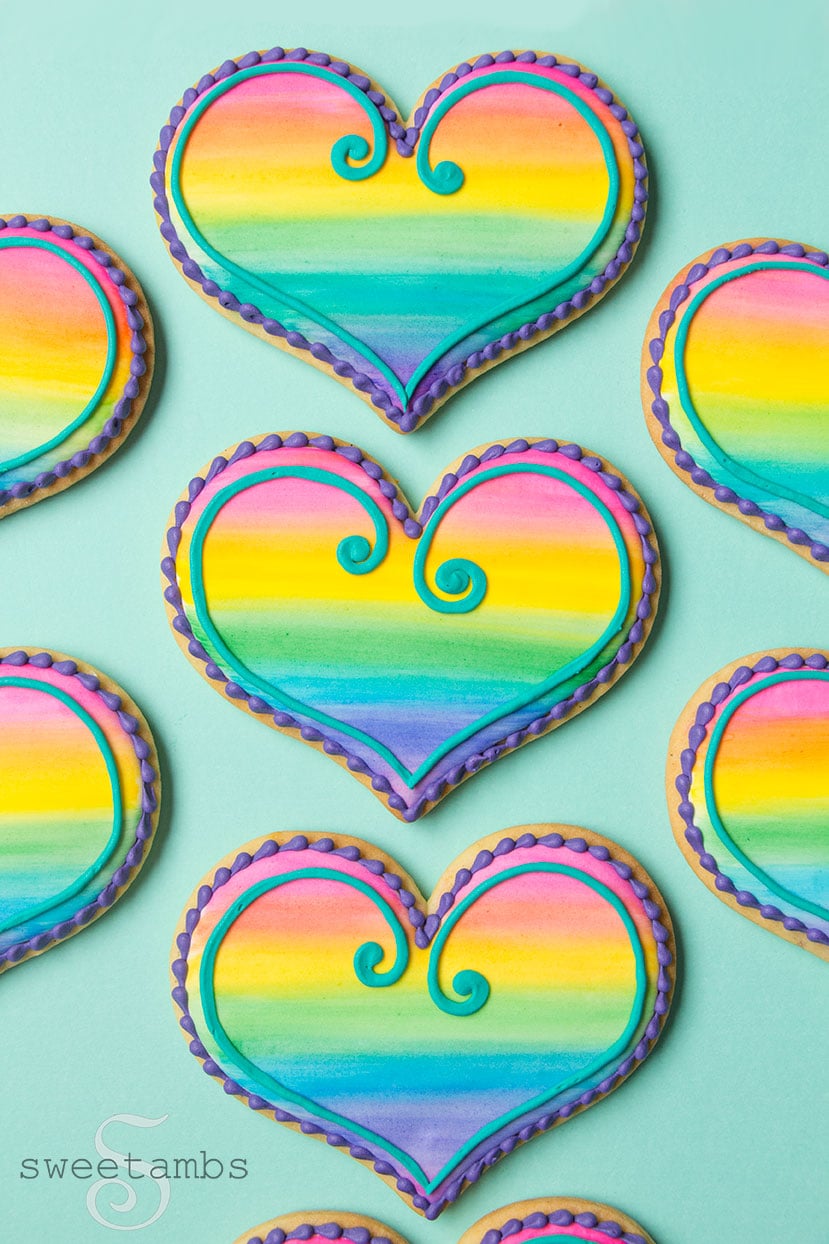
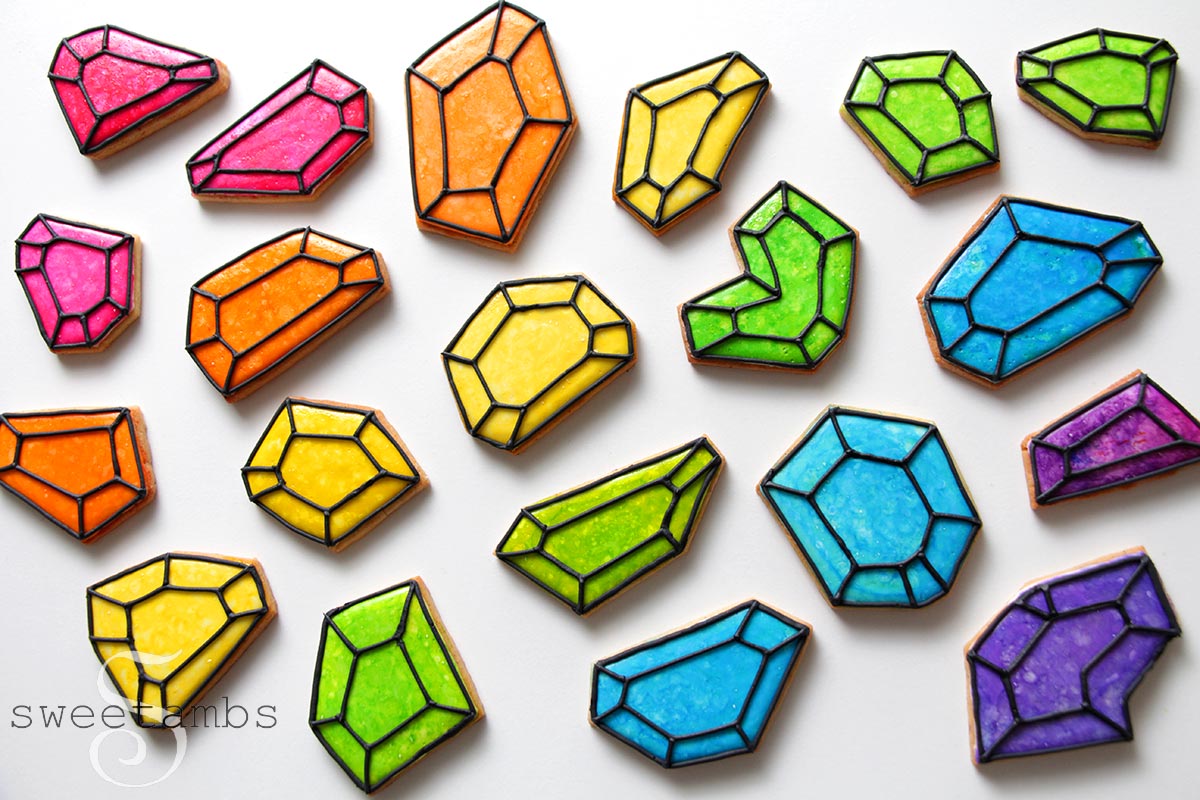
Rainbow Cookies

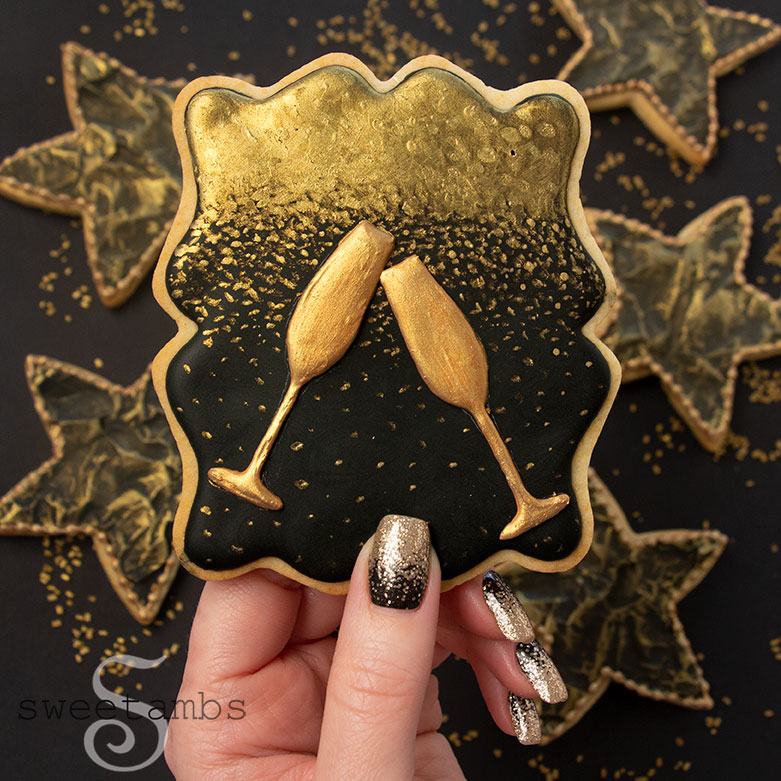
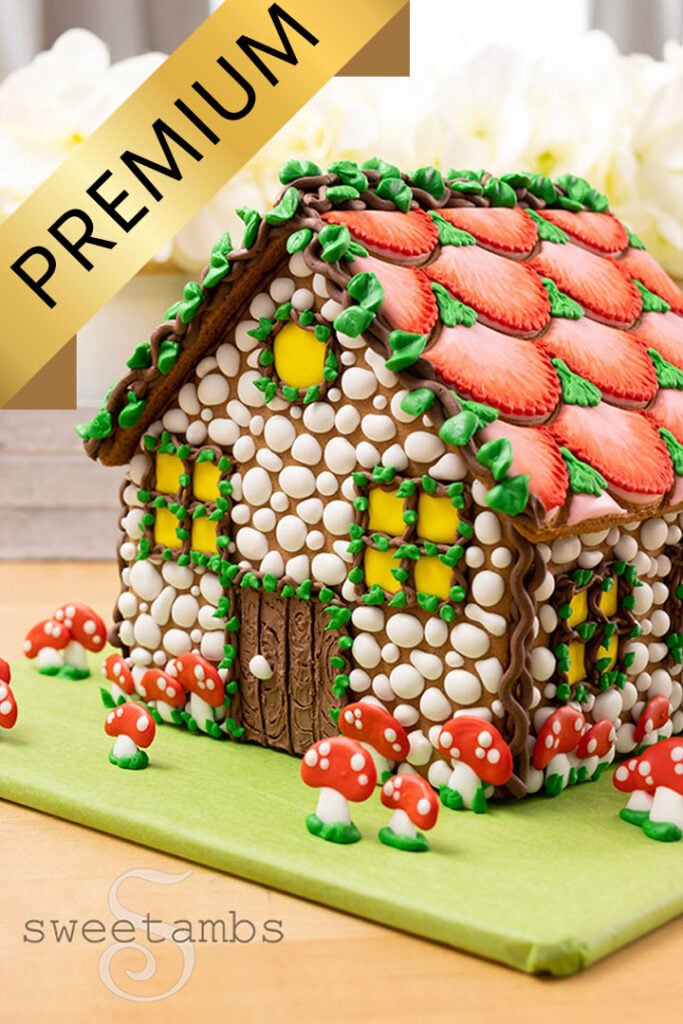
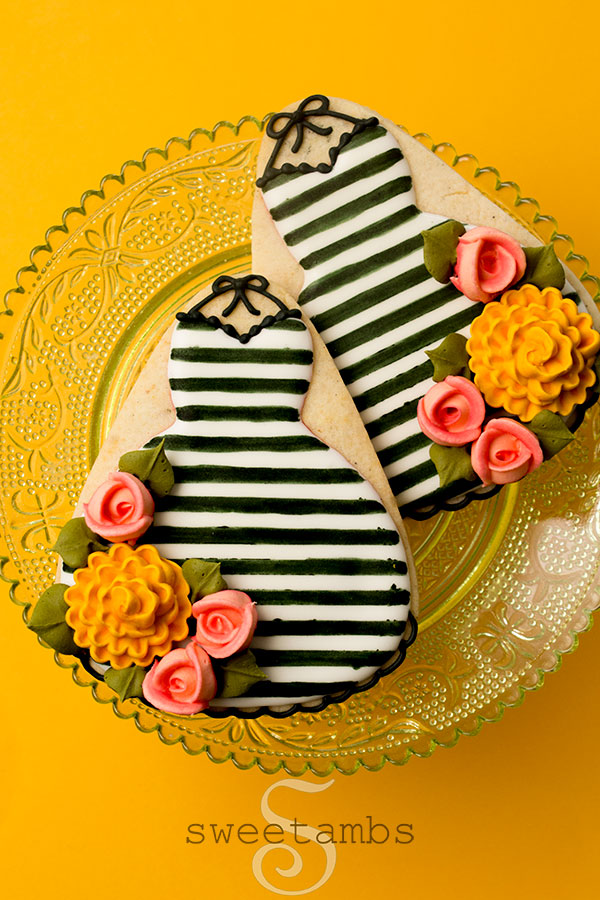
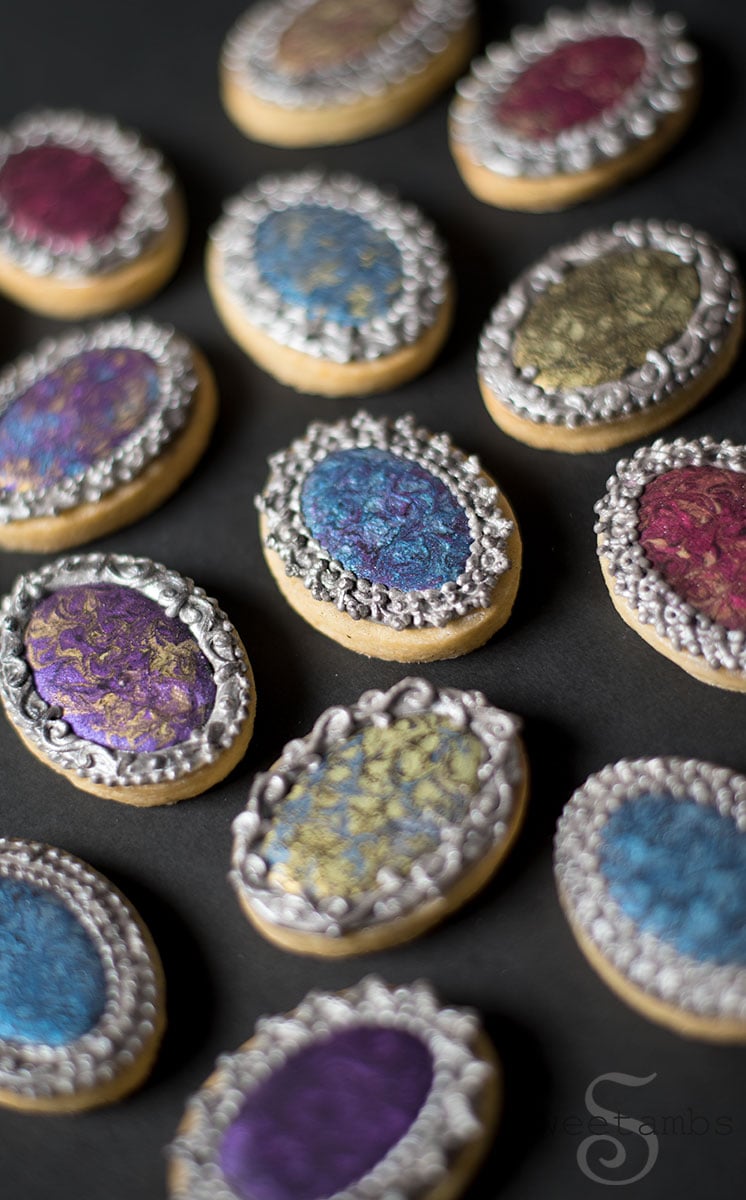
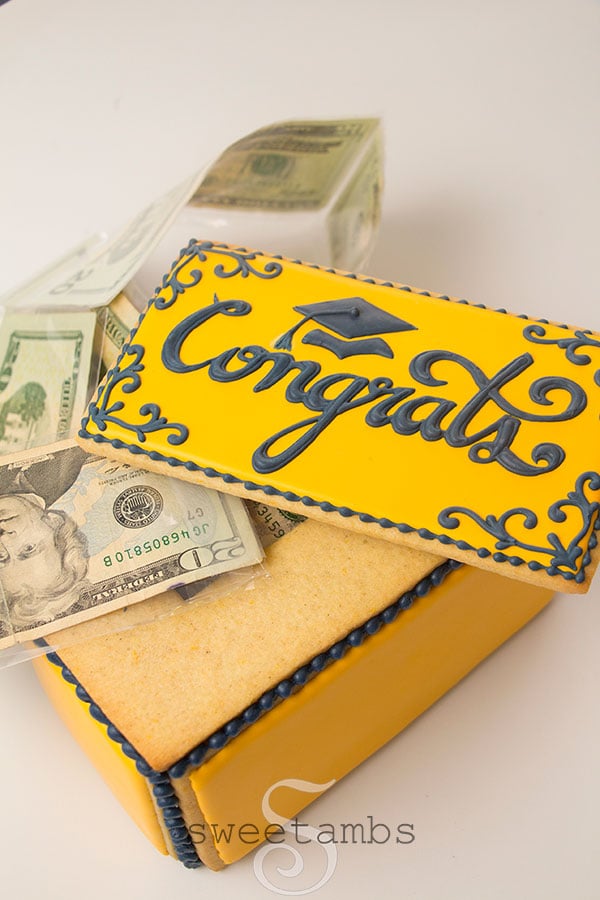
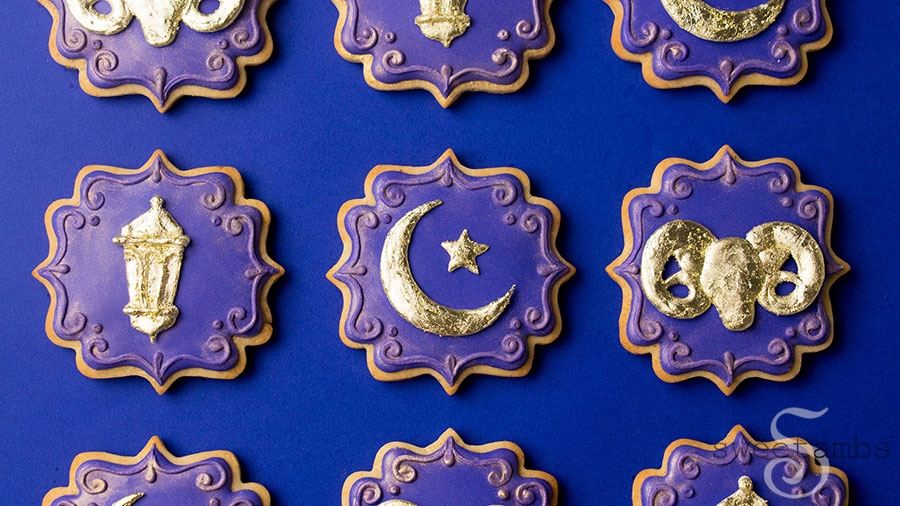
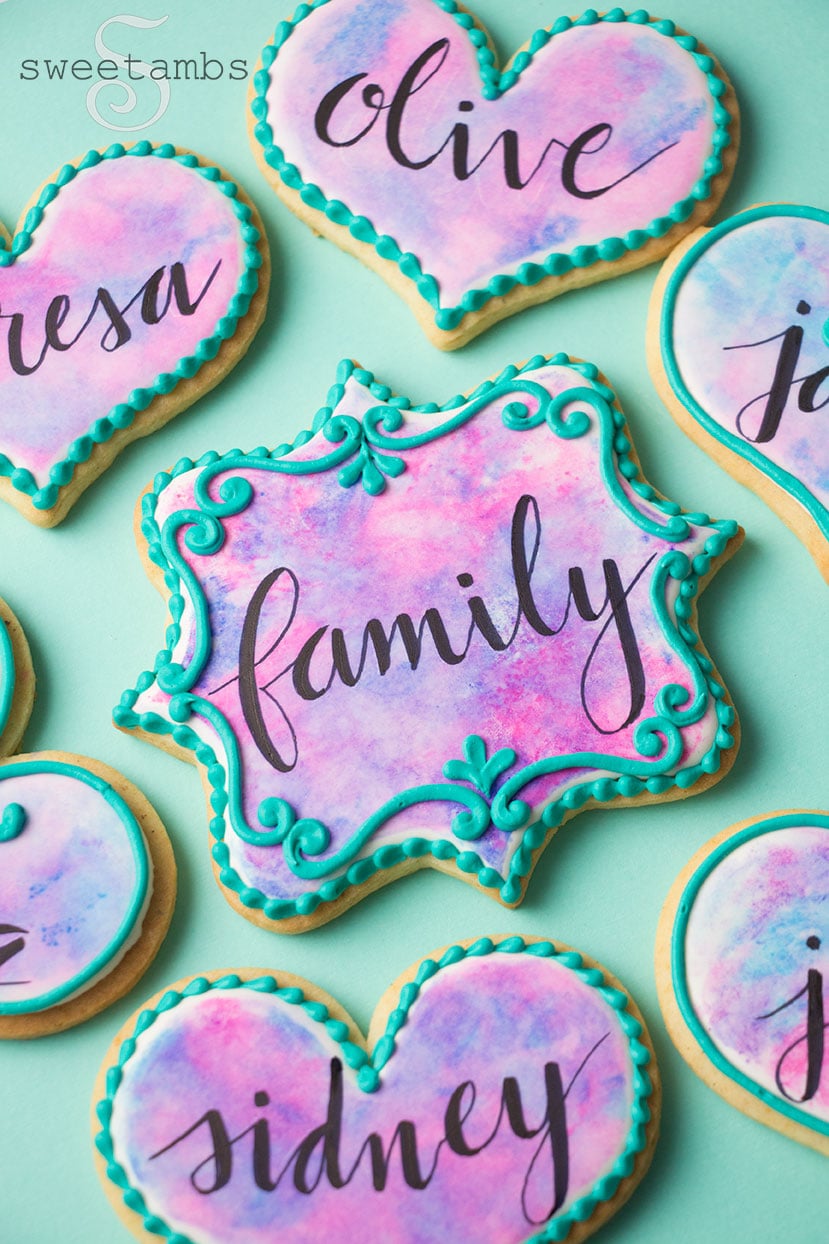
Special Occasion Cookies


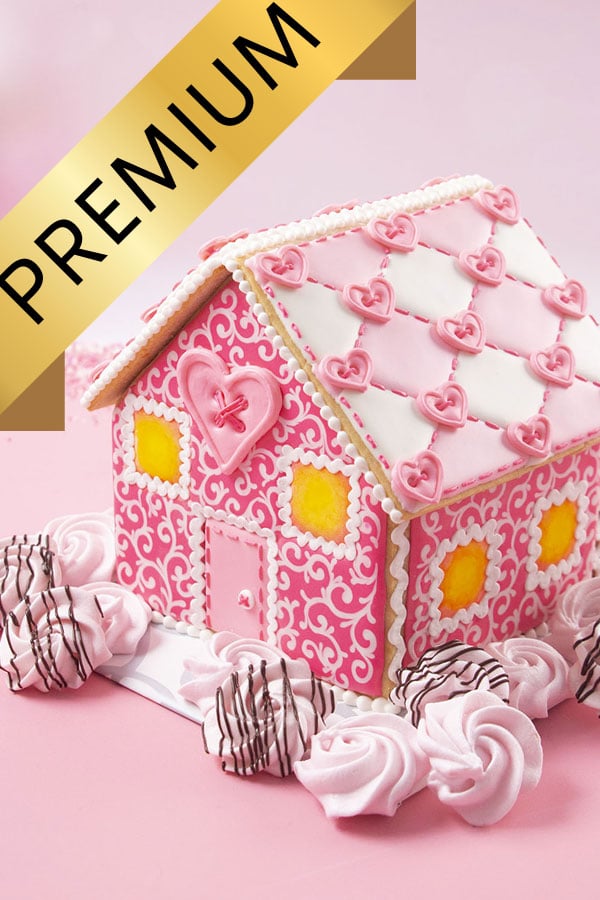
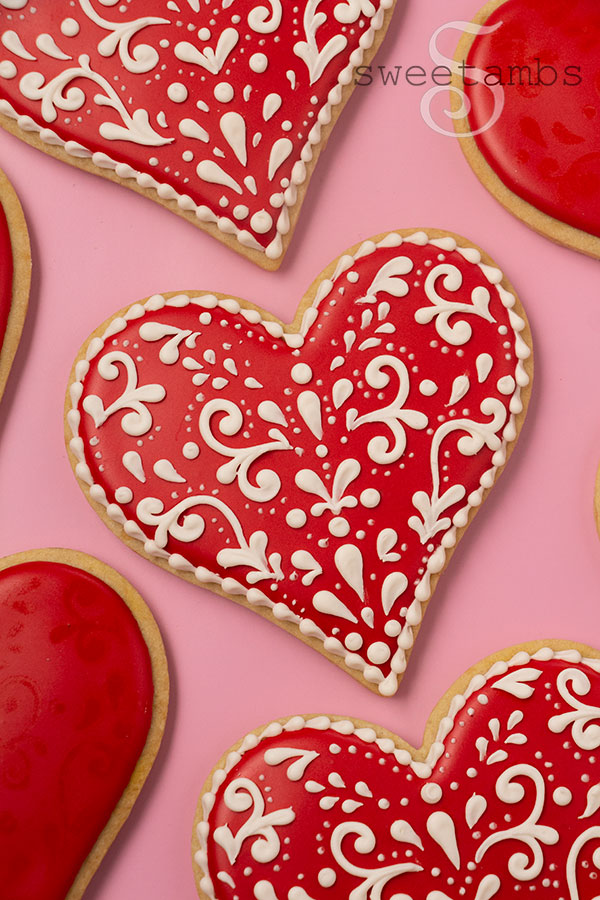
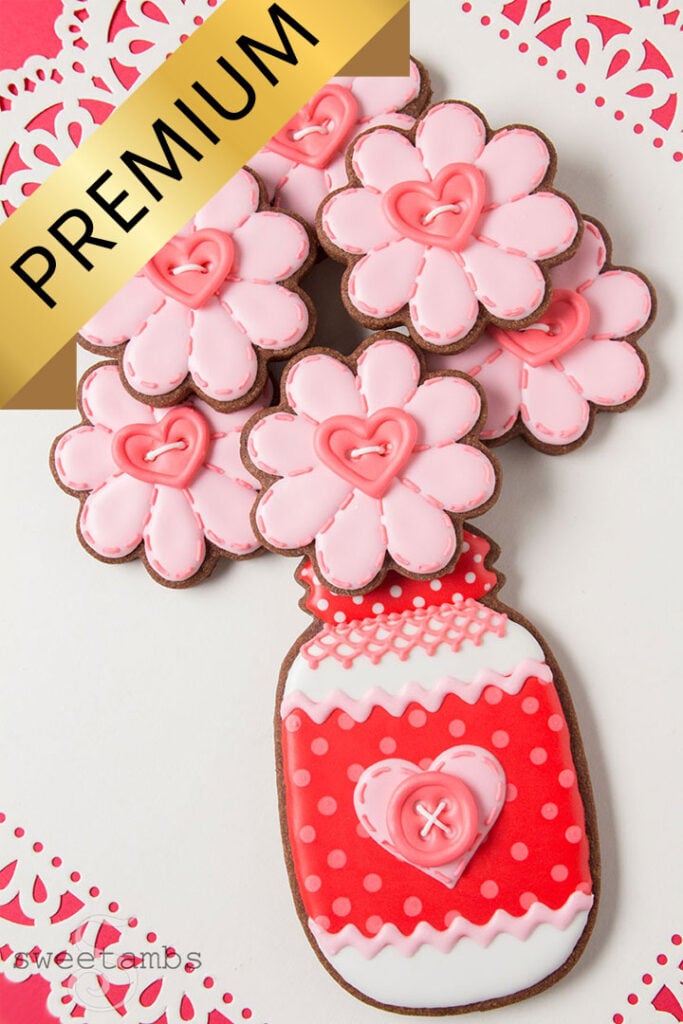
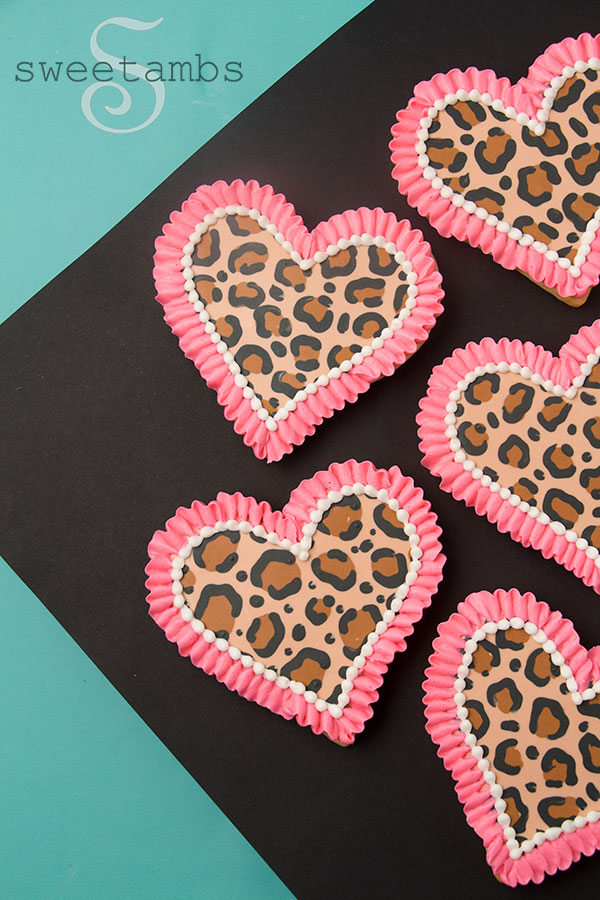
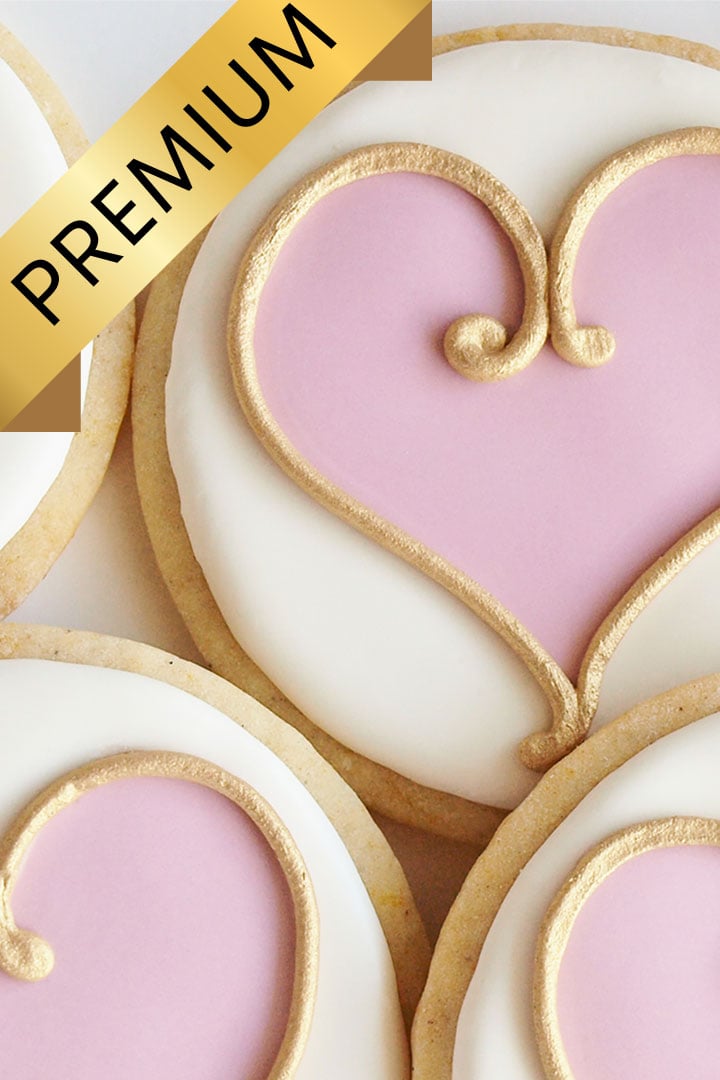
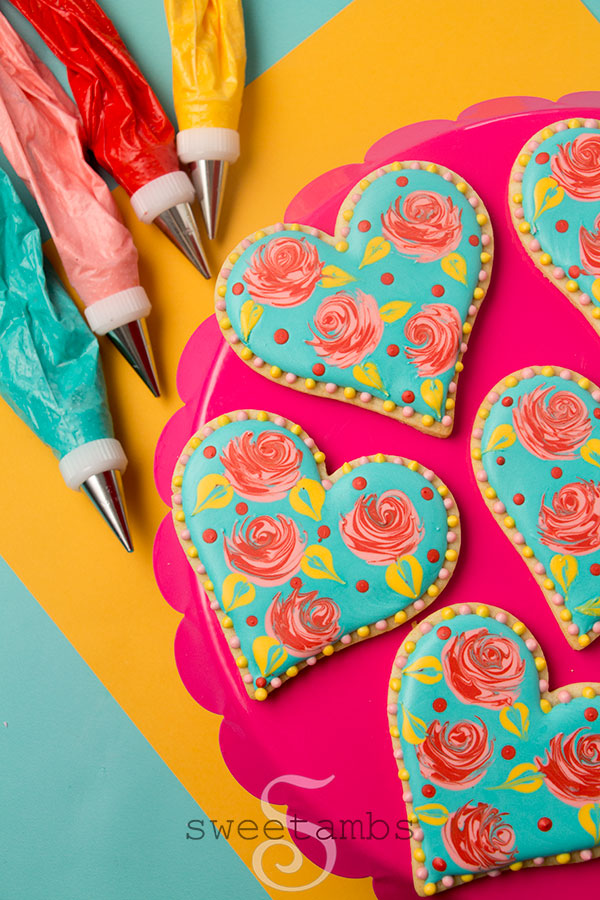
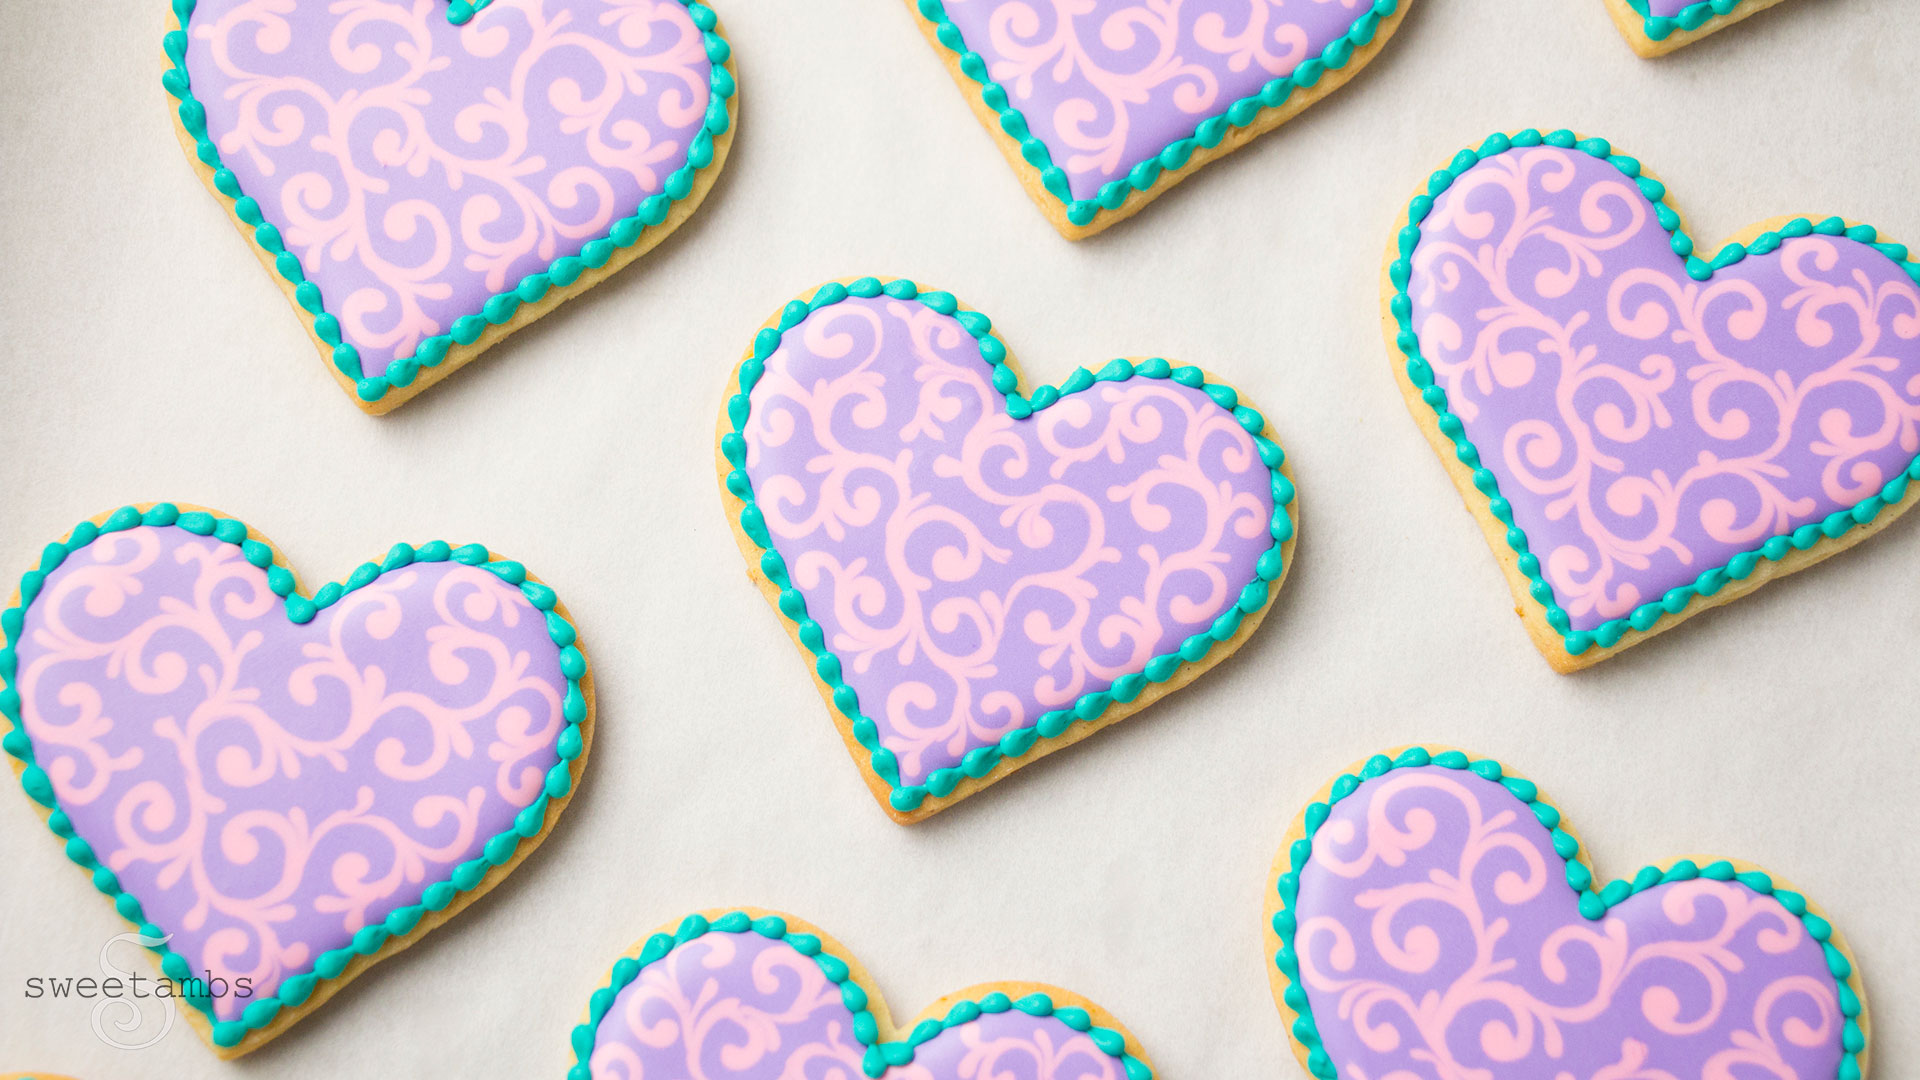
Valentine's Day Cookies