
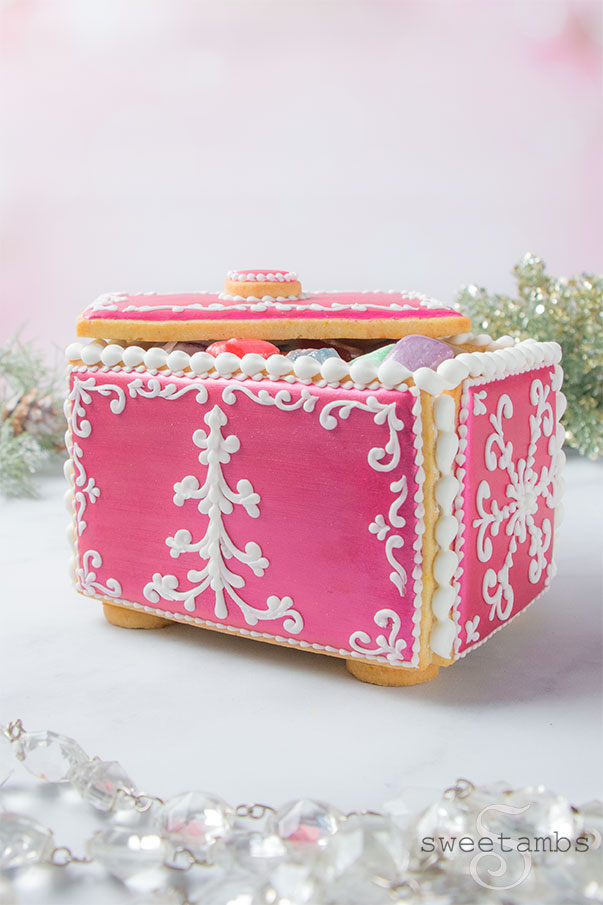
There's nothing I love more than a box full of treats, especially when the box is edible! This edible cookie box for Christmas is part of a 3D Christmas Collaboration with my friend Hani of Haniela's (remember our Winter Wonderland collab from last year?? One of my favorites!). Visit Hani's blog to see her tutorial on how to make an adorable and delicious simple gingerbread house.
This post contains affiliate links. Read my affiliate disclosure here.
Get access to exclusive cookie decorating tutorials, my cookie and royal icing recipes, and individualized cookie decorating advice by joining my Cookie Art Club!
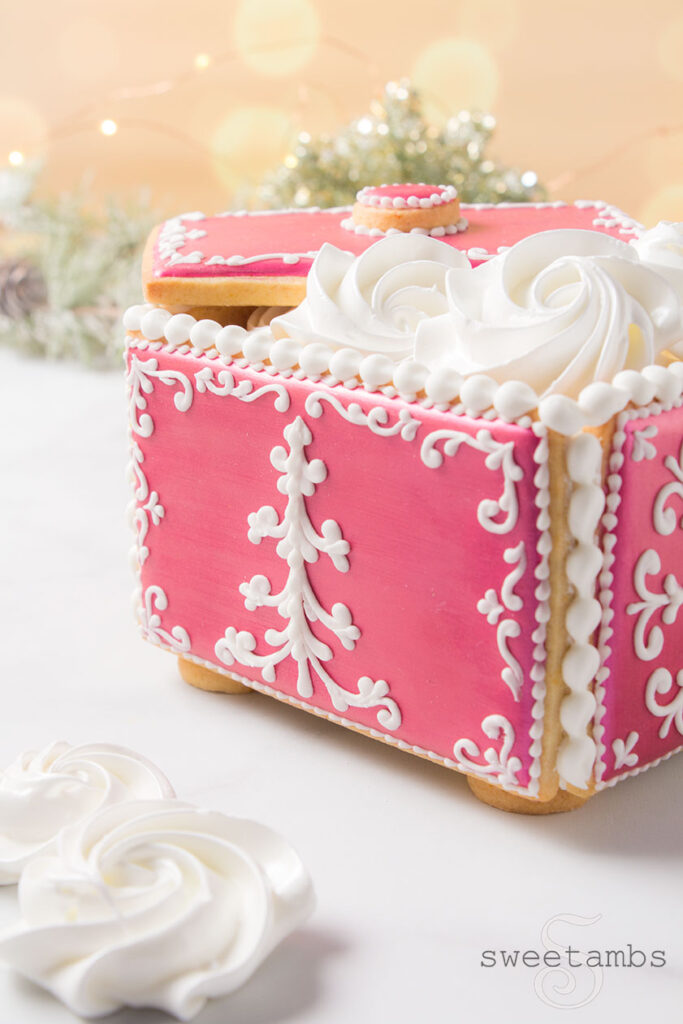
I filled the box with meringue cookies, which are so simple to make and a great way to use leftover egg whites if you've recently made vanilla pudding 🙂 I used my Mermaid Meringue Cookie Recipe and just skipped the food coloring. Wouldn't this make such a lovely gift?
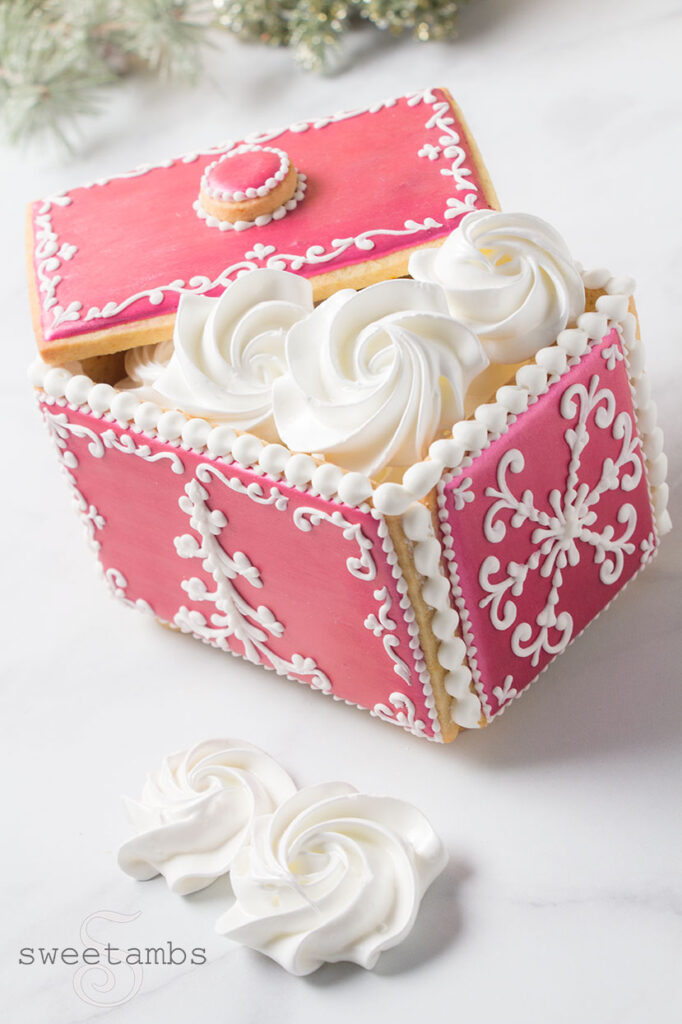
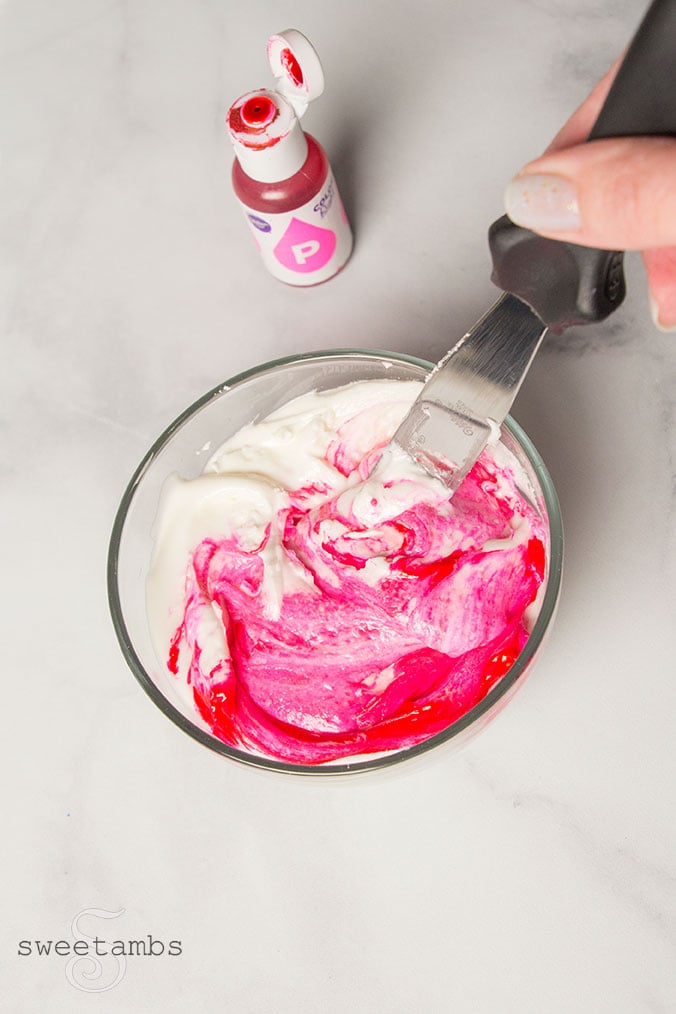
The shiny, hot pink finish on my edible cookie box was inspired by mid-century Christmas ornaments. To achieve this color I used Pink from the Wilton Color Right set and painted it with Pink Liquid Shine from TruColor.
Cookie Box Tips
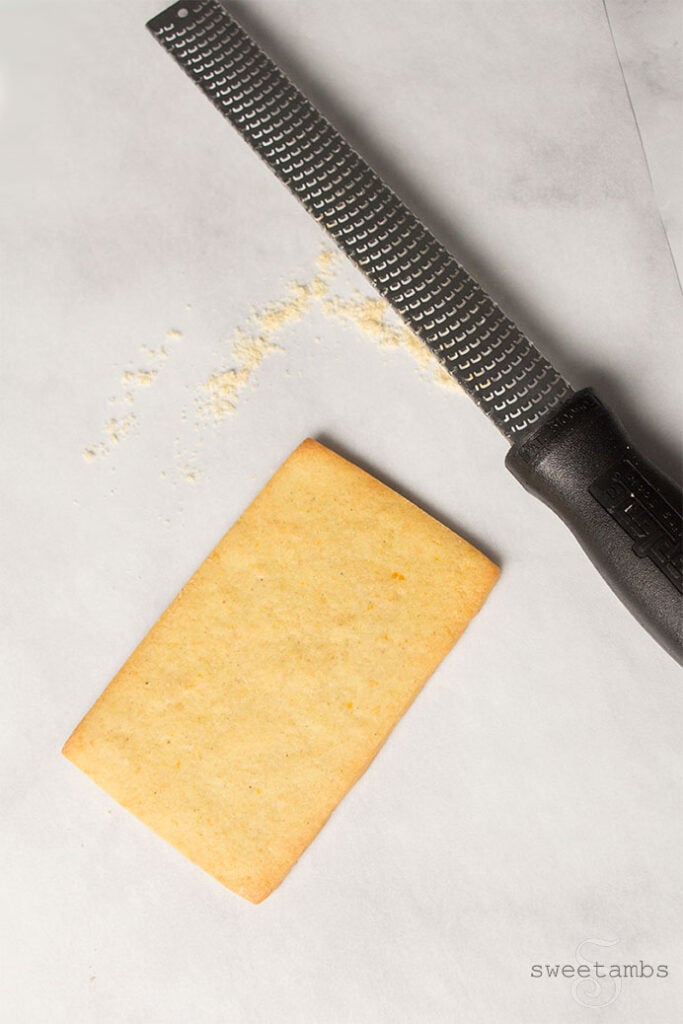
When making a cookie box, I use a microplane to sand the edges straight. My Orange Vanilla Spice Cookie Recipe makes a cookie that's sturdy enough for a box and tastes delicious (find my cookie box template further down in this post - it's the same one I used for my Valentine's Day Cookie Box).
You'll need to ice all of the box pieces with flood consistency royal icing. You can find my recipe and tips for making flood consistency icing here.
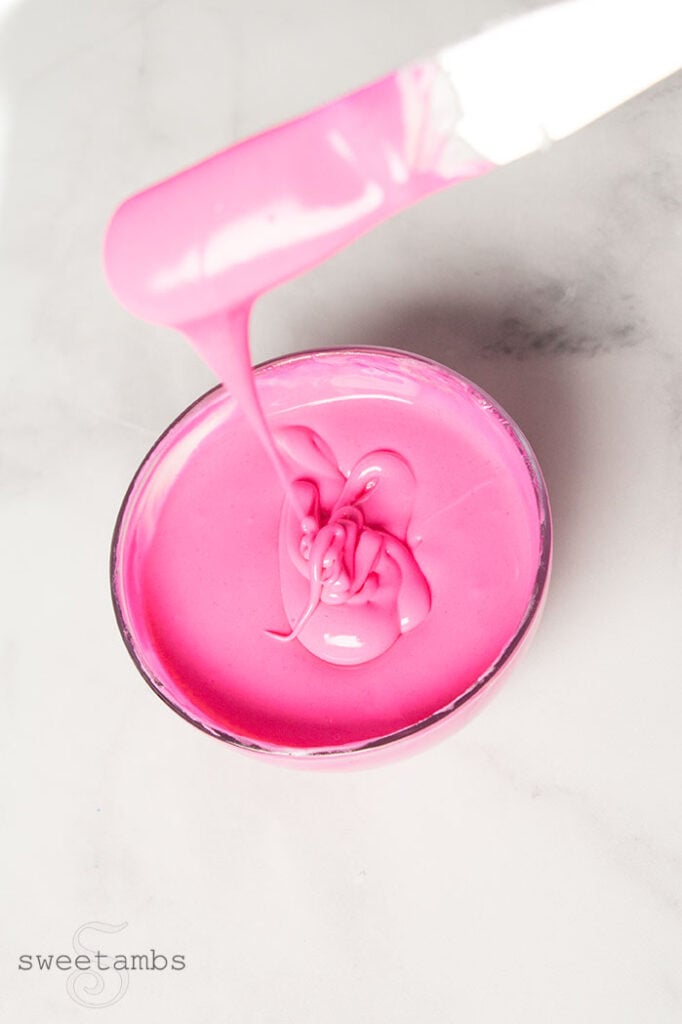
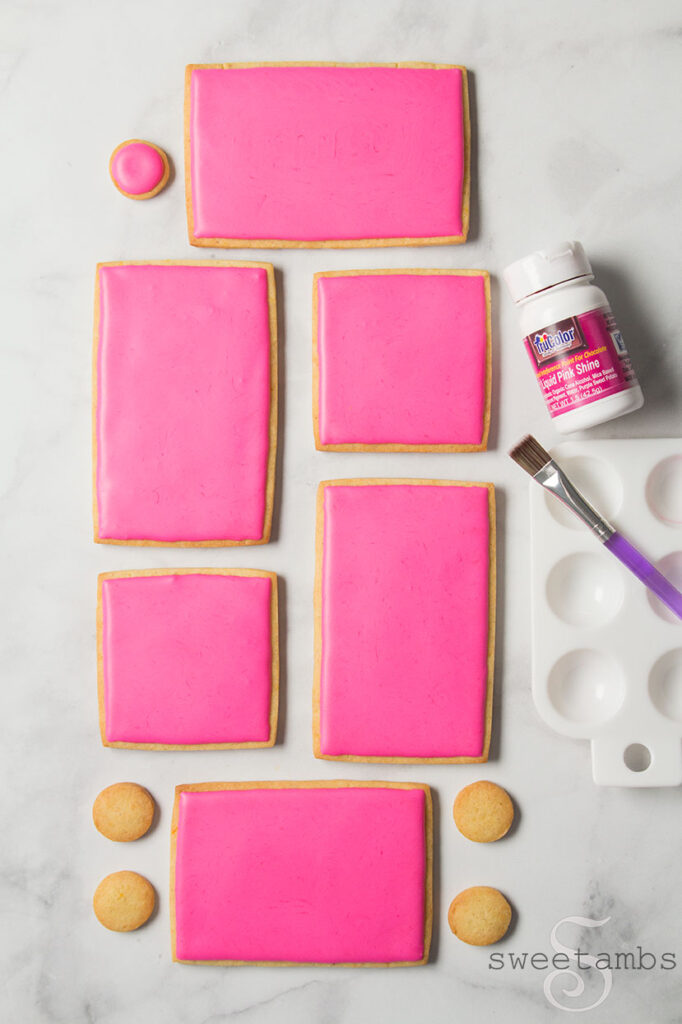
After flooding the box pieces, they'll have to dry completely. This takes around 8 hours, but I let my icing dry overnight to be on the safe side. I got carried away and iced the bottom piece, but you don't need to do that since it's hidden inside the box 🙂
When assembling your cookie box, you'll want to use icing that's slightly thinner than stiff consistency. If it's too stiff it won't stick to the cookies and if it's too thin it won't hold them together.
Right click on the template below to save it to your computer and print it out. You'll need two of each side, one lid, one bottom, and 5 small rounds (4 for the feet and one for the handle). When you print the template, the bottom piece should measure about 4-⅛" x 2-¾". You can certainly make the box bigger or smaller if you like!

--

--
Here's what you'll need to make this Edible Cookie Box for Christmas
These products can be found in my Amazon Store unless otherwise noted.
- Cookie dough (use your favorite or get my recipe in the Cookie Art Club)
- Box template (above)
- Knife to cut out the box pieces
- Flood consistency royal icing in pink
- Medium consistency royal icing in white
- Slightly-thinned stiff consistency royal icing in white
- Decorating Bags
- Bag ties
- Decorating tip 3 for flooding
- Decorating tips 1 & 2 for details
- Decorating tip 8 for assembly and bead border
- Decorator brush to remove excess icing from the seams
- Wide decorator brush to paint the box
- Two-in-one tool
- Pink Wilton Color Right food coloring
- Pink TruColor Liquid Shine
- Paint palette or small dish
Instructions
- Use my templates to cut the cookie box pieces and bake them according to the recipe.
- Once the cookies have been baked and cooled, use a microplane to straighten the edges of the cookies.
- Ice the box pieces with pink flood consistency royal icing and a decorating tip 3.
- Use a scribe tool to help shape the icing. Allow the icing to dry completely.
- Paint the icing with edible liquid shine.
- Pipe a Christmas tree with medium consistency royal icing and a decorating tip 2.
- Switch to a decorating tip 1 to pipe filigree in the corners and along the edges.
- Pipe a border with a tip 1.
- Pipe a snowflake with a tip 2.
- Add a border and filigree with a tip 1.
- Attach the handle to the lid with a small amount of icing.
- Assemble the box using slightly-thinned stiff consistency royal icing to hold the pieces together.
- Hold the pieces in place for about 15 seconds.
- Use a brush to get rid of excess icing in the seams.
- Pipe a bead border in the seams and along the top edge with slightly-thinned stiff consistency icing and a decorating tip 8. Allow the icing to dry completely.
- Flip the box over.
- Attach 4 small round cookies to the bottom of the box.
--
Visit Haniela's to learn how to make this adorable gingerbread house!

--
Thank you so much to Ink and Elm for providing the beautiful backdrops for my tutorials. Keep an eye out for our giveaway!
Pin this project for later!
--



How long does one box take?
This stunning! I do enjoy all of your colabs with Hani. Both projects are just perfect for the holidays! Thank you for sharing your talent!
Thank you so much, June! (my 4 month old daughter's middle name is June <3)