This technique of transferring a template onto a cookie with a scribe tool is something I learned about 19 years ago when I first started decorating cakes and cookies. I decided to try this technique instead of my usual edible ink marker/tissue paper method for piping lettering with royal icing because I’m moving away from using artificial colors on my cookies.
The tutorial and templates for these fall cookie designs are in the Cookie Art Club. Watch a preview below!

You can watch this members-only video tutorial (without ads!) when you join my Cookie Art Club!
Get access to exclusive cookie decorating tutorials, my cookie and royal icing recipes, and individualized cookie decorating advice by joining my Cookie Art Club!

This post contains affiliate links. Read my affiliate disclosure here.
The last few cookie designs I've done have finally made me take the plunge into purchasing a projector! I've resisted for many years and got by with my tissue paper and edible ink marker method of transferring a design onto a cookie.
I purchased this Kodak Ultra Mini Portable Projector, although Amazon says it's a frequently returned item and recommends this Kodak projector instead. I just started the mini projector today and it's worked great so far, but I will be sure to post an update if that changes! I connected it to my laptop with an HDMI cable and the template from my computer shows up nice and clear on my work surface.

You can see my low-tech way of transferring a template onto a cookie in this video. The full tutorial, recipes, and templates are available to members of the Cookie Art Club!
Here's what you'll need to make these fall cookies and piping lettering with royal icing
These supplies are available in my Amazon store unless otherwise noted. This is an Amazon affiliate link.
- Chilled sheet of cookie dough
- Plaque cookie cutters (I used Ann Clark brand)
- Royal icing
- The Sugar Art natural food coloring in Golden Ivory, Sunny, Ruby, Slate, Driftwood, and Garden Sage
- 3 decorating bags with coupler
- 1 tipless decorating bags
- Decorating tips 1, 2, and 3
- Bag ties or rubber bands
- Scribe tool
- Welcome Autumn template
- Happy Fall template
- Parchment paper
- Edible ink marker
Relevant tutorials: Royal Icing 101 and How to Pipe Royal Icing Borders (available in the Cookie Art Club)
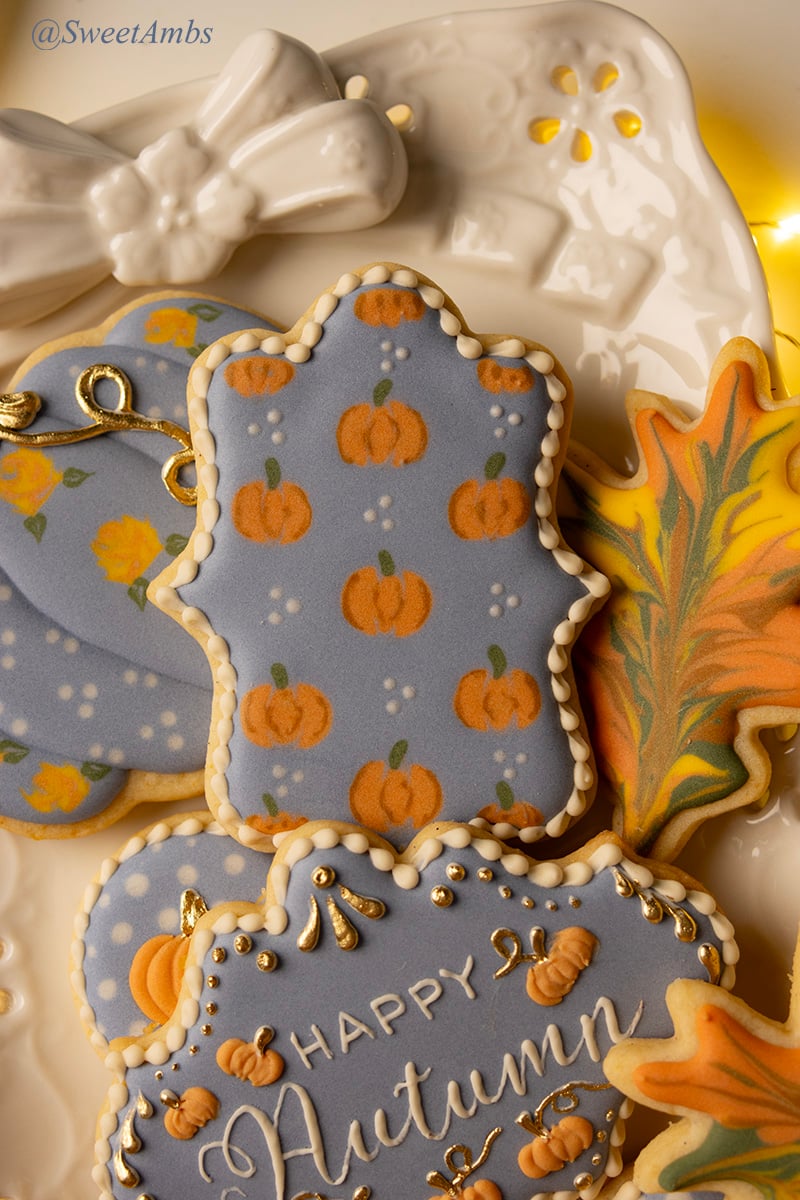
Want to make your own fall cookies decorated with royal icing? The video tutorial and recipes to recreate them are available to Cookie Art Club members and you can try it free for 7 days. If you’re already a Cookie Art Club member, you can log in here.