Wedding Cookies | Stenciling With Royal Icing
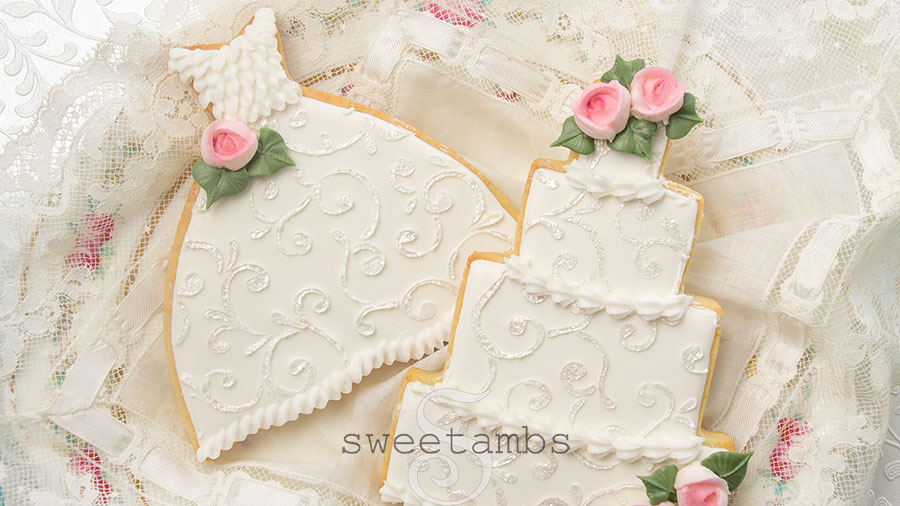

My friend Marlyn of Montreal Confections inspired me to start cutting my own stencils. Since then I’ve been experimenting with stenciling with royal icing and these wedding cookies were the first project I created with my filigree stencil.
Get the supply list and watch the video tutorial below!
Get access to exclusive cookie decorating tutorials, my cookie and royal icing recipes, and individualized cookie decorating advice by joining my Cookie Art Club!
This post contains affiliate links. Read my affiliate disclosure here.
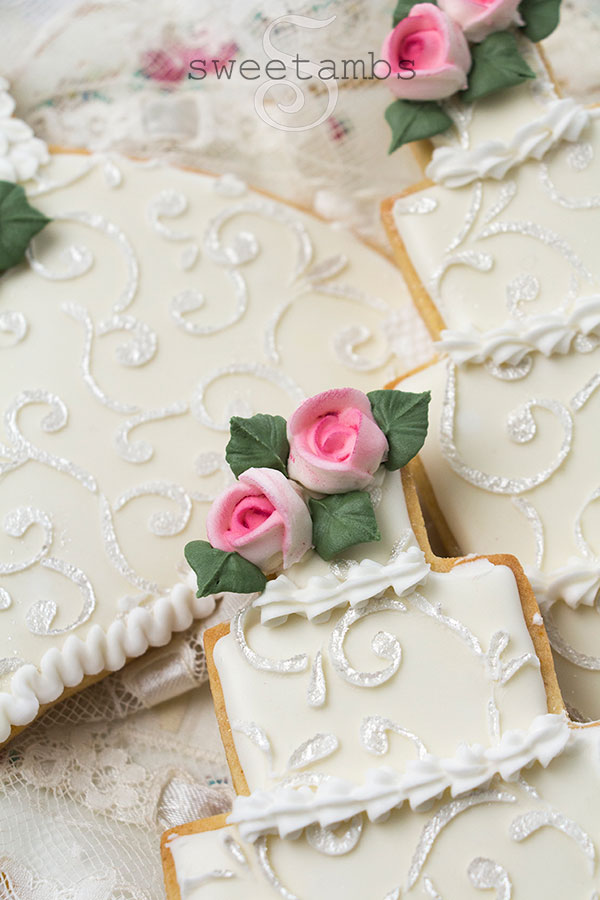
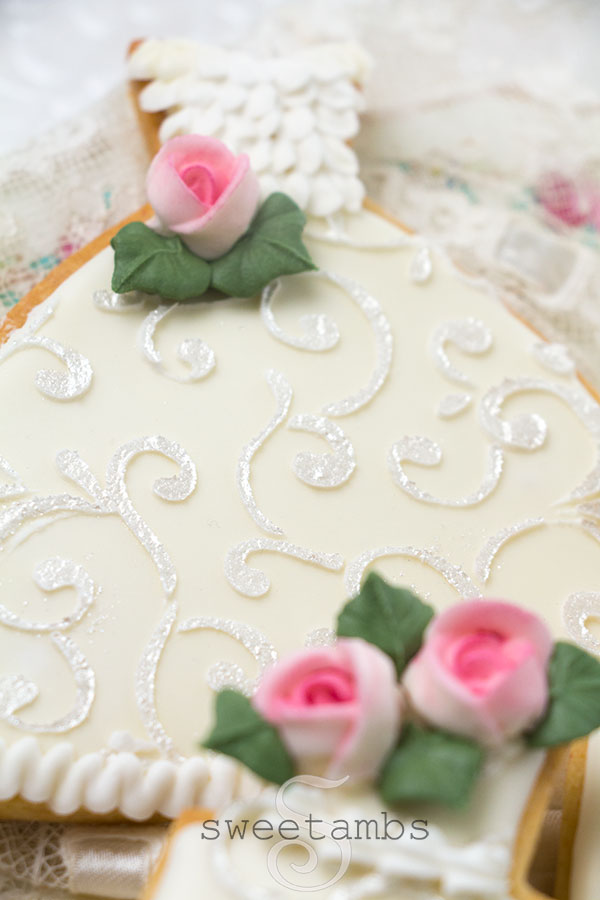
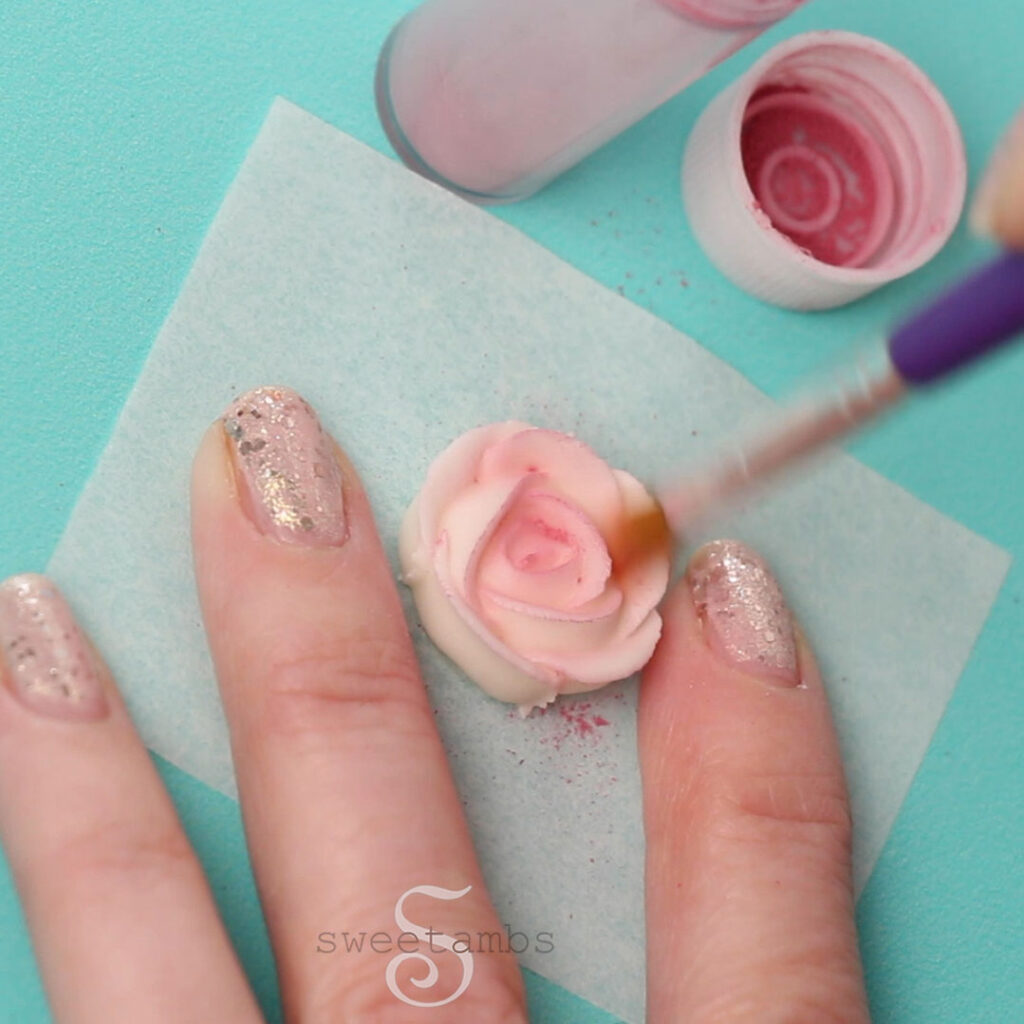
I piped some roses with royal icing and dusted them with pink matte color dust to dress up these cookies. My detailed tutorial on how to pipe royal icing roses is available in the Cookie Art Club.

Here’s what you’ll need for stenciling with royal icing to make these wedding cookies
- Chilled sheet of cookie dough
- Stiff consistency, medium consistency, and flood consistency royal icing
- Wedding cake and wedding dress cookie cutters (the original cutters are no longer available so I’ve linked to similar shapes on Etsy)
- Scribe tool
- Filigree stencil
- Silhouette Portrait or Cricut machine (if you want to cut your own stencils)
- Stencil material (You will have to trim these sheets to fit if you are using the Silhouette Portrait cutter. I trim mine to 6”.) or card stock
- Decorating tip 3 for flooding
- Decorating tip 352 for piping leaves
- Decorating tip 59s for piping ruffles
- Decorating tip 16 for piping shell borders
- Decorating tip 101
- Couplers and Bag ties
- Flower nail
- Parchment or wax paper squares
- 12″ decorating bags
- Bowl scraper or stencil spatula to spread icing on the stencil
- Chefmaster food coloring in Leaf Green and Rose Pink (combine these colors to create the green I used for the leaves)
- Pink matte color dust and white luster dust
- Decorator brushes

Instructions
Cut the cookies from a chilled sheet of cookie dough. Bake the cookies at 350˚F for 10-12 minutes. Allow the cookies to cool completely before decorating.
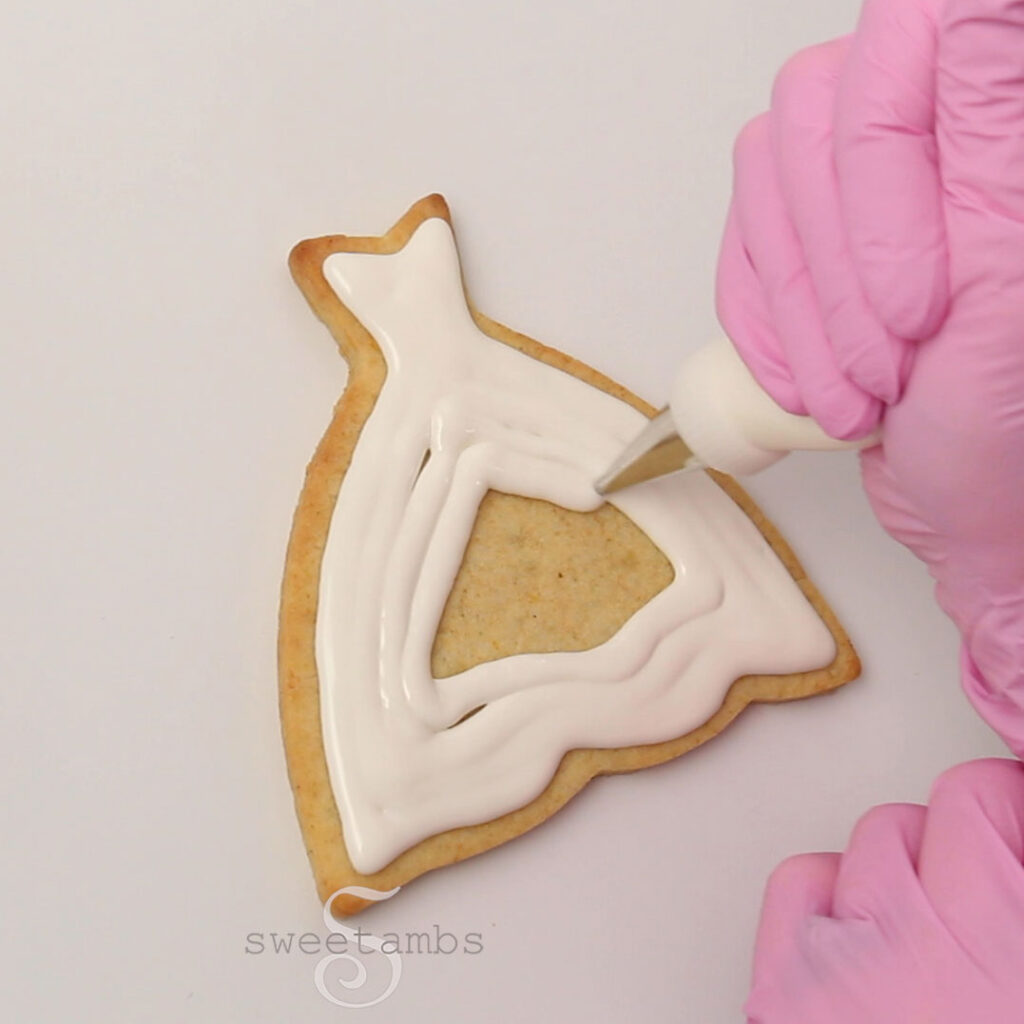
Ice the cookies with flood consistency royal icing and a decorating tip 3. Use a scribe tool to help shape the icing. Allow the cookies to dry overnight. You can move on to piping roses while the icing dries.

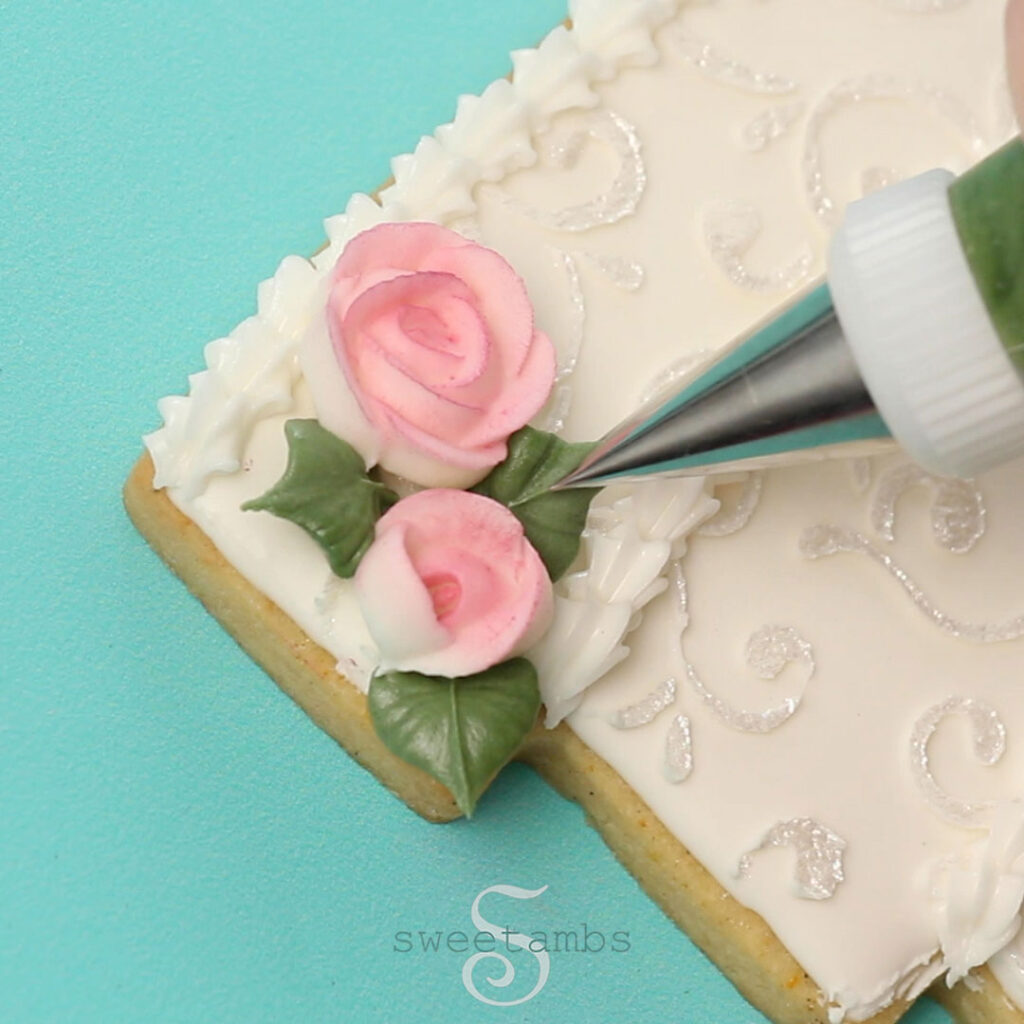
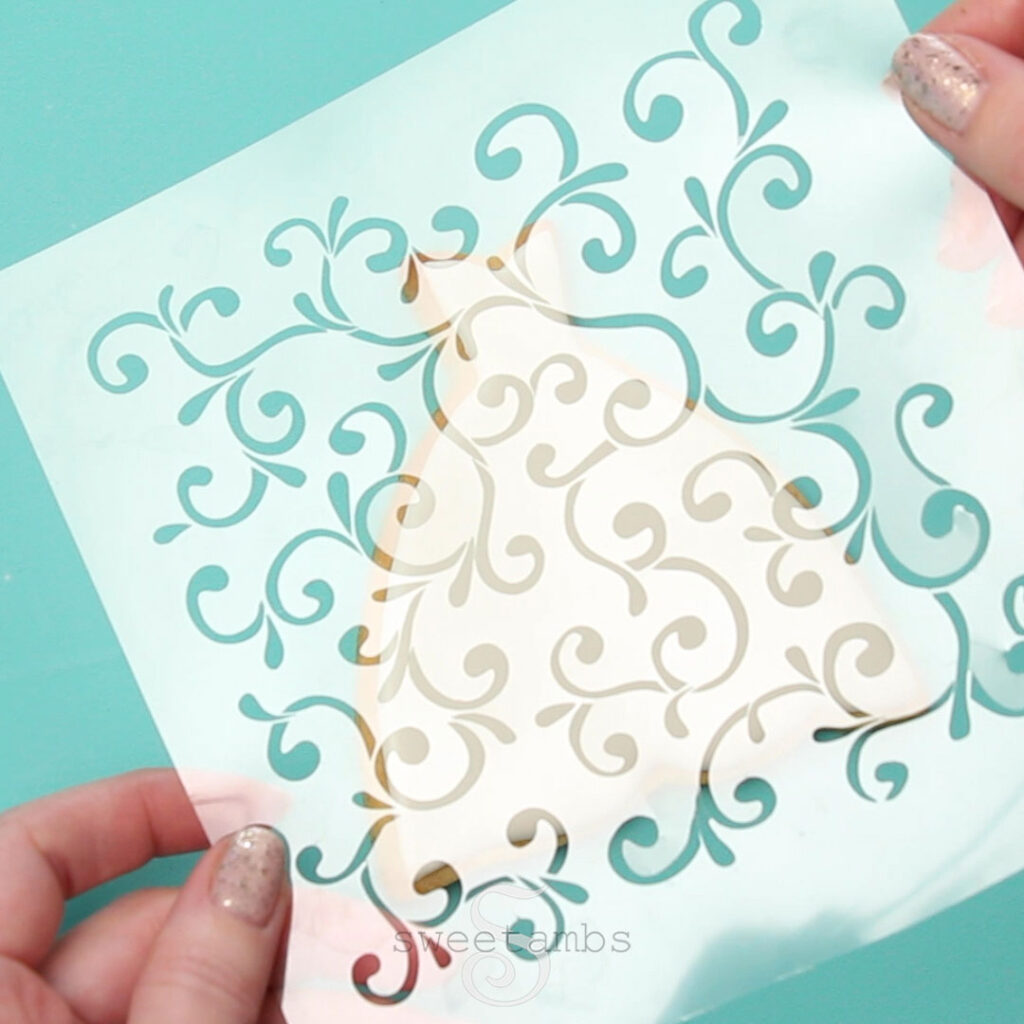
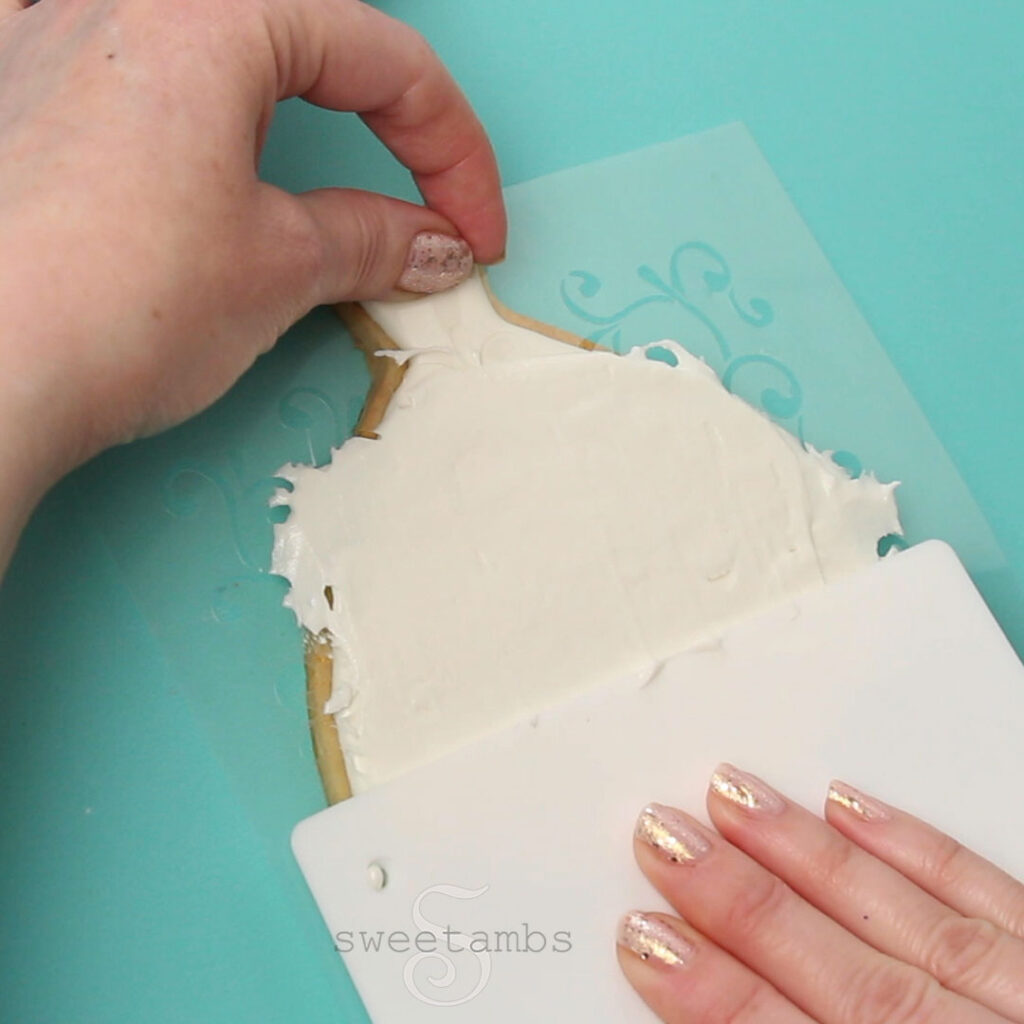
Place the stencil over the icing. Apply medium consistency icing to the edge of a thin, flexible spreader. Spread a thin layer of icing over the stencil.


Apply white pearl dust to the icing while the stencil is still in place. Remove the stencil from the cookie.
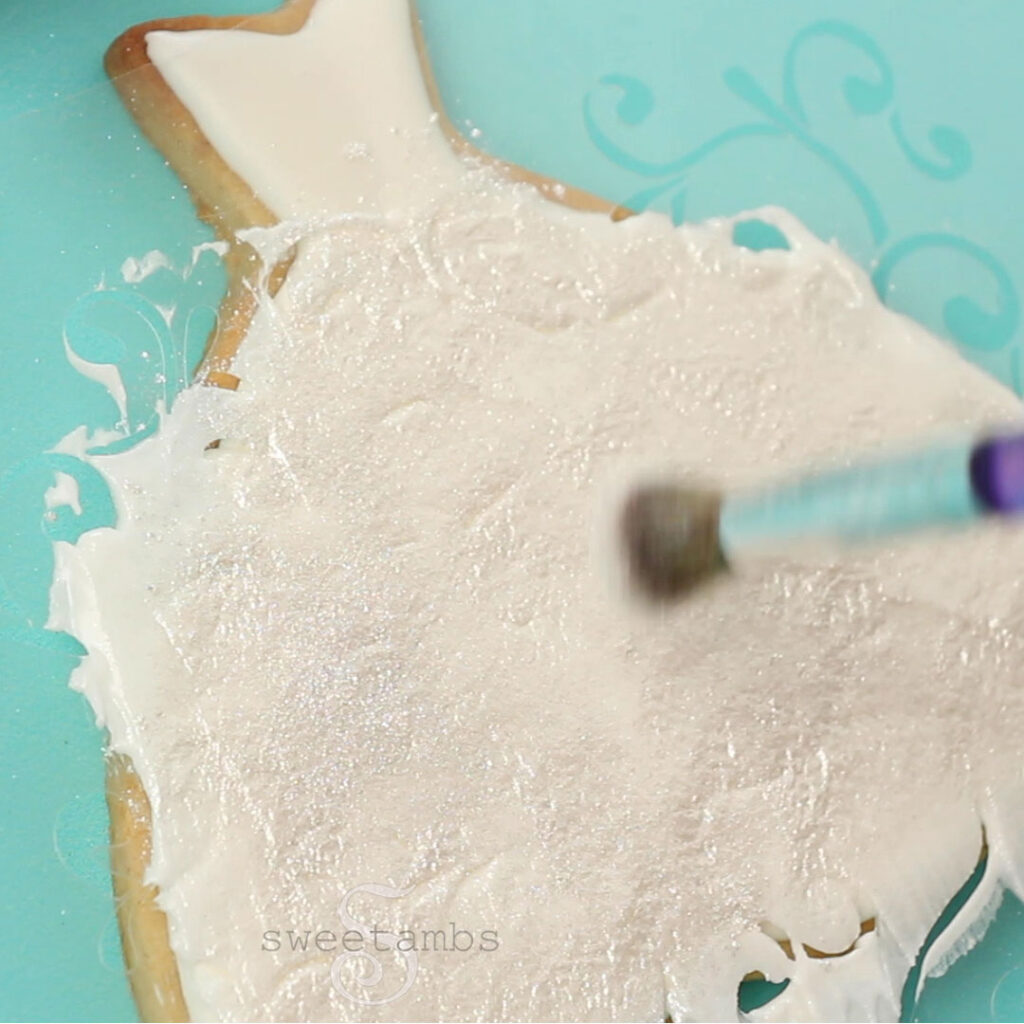

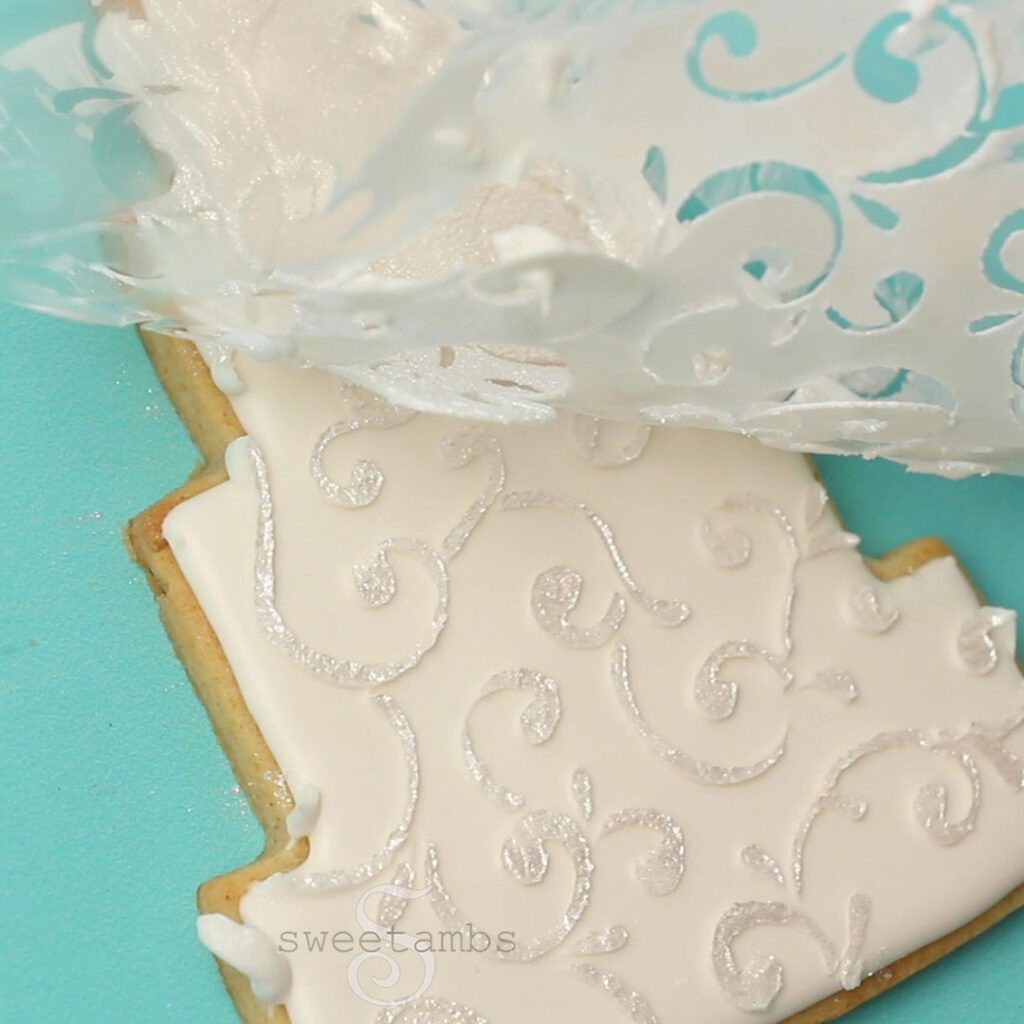

Use the scribe tool to remove any excess icing around the edges.
Repeat the process on the wedding cake cookie.
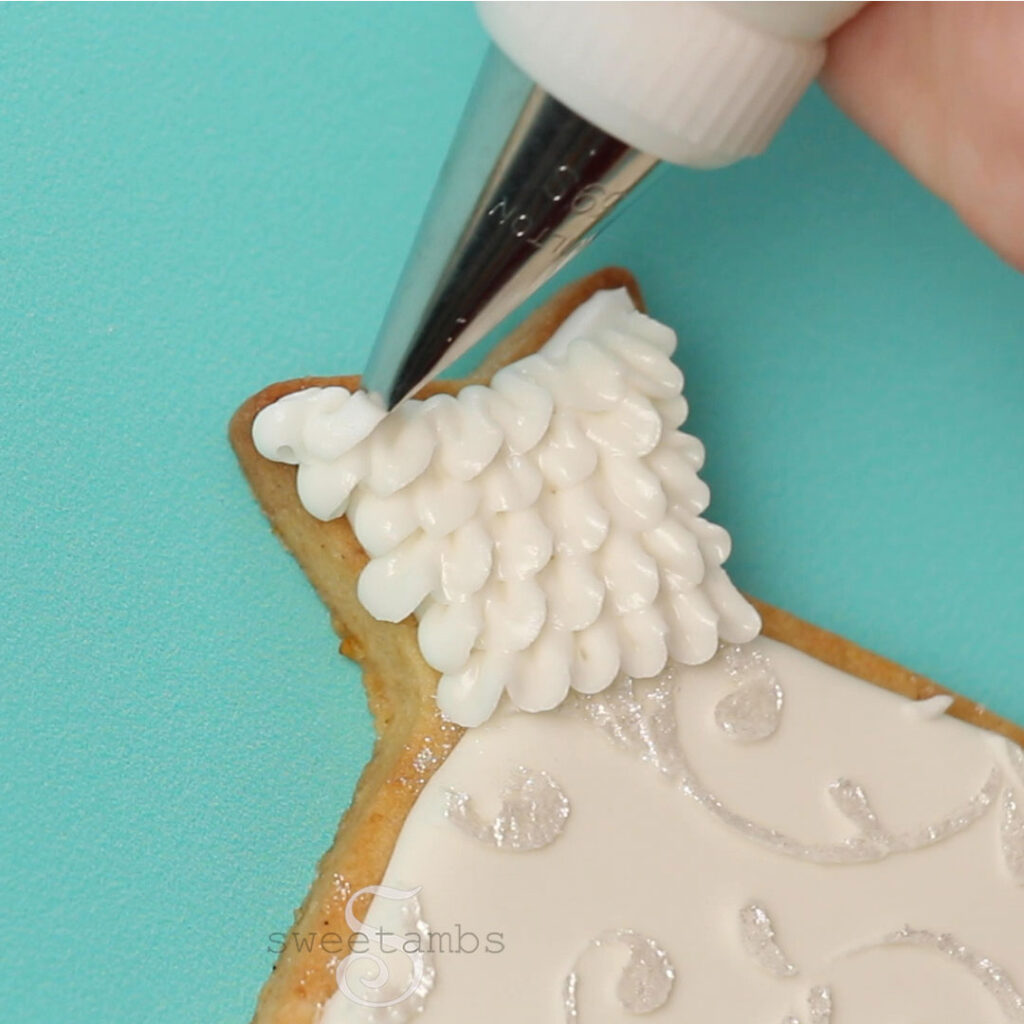
Pipe ruffles on the dress using stiff consistency royal icing and a decorating tip 59s.

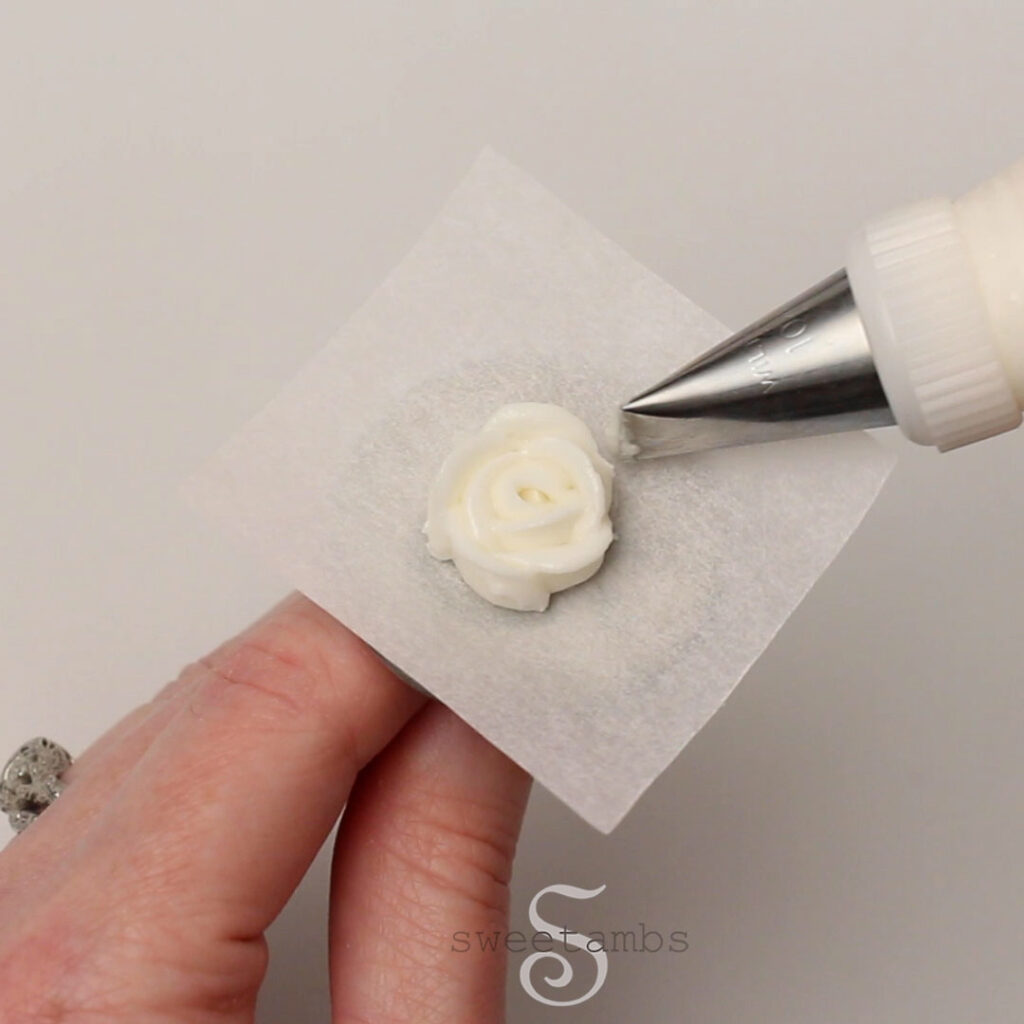
Pipe roses using the stiff consistency icing and a petal tip 101. Pipe some roses with 3 petals and some roses with 5 petals. Allow the roses to dry overnight.

Apply edible pink dust to the roses with a dry brush.

Pipe a shell border on the wedding cake cookie with stiff consistency icing and a decorating tip 16.


Attach the roses to the cookies with a little bit of icing.
Add leaves to the roses with green stiff consistency royal icing and a decorating tip 352.