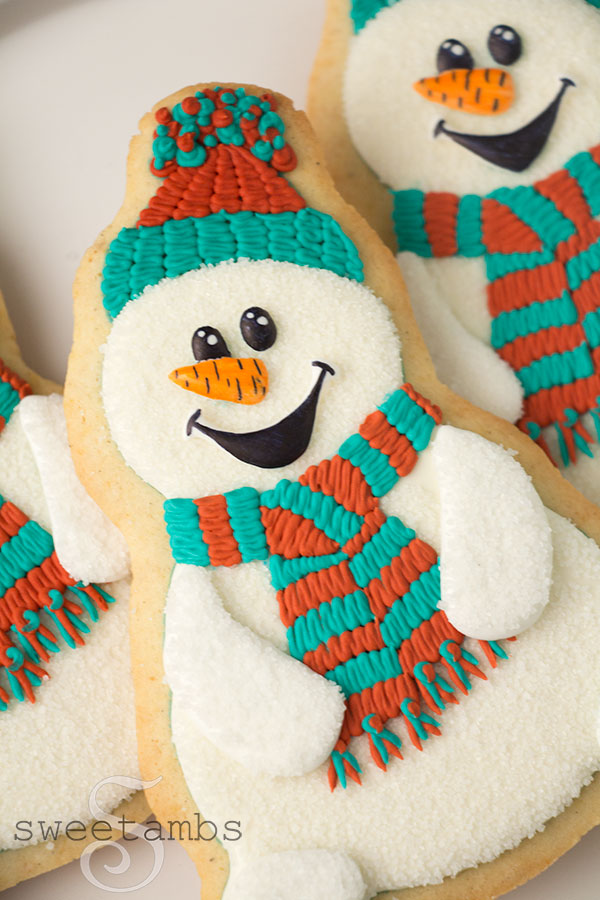
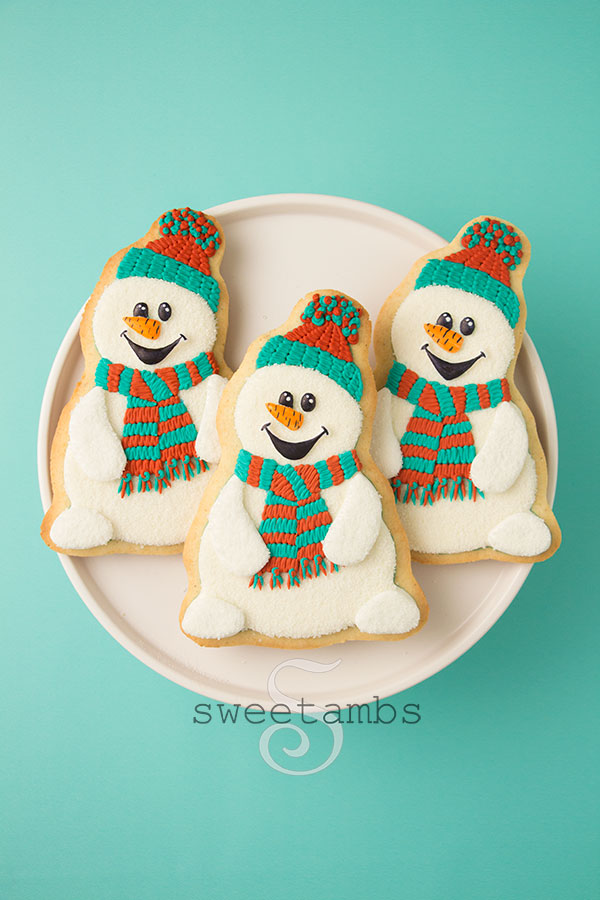
Aren't these cute?? This snowman cookie decorating tutorial is part of a collaboration with my friends Haniela and Marlyn of Montreal Confections. We each created our own version of one snowman cookie drawing using the same color palette - red, teal, orange, and black.
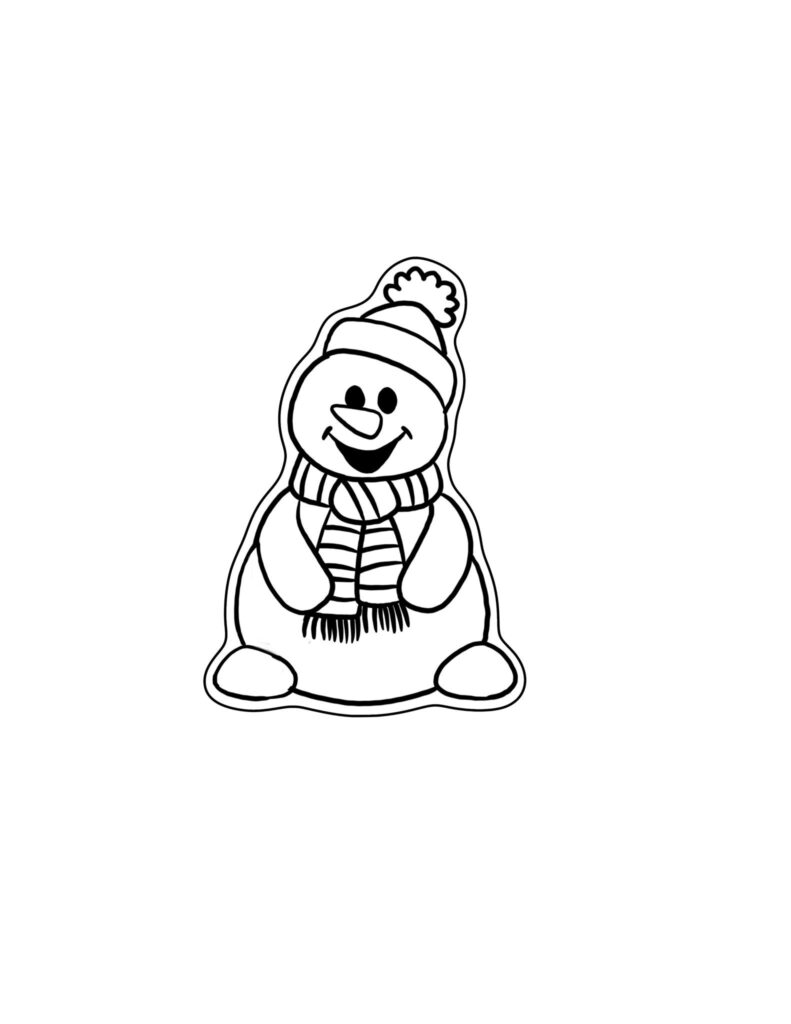
Watch the video tutorial and get the snowman template below!
Get access to exclusive cookie decorating tutorials, my cookie and royal icing recipes, and individualized cookie decorating advice by joining my Cookie Art Club!
Here's what I used for this snowman cookie decorating tutorial
These supplies are available in my shop unless otherwise noted.
- Chilled sheet of cookie dough
- Knife to cut the cookies from the dough
- Flood consistency royal icing
- Medium consistency royal icing in teal and red (see color combinations below)
- Orange, black, and blue edible ink markers
- Scribe tool
- Decorating tips 1, 2, and 3
- Couplers
- Decorating bags
- Bag ties
- Snowman template (below)
- Tissue paper (the kind you would use to wrap a gift)
- Acrylic board or other flat surface wrapped in parchment paper
- Edible adhesive (https://amzn.to/3oJaCmD)
- Granulated sugar
- Decorator brush
Color combinations (I used Chefmaster)
- Teal Green
- Red = 10 parts Tulip Red + 1 part Teal Green
Instructions
- Wrap an acrylic board with parchment paper and slide the template underneath.
- Fill in the arms and legs with white flood consistency royal icing and a decorating tip 2.
- Use a scribe tool to help shape the icing.
- Switch the tip to a number 1 to fill in the eyes, nose, and mouth.
- Allow the icing to dry completely (overnight is best).
- Use edible ink markers to color the eyes, nose, and mouth.
- Trace the template on the cookie with an edible ink marker.
- Fill in the snowman with flood consistency royal icing and a decorating tip 3.
- Allow the icing to dry completely (overnight is best).
- Trace the template on a piece of tissue paper with an edible ink marker.
- Place the template on the dry icing and trace over it again with the edible ink marker.
- Trace the hat with the edible ink marker.
- Use a decorator brush to apply edible adhesive to the icing.
- Dip the cookie in granulated sugar.
- Decorate the scarf and hat with teal and red medium consistency royal icing and a decorating tip 1.
- Carefully remove the royal icing transfers from the parchment paper.
- Paint the transfers with edible adhesive and dip them in granulated sugar.
- Attach them to the cookie with a little bit of medium consistency icing.
- Use the medium consistency icing to attach the eyes, nose, and mouth.
Right-click on the template below to save it to your computer and print it out.
Head over to Haniela's and Montreal Confections to see their versions of this snowman cookie!