
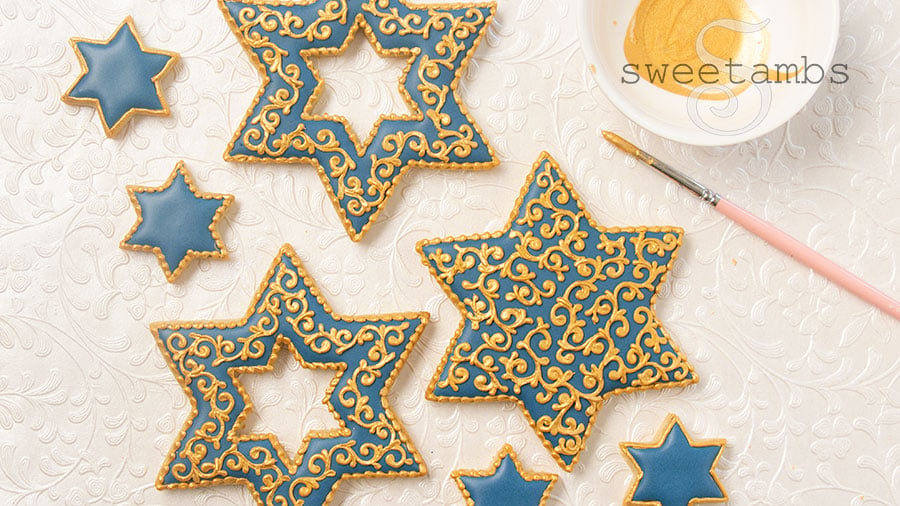
Growing up, I was lucky enough to celebrate both Christmas and Hanukkah with my family. My dad's latkes are still the best I've had! I was long overdue for a Hanukkah cookie tutorial so I'm thrilled to share these decorated cookies for Hanukkah with you.
Get access to exclusive cookie decorating tutorials, my cookie and royal icing recipes, and individualized cookie decorating advice by joining my Cookie Art Club!
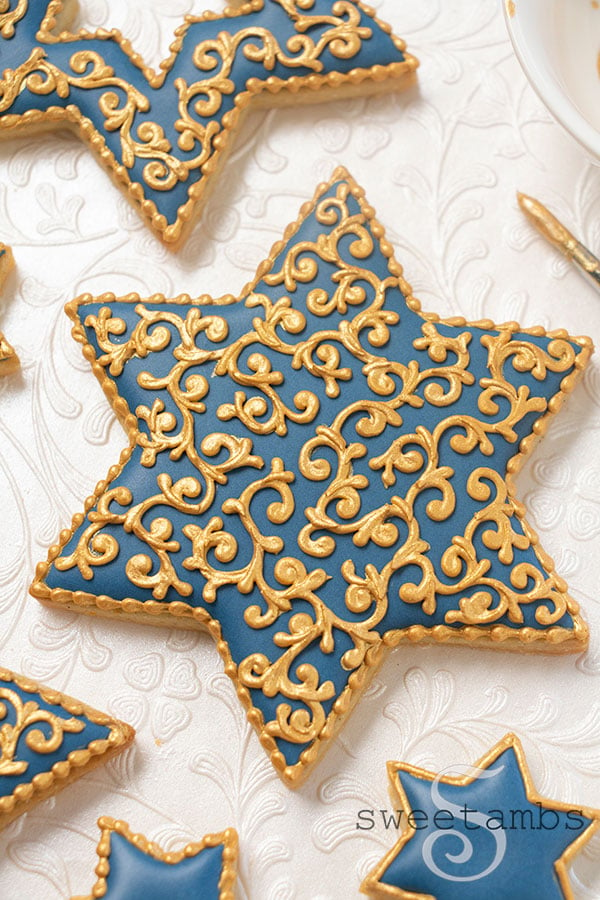
This shade of blue is a mixture of Royal Blue, Sky Blue, and a little bit of Coal Black (I used Chefmaster brand colors). I decorated my cookies with gold by using golden brown icing to pipe the filigree and then painting it with gold luster dust. You could also do silver decorations by piping the filigree in gray and then painting over it with silver luster dust.
This post contains affiliate links. Read my affiliate disclosure here.
Here's what you'll need to make these decorated cookies for Hanukkah
- Chilled sheet of cookie dough (recipe available in my Cookie Art Club)
- 3” 6 pointed star cookie cutter
- Mini 6 pointed star cookie cutter
- Flood consistency royal icing in blue
- Medium consistency royal icing in golden brown
- 2 - 12” decorating bags with couplers
- Decorating tip 1 and tip 3
- Scribe tool
- Gold luster dust (I used Glamorous Gold from Sweet Sticks)
- Decorator brush (I used this one from Sweet Sticks)
- Paint palette or small dish
- Vodka, grain alcohol, or any flavor extract for painting
Colors (I used Chefmaster)
- Blue = Royal Blue + Sky Blue + a touch of Coal Black
- Golden brown = Buckeye Brown + Lemon Yellow
Instructions
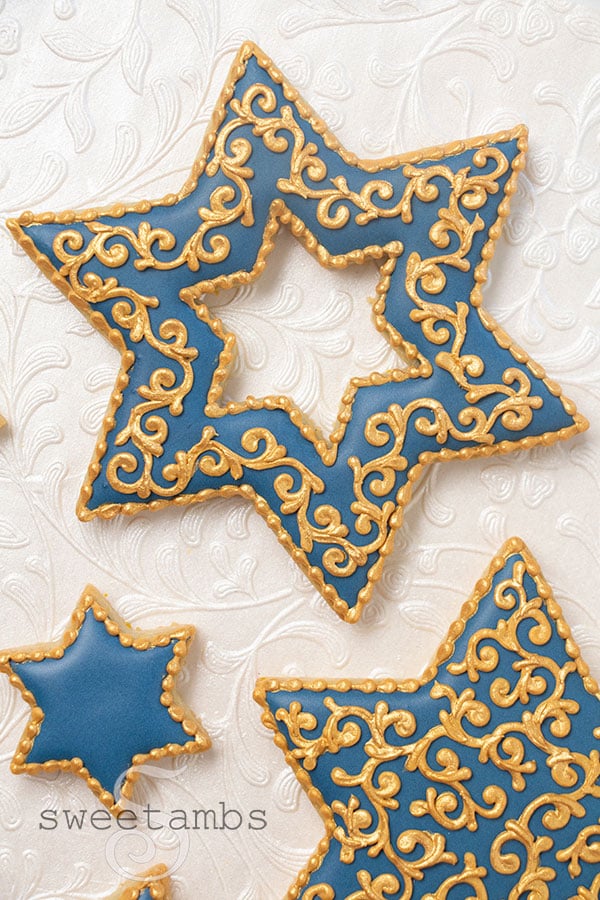
- Cut the cookies from a chilled sheet of cookie dough. Use the mini cookie cutter to cut a star out of some of the larger cookies. Bake the cookies according to the recipe instructions.
- Fit a decorating bag with a coupler and a decorating tip 3. Fill the bag with blue flood consistency royal icing.
- Flood the cookies with the blue flood consistency icing. Use the scribe tool to help shape the icing. Allow the cookies to dry overnight.
- Fit a decorating bag with a coupler and a decorating tip 1. Fill the bag with golden brown medium consistency icing.
- Pipe a filigree design on the cookies. Use the same icing to pipe a bead border around the edges. Allow the icing to dry for at least one hour.
- Mix gold luster dust with a few drops of vodka. Paint the golden brown icing with the gold paint.




Could you please tell me the ratio for gold dust and ratio. I’m having problems getting it smooth. It seems to dry too quickly. Thank you