
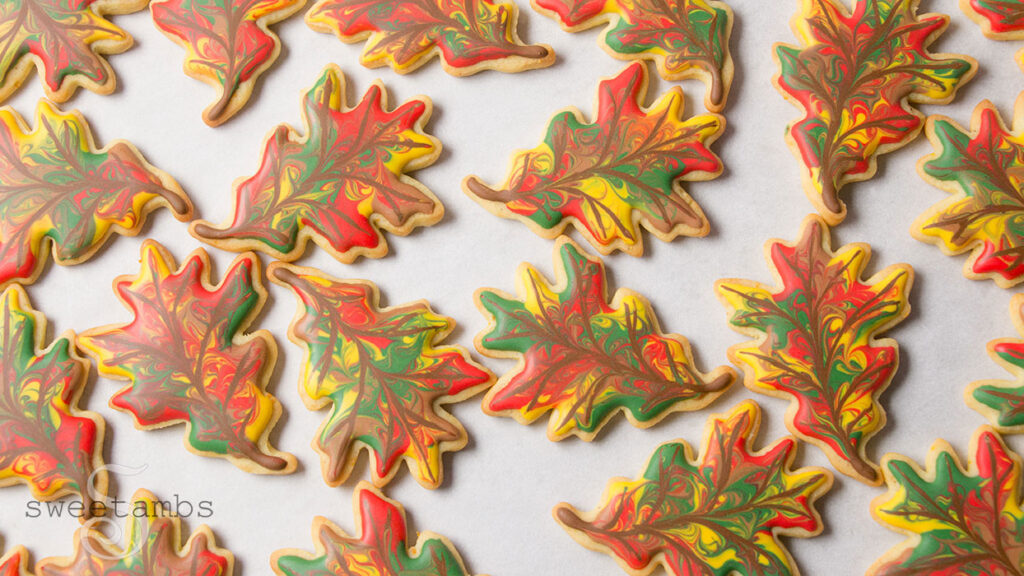
A couple of weeks ago my daughter's preschool had their annual potluck dinner. I'm not much of a cook, so I figured I'd skip the casserole and bake these marbled fall leaves cookies instead!
You can watch this members-only video tutorial (without ads!) when you join my Cookie Art Club!
Get access to exclusive cookie decorating tutorials, my cookie and royal icing recipes, and individualized cookie decorating advice by joining my Cookie Art Club!
This post contains affiliate links. Read my affiliate disclosure here.
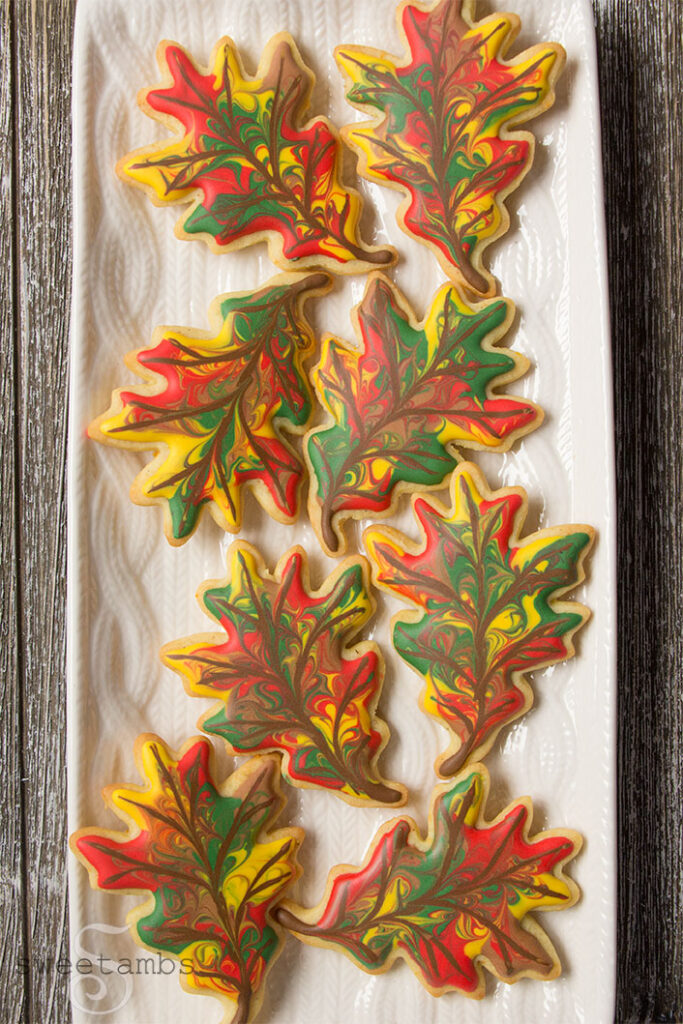
The potluck dinner was at the peak of leaf season here in New York, so these marbled fall cookies were perfect for the occasion. Even though most of the leaves have turned brown and fallen off the trees in November, I think these would be so cute on a Thanksgiving dessert table.
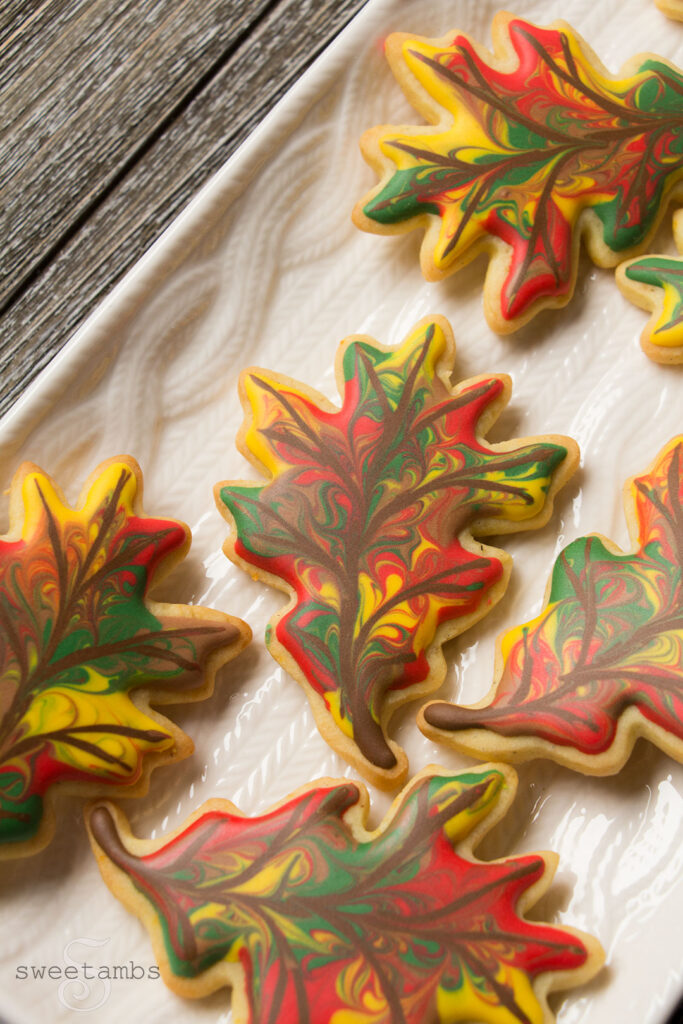
These marbled fall cookies first appeared in my book that came out in 2016 (now back in stock, by the way!), but it's taken me this long to make a video tutorial!
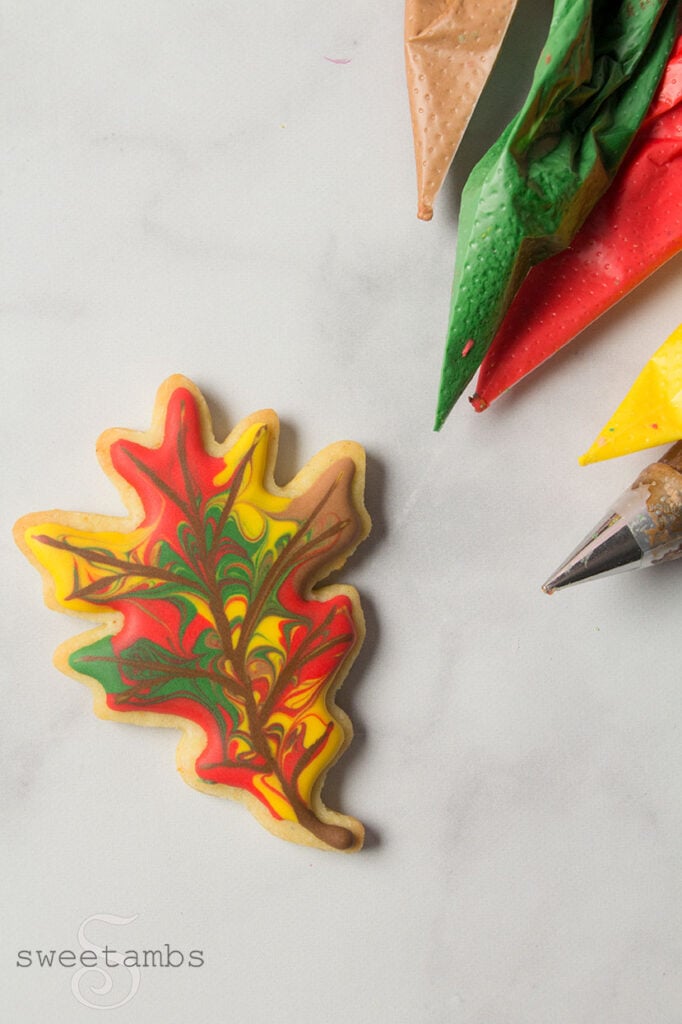
These cookies are really simple to make and you don't even need to use tips for most of the colors! As you can see in the video, I used flood consistency icing in tipless bags and just cut a small hole in the tip. I did use a tip for the veins, though, because I wanted to have more control over the thickness of the lines.
Here's what you'll need to make these Marbled Fall Leaves Cookies:
- Chilled sheet of cookie dough (recipe available in my Cookie Art Club)
- Oak Leaf Cookie Cutter
- Flood consistency royal icing in golden yellow, dark green, light brown, red, dark brown
- Tipless Decorating Bags
- Bag ties
- Decorating tip 1
- Two-in-one tool
- Chefmaster food coloring
- Golden Yellow
- Dark green = Forest Green (or Leaf a Green)+ a touch of Buckeye Brown
- Light and dark brown = Buckeye Brown
- Red Red or Super Red

As always when working with royal icing, you'll want to allow the icing to dry completely before wrapping them in cello bags or layering them on a platter. It takes 6-8 hours for the icing to dry, but I leave mine out overnight to be on the safe side. Read more about storing and packing your cookies in this post about making perfect cookies.
--
Pin these Marbled Fall Leaves Cookies for later!
This post was originally published on November 2, 2019.




These are perfect for the fall! What is a tipless bag? I need to buy disposable bags and am not sure what to get. I keep seeing pastry, decorating and piping; now tipless! Do you have any suggestions? The frosting is for cakes/ buttercream and cookies. Thank you!
Thank you, Lillian! Tipless bags are made of very thin plastic, which makes it easier to cut a round hole in the tip. When you cut a hole in conventional decorating bag, the seam tends to flatten it. I use the terms pastry/decorating/piping bags interchangeably 🙂
You can find tipless bags in my shop: https://globalbelly.com/collections/sweetambs
I love your fall cookies the leaf cookies are l beautifully decorated..
Thank you, Georgia! 🙂
How do you do the flood icing?
Hi Kathy! This post has tips on making flood consistency icing: https://www.sweetambs.com/tutorial/royalicing/