
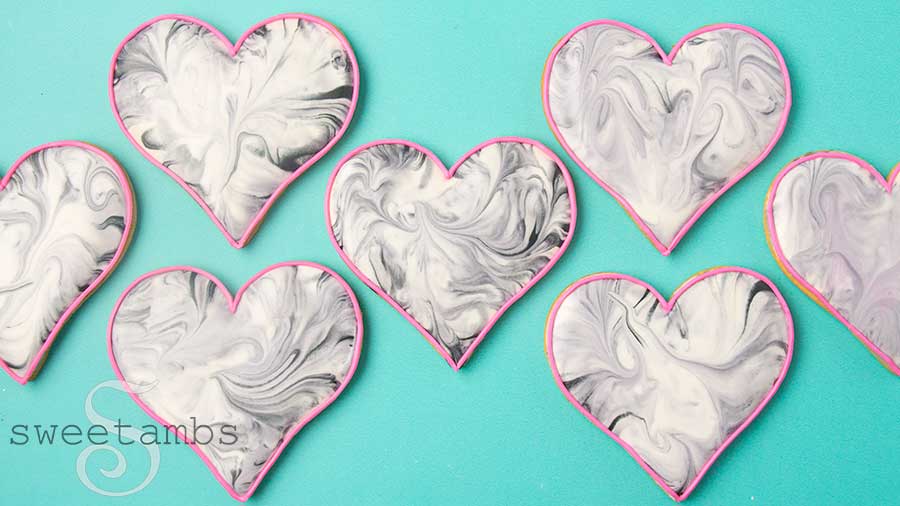
I love the look of dipped marble royal icing cookies and I can't believe it's taken me this long to make them. I've used different techniques to create similar designs in the past and each gives a different result (I love them all!).
Get access to exclusive cookie decorating tutorials, my cookie and royal icing recipes, and individualized cookie decorating advice by joining my Cookie Art Club!
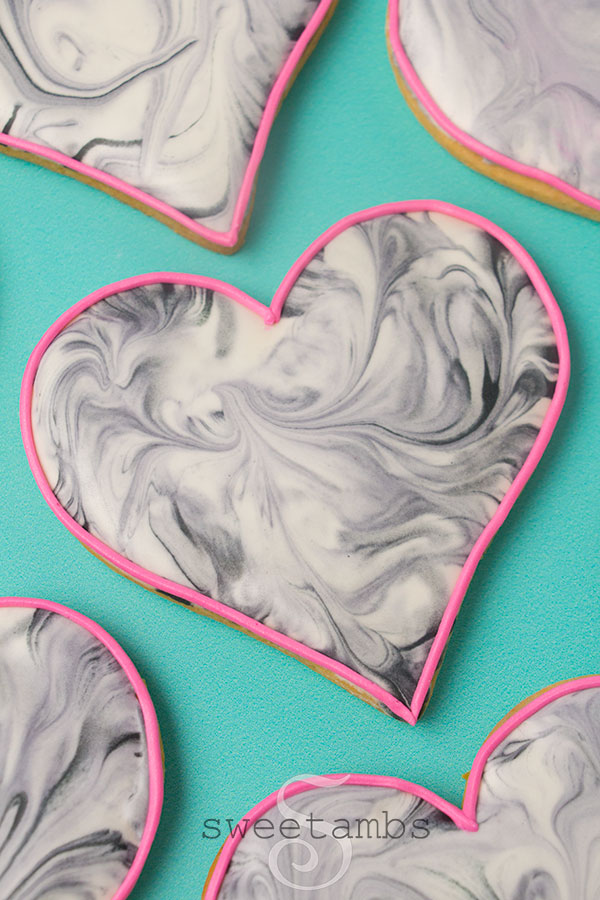
Dipping Cookies in Royal Icing
I find that dipping cookies in royal icing leads to more air bubbles than when they're flooded with a piping bag. Keep your scribe tool and toothpick handy to pop air bubbles as they arise.
The biggest challenge when making these marble royal icing cookies was keeping the contrast between the white and black icing.
The icing turns gray as you work, so you'll have to keep adding more white and black icing to your dish as you dip more cookies.
Here's what you'll need to make marble royal icing cookies
My recipes are available in the Cookie Art Club
- Chilled sheet of cookie dough
- 1 batch of royal icing
- 3.25” heart cookie cutter
- Scribe tool
- 2 tipless decorating bags
- Food coloring
- Chefmaster Coal Black
- Chefmaster Deep Pink
- Shallow dish or a plate
See my tips on how to make black royal icing.

Read my Ultimate Guide To Royal Icing to learn all about royal icing consistencies.
Instructions
- Cut the cookies from a chilled sheet of cookie dough.
- Bake the cookies at 350˚ Fahrenheit for 10-12 minutes. Allow them to cool completely before decorating.
- Sift the royal icing mix and make the icing according to the instructions on the package. The icing should hold a stiff peak.
- Set about ¼ cup of stiff consistency icing aside.
- Add a teaspoon of water at a time to the rest of the royal icing to thin it to flood consistency.
- To test the consistency, take a scoop of icing out of the bowl and drop it back in. It should take 15 to 20 seconds to be completely smooth.
- Separate 3 tablespoons of icing and add 4 to 6 drops of black food coloring.
- Fill a tipless decorating bag with the black icing.
- Tie the top of the bag to keep the icing from spilling out.
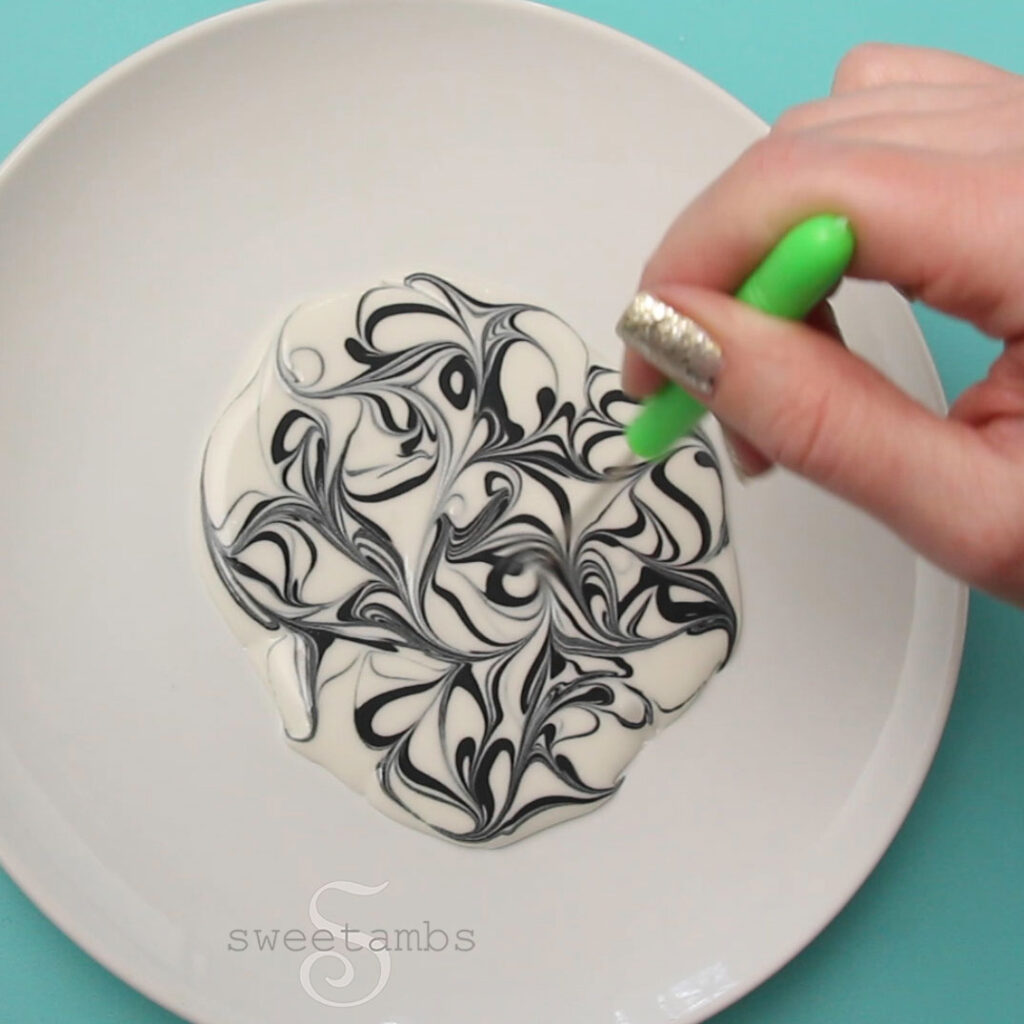
- Pour some of the white flood consistency icing onto a plate or shallow dish.
- Use a spatula to spread the icing out.
- Cut a small hole in the tipless decorating bag.
- Pipe black icing in the white icing and use the scribe tool to swirl them together.
- Place a cookie face down into the icing.
- Lift the cookie out of the icing and dip it again a few times, making sure to rotate it slightly in different directions in between each dip.
- Allow the excess icing to drip off.
- Shake the cookie and tap it on the table to help smooth the icing.
- The icing will turn gray as you dip more cookies.
- Add more white and more black icing and swirl them together with the scribe tool.
- If you see air bubbles in the icing you can use the scribe tool to remove them.
- Allow the icing to dry completely (overnight is best).
- Add a little more than ¼ teaspoon of water to ¼ cup of stiff consistency icing to thin it to medium consistency.
- The icing should hold a soft peak.
- Add 2 or 3 drops of pink food coloring.
- Fill a tipless bag with the pink icing.
- Tie the top of the bag to keep the icing from spilling out.
- Cut a small hole in the tip of the bag.
- Pipe an outline with the pink icing.
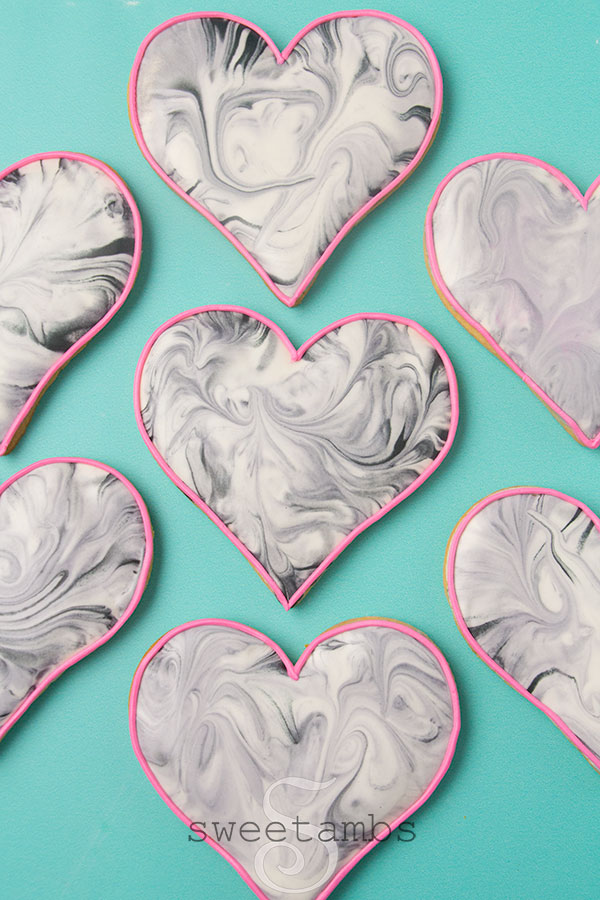
Have you tried dipping cookies in royal icing? Do you like it better than flooding with a piping bag? Let me know in the comments!



