
A few months ago, I was invited to participate in a project with some of my 
--
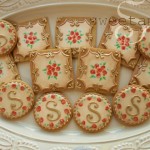
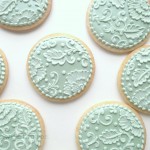
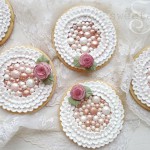
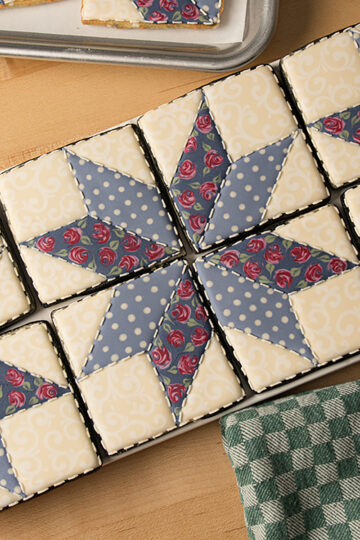
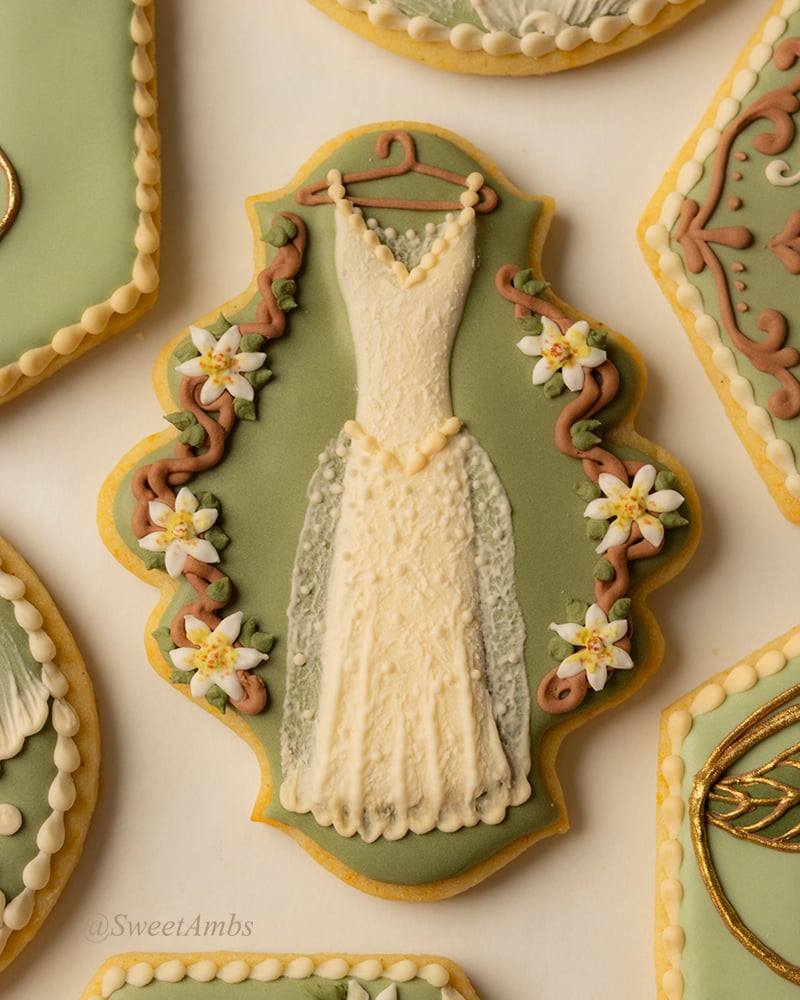
I really love the look of this edible lace. You can get the tiniest details out of the Confectionery Mats (available 
--
On the first try, the product and I did not get along very well. The lace wasn't setting up and it was sticking to the mat, or becoming too dry and crumbling as I tried to remove it. But, after reading through the troubleshooting tips on the SugarVeil® website, I had a much better time. If you're using it for the first time and it doesn't work out, just keep at it. Once I got the hang of it, peeling the mat away from the lace was one of those oddly satisfying experiences. I loved using this stuff! By the way, when they say to peel the mat away from the lace and not to peel the lace away from the mat, they mean it!

--
SugarVeil® doesn't have a strong taste. It's sweet, but not as sweet as royal icing. The texture is sort of like gummy candy, and it dissolves right away when you bite into it.
--
I shipped some of these to my grandma and she said that some of the decorations that were sitting on top of the cookies had some damage. While you can store the lace so that it stays flexible, it will become brittle if it dries out. So, keep that in mind if you're going to be shipping cookies that have SugarVeil® decorations on them.
--
If you'll be painting your decorations with gold like I did here, be careful to not let the lace sit in the same spot for too long, or else it will stick to your work surface and break apart if you try to pick it up. As soon as you're finished painting, carefully move the piece to a clean piece of parchment or wax paper to dry for a couple of minutes before you place it onto the cookie.

--
-Here's what you'll need for this project:
- SugarVeil® Confectionery Icing (it's a powder that you mix with water to make the icing)
- SugarVeil® Mats - I used brooches, mesh (this one has a really cool snakeskin pattern), lace, and dot veil mats.
- SugarVeil® Confectioner's Spreader
- 3" round cookies (my Orange Vanilla Spice cookie recipe is available in the tutorial shop)
- Flood consistency royal icing (I used Wilton Aster Mauve for the pink color)
- Round brush
- Small dish of water
- Gold pearl dust
- Paint palette or small dish
- Alcohol or flavored extract (read this post to find out why I use alcohol for painting with gold pearl dust)

Instructions on package, not clear. Do I boil water or not?
Hi Joanna! SugarVeil's website has detailed instructions on how to use their product: https://www.sugarveil.com
Estoy sorprendido de encontrar blogs donde hay informacion tan practica como esta. Gracias por facilitar este post.
Saludos
Been trying to use this product very unhappy. Crumbling and falling apart help
Hi Susan! There are lots of tips on SugarVeil's website: https://sugarveil.com/instructionlanding
Since you're having trouble with crumbling, I'd start with the section on working in dry conditions.
Hi Amber,
I'm glad to hear that you had some problems in the beginning as well! I just started decorating with Sugarveil last night and my first batch completely crumbled 🙁 But I tried again and didn't bake them in the oven as long and they actually turned out! I was so excited 🙂
I'll keep practicing as I love the designs and intricate lines you can get from these mats. Yours look beautiful as always, of course!
Thanks, Kelly! It definitely gets easier with practice.
Me gusta la repostería e tomado algunos cursos en el politecnico de guanajuato y e aprendido mucho con tus vídeos me as enseñado muchas técnicas te lo agradezco que nos motives a realizar todas esas lindas galletas porque son pequeñas obras de arte .
Wonderfull, Amazing, Splendid.... I love it so much
Thank you!
adorable
that was amazing! that's the thing I always wanted to do... more tutorials please...
Thank you!
Your creations aré simply, expectaculars! I love cook, and I would like to see the sugar veil's tutorial and your tips. Excuse me, My english is not very well
no sepan Ingles
Baking and cooking is really my passion,but as of now i reAlly don't have time to practice,the only thing that i can do now is to watch videos and look at all the nice pics about cooking and baking.doing so makes me not forget what i really love doing.thanks for posting your creations, i willmake sure to find time to bake and cook again....
Yes, I was excited when I saw you post another tutorial! lol I waited for the sugar veil collaboration (Haniela mentioned it to me). I meant to ask you but forgot to ask. I have been wanting to try this but was leery of going forth... I wasn't sure I'd be able to achieve a nice design because I feel I don't do well with royal icing. (I am very dissatisfied with my results.) Anyway, back to sugar veil... I've only seen large mats. I was delighted to see you had a small mat. When I looked at the sugar veil site I didn't see small mats. I'm still contemplating on whether or not to give it a try. Thanks for sharing the tutorial and your tips...
Hi Dona! The brooches mat is the smallest one that I've seen (that's the square one that I used in this tutorial). The rest of them are pretty big! I think it's because these products were originally meant for use on cakes. The good thing is that you can make an entire sheet of the SugarVeil lace using one of the larger mats, but you don't have to use it all at once. You can store the extra lace between sheets of parchment paper, wrap it in plastic, keep it in a cool and dry place, and then use it later when you're ready to decorate more cookies.
It did take me a few tries to get it right, but I really enjoyed using it once I got the hang of it. You just have to make sure that it is completely set before you try to remove it from the mat. Hani did a great job of explaining that part in her video. Let me know if you try it!