
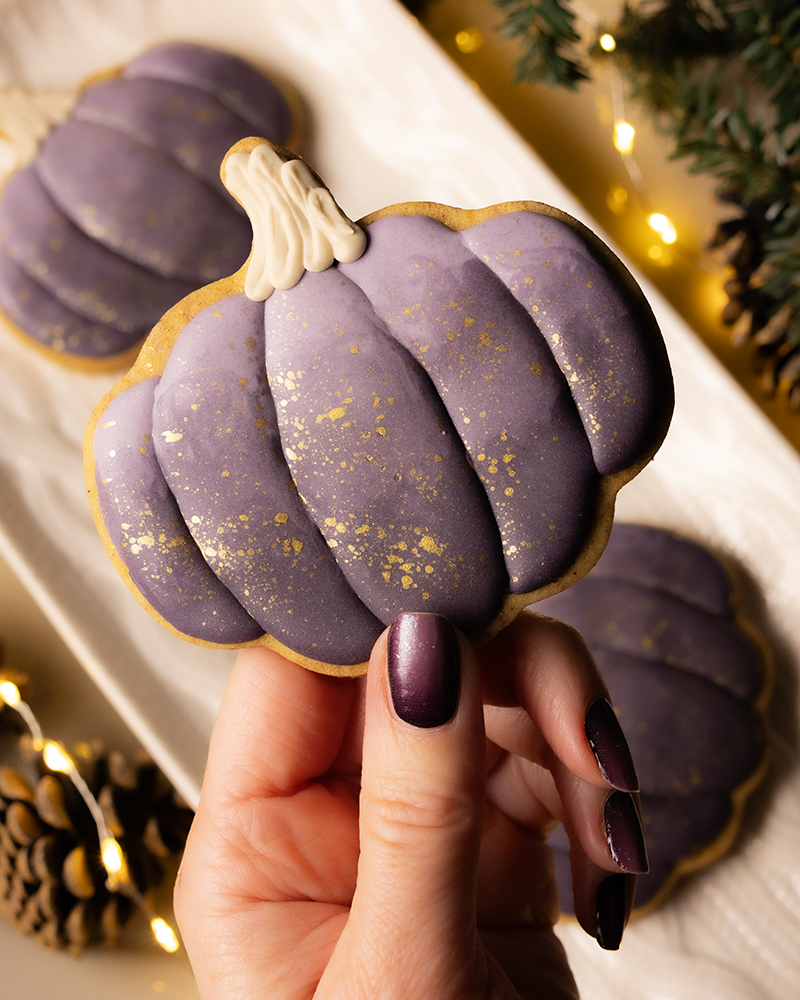
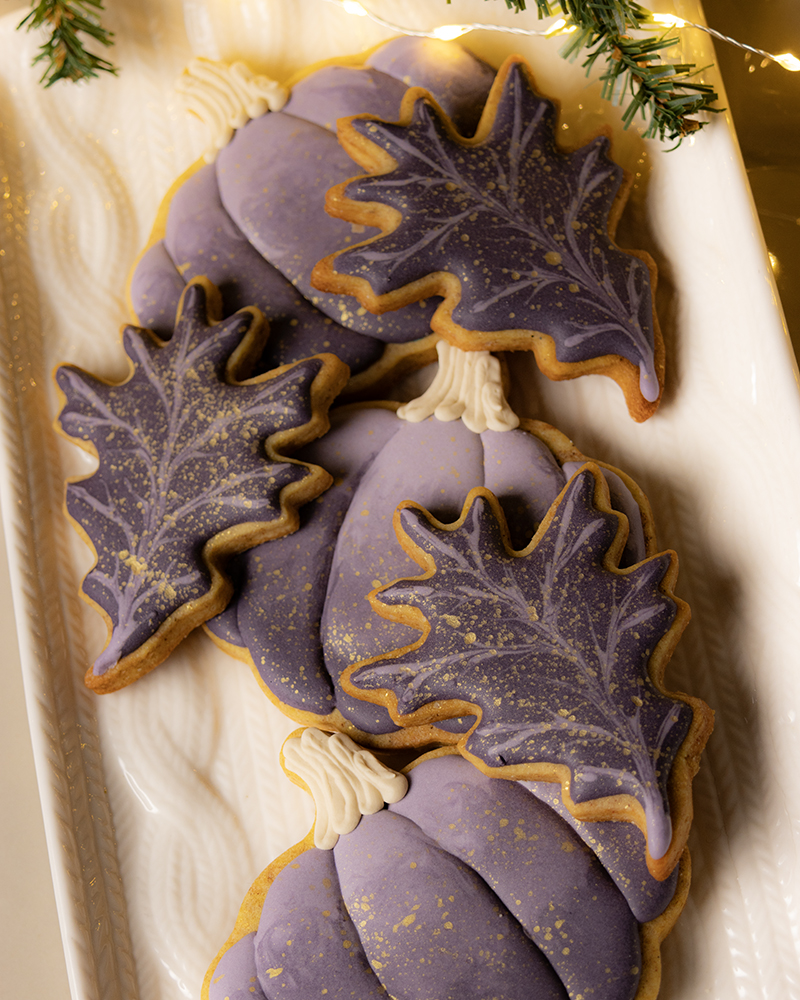
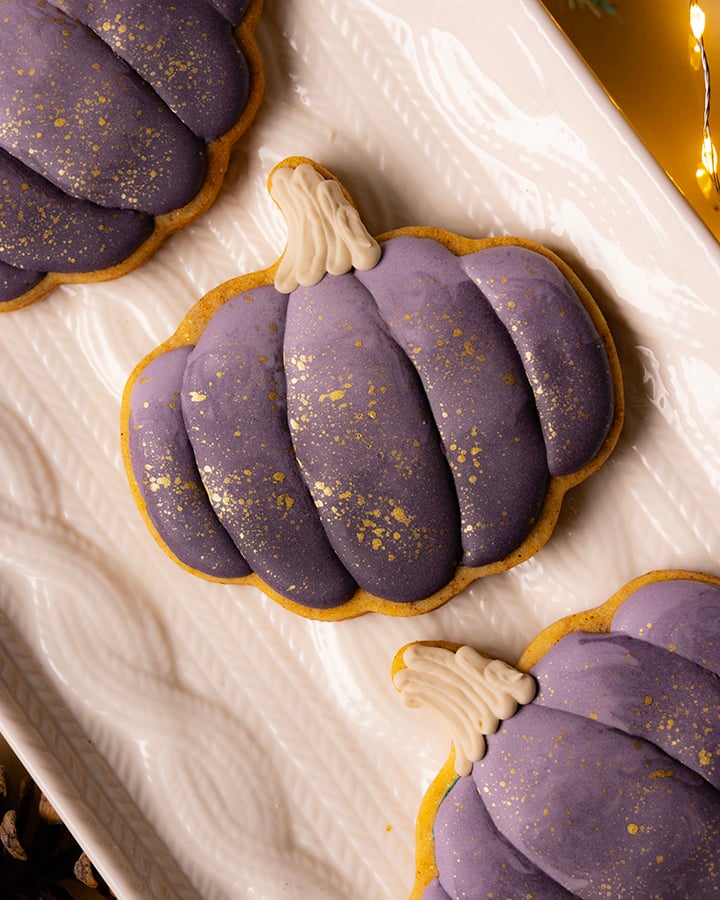
I'm obsessed with this deep shade of plum this season! I made a set of beautiful decorated pumpkin cookies for fall using this gorgeous shade of royal icing.
In this tutorial in the Cookie Art Club, I'll show you how to decorate these pumpkin and leaf cookies. I'll also walk you through my process of how I made this deep plum shade of royal icing and I'll talk a little bit about using tipless decorating bags versus using decorating tips.
You can watch this members-only video tutorial (without ads!) when you join my Cookie Art Club!
Get access to exclusive cookie decorating tutorials, my cookie and royal icing recipes, and individualized cookie decorating advice by joining my Cookie Art Club!
This post contains affiliate links. Read my affiliate disclosure here.
Here's what you'll need to make these beautiful decorated pumpkin cookies for fall
These supplies are available in my Amazon store
- Chilled sheet of cookie dough (I used my gingerbread and orange cardamom recipes swirled together)
- Pumpkin cookie cutter (I used this shape from Amazon)
- Leaf cookie cutter (I used this shape from NY Cake)
- Royal icing (make it from scratch using my recipe or use royal icing mix - I used Satin Ice brand for this project)
- Pink, Blue, and Yellow food coloring (I used Satin Ice brand)
- 4 tipless decorating bags
- Scribe tool
- Edible ink marker
- Luster brush or luster paint and a stiff bristle brush (I used the new Luster Brush from Satin Ice)
- Flat decorator brush (I used Chua Cookie brand)
Relevant tutorials: Royal Icing 101 (available in the Cookie Art Club!)
Want to make these cookies yourself? The video tutorial and recipes to recreate it are available to Cookie Art Club members and you can try it free for 7 days.
Let me know if you make them and share your photos with me in the Cookie Art Club!



