
I first used this low-tech tissue paper method to transfer a design onto a cookie when I created these New York City skyline cookies. I still don't own a cake projector, so I used this method again for this Art Deco cookie decorating tutorial!
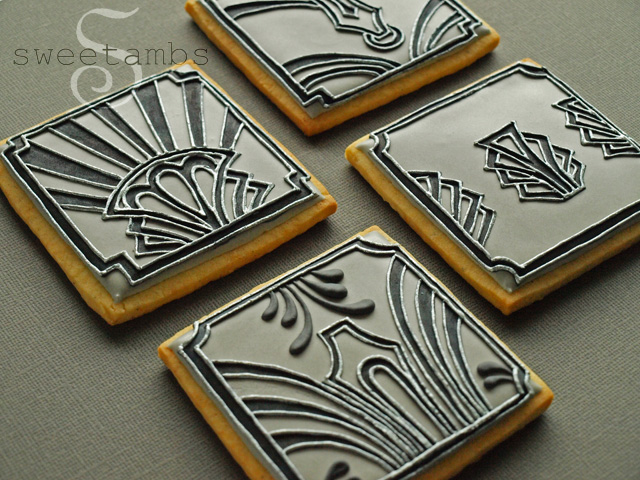
Here's what you'll need for this art deco cookie tutorial
These supplies are available in my Amazon Store unless otherwise noted.
- 3x3" square cookies (get my recipe in the tutorial shop)
- Flood consistency royal icing in gray
- Medium consistency royal icing in black
- Black food coloring
- Scribe tool
- Decorating bags
- Decorating tips 1 and 3
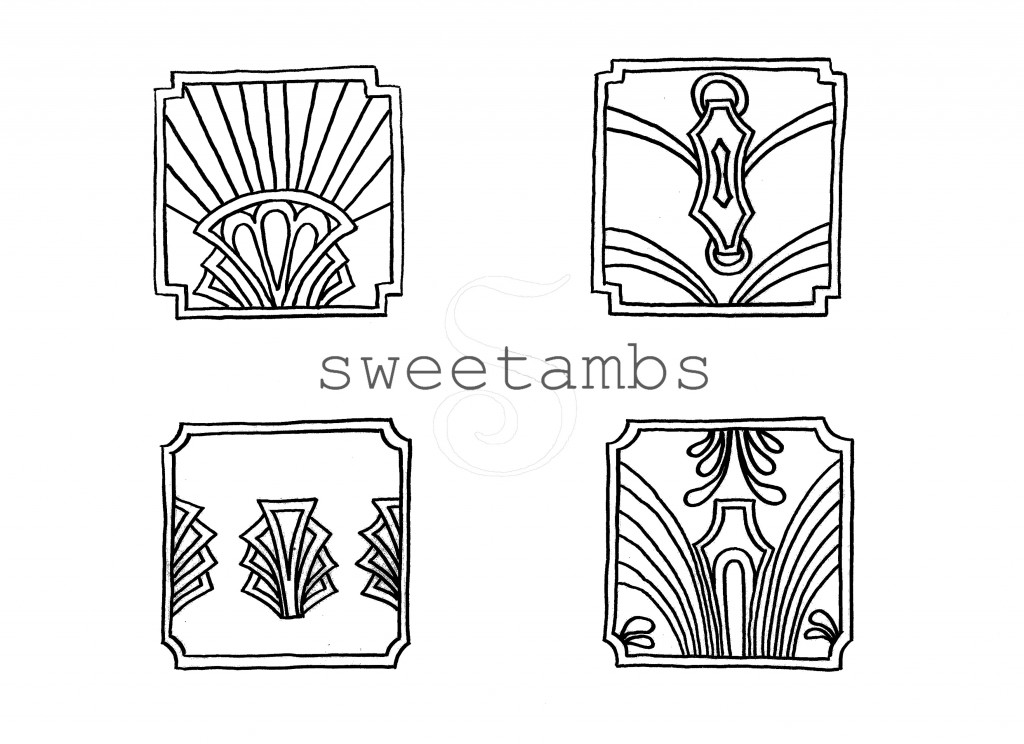
- Template (below)
- Tissue paper
- Edible ink marker
- Silver pearl dust
- Thin artist brush
- Strong vodka or grain alcohol for painting (read this post to learn more about painting with pearl or luster dust on royal icing)
- Small dish or paint palette for mixing pearl dust and vodka
Instructions
Step 1
Ice the square cookies in gray flood consistency royal icing and a decorating tip 3. Use the scribe tool to help shape the icing. Allow the icing to dry completely (overnight is best).
See my Ultimate Guide To Royal Icing to learn all about icing consistencies.
Step 2
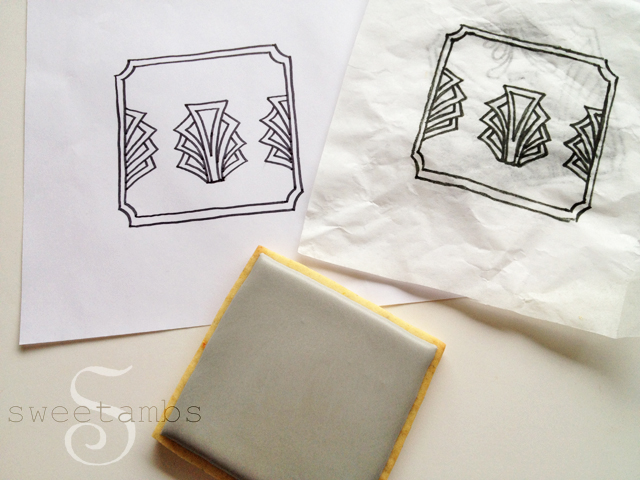
Trace the template onto a piece of tissue paper using an edible ink marker. Right click on the template to save it to your computer and print it out.
Step 3
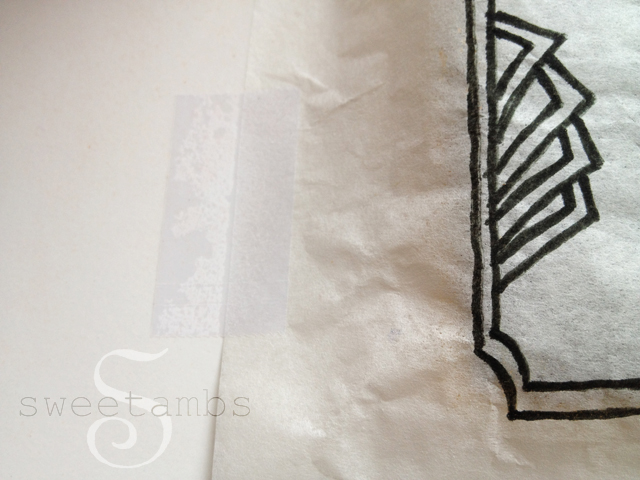
Place the tissue paper over the cookie and tape the paper to the work surface.
Step 4
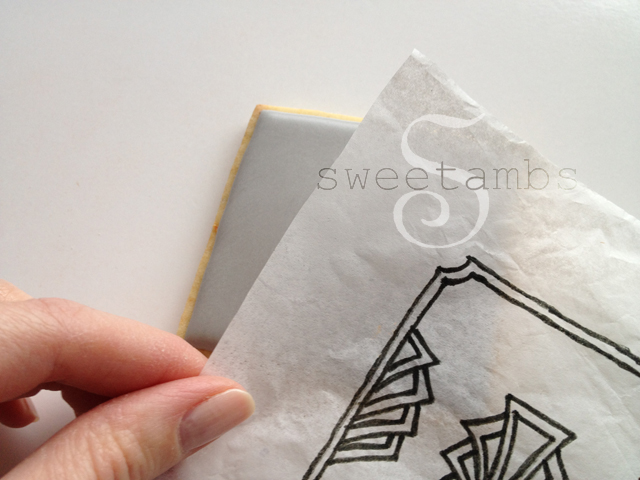
Trace the design again with the edible ink marker. Make sure to put some pressure on it so that it bleeds through the paper.
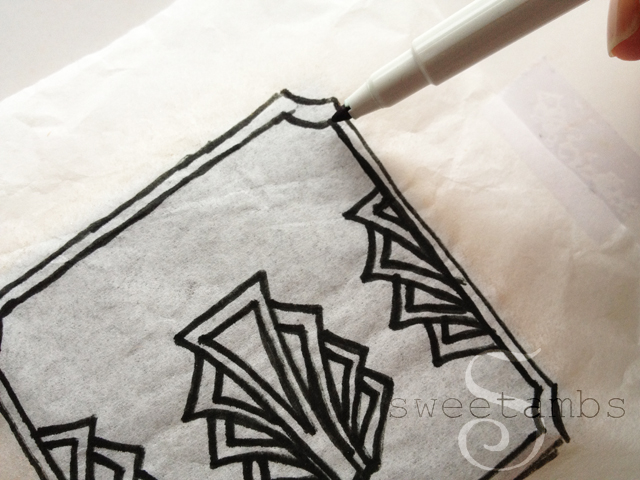
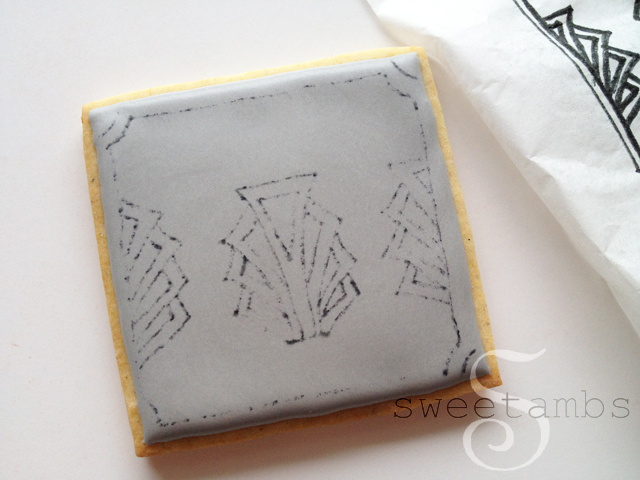
It won't be perfect, but you'll have a basic outline of the design to use as a guide while you pipe.
Step 5
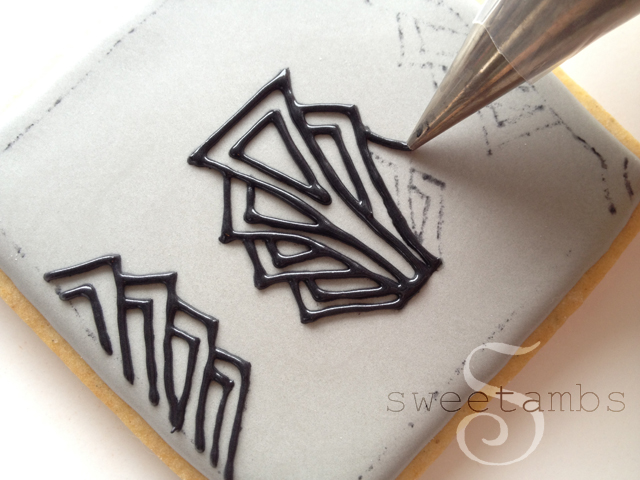
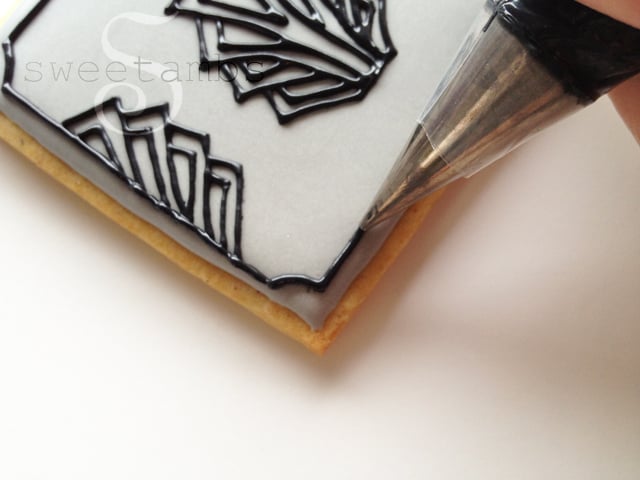
Pipe over the outline of the design using black medium consistency royal icing and a decorating tip 1. Let the icing dry for about 30 minutes. Put the cookie in front of a fan if possible.
Step 7
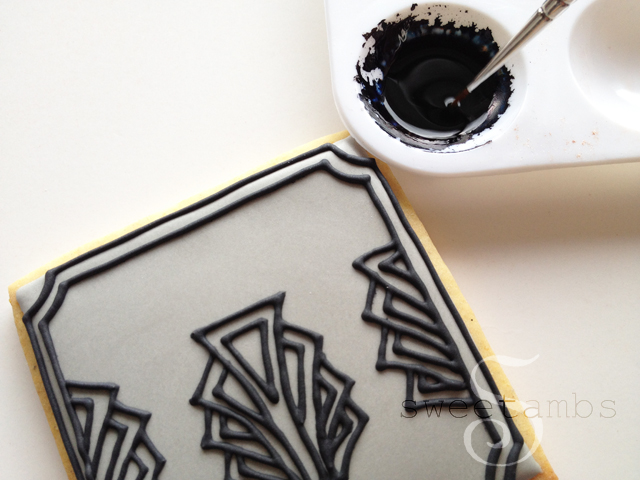
Mix a little bit of black gel paste food coloring with a few drops of vodka or grain alcohol to form a paint.
Step 8
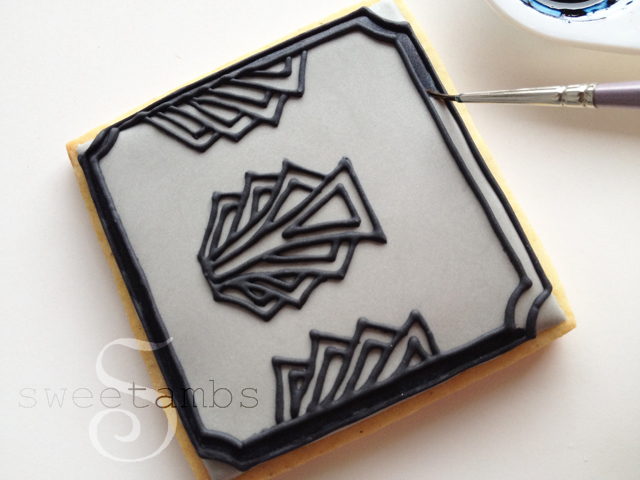
Paint the designs with a thin brush.
Step 9
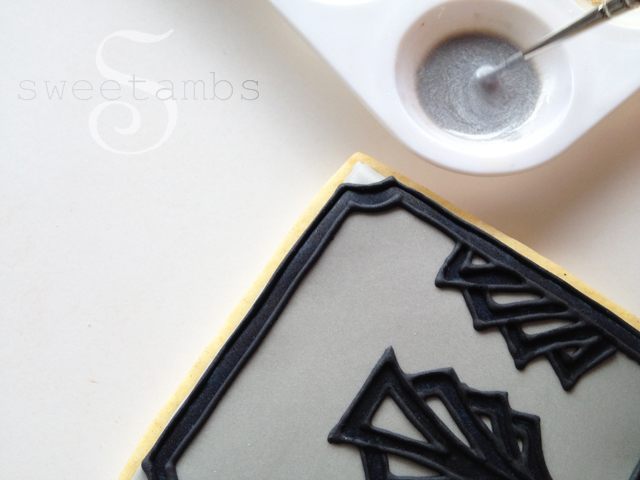
Mix silver pearl dust with a few drops of vodka or grain alcohol.
Step 10
Paint the black piped icing with the silver paint.
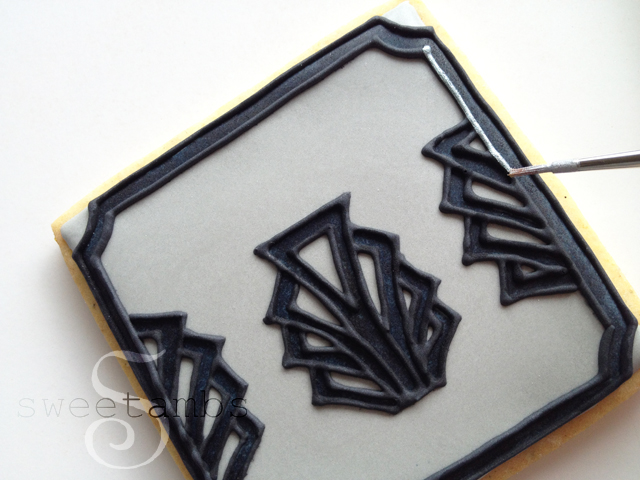
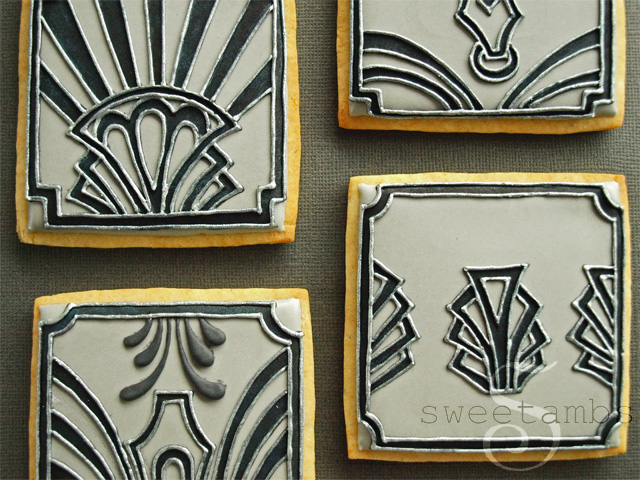
I hope this Art Deco cookie tutorial inspired you to create your own! Click on the images below for more cookie decorating tutorials.





Es fabulosa este arte de decoración de galletas, me parece excelente. Gracias
DIOS bendiga esa creactividad en usted, me gustaria saber como usted hizo ese color gris gracias
Ambar quisiera comprar el cookie cuter de unicorn, el del vetido de boda y el corazon con el molde de la flor de 6 petalos para hacer el osito lo mismo quisiera el dust de color bronze por favor podria decirme como tengo que hacerlo?...,gracias Ambar y por favor contesteme... Muchas gracias
Hello Amber,
I just discovered you and I'm in awe of your Beautiful Cookies. I never knew cookies could be such a work of a
Art. I probably frame them instead of eat them. Lol! Im excited about your tutorials. Me and my daughter Rainey are going to have fun learning the basics. Thank you so much for sharing your Art with us! 🙂
These cookies are so cool! Love the Art Deco theme!
Bonjour .
Je suis a chaque fois en admiration devant vos biscuits ..Merci pour ce partage que vous faites à chacune de vos réalisations.
Isa
You are absolutely amazing. I have just purchased all of your videos and am so happy that you share all of your talent with all of us. I hope some day to visit you in NY to take a class from you. Thank you
Thank you so much, Betty!!!
Amber lovely work! Thank you for sharing. Could you tell me what count icing you use for the black detail? Many Thanks.
Thank you, Kym!! I didn't time the black icing because it's sort of thick.. almost like sour cream consistency.
Great work!!! It seems so easy!!! But you need to be patient to get that.
I love what you do I'm a baker and cake decorator but I would love yo learn what you do it's amazing!!
Thank you, Hector!!
Hi Amber! Beautiful cookies (of course).
I just had a question about your tissue paper: is it just run of the mill tissue paper? Is there a brand you use?
Thank you, Gina! I have tissue paper from Nashville wraps on hand, but I don't see why any brand of tissue paper wouldn't work. This is the one I use: https://www.nashvillewraps.com/tissue-paper/recycled-tissue-paper/c-016124.html
Love your collection of cookies!!! They are a work of Art ...
So WOW! Tomorrow I'm going to try your tissue paper method, you are a Genius. Thanks for sharing your wonderful works and ideas with us. 😀
Thank you! I can't wait to see what you make with it! <3
Gorgeous as always! Can't wait to try this technique!
Hi Amber,
Thanks for sharing (again) Love your work and how to`s and i`m learning a lot! Thanks again.....
Annette
Thank you, Annette!
Gorgeous and inspiring! If this is considered low-tech, I can't even imagine what you could do with a KopyKake!
LOL, thank you, Andi!
Amazing work Amber!
Thanks, Ada!!
I just love your cookies and who artistic they are!! Congrats from Mexico City
Thank you, Erika!
Dear Amber, so beautiful and you always make the things look so easy. Your work is detailed, elegant, refined and so perfect. Have so much to learn from you. Many thanks for sharing.
Cheers,
Marta
Thank you so much, Marta!! 🙂