
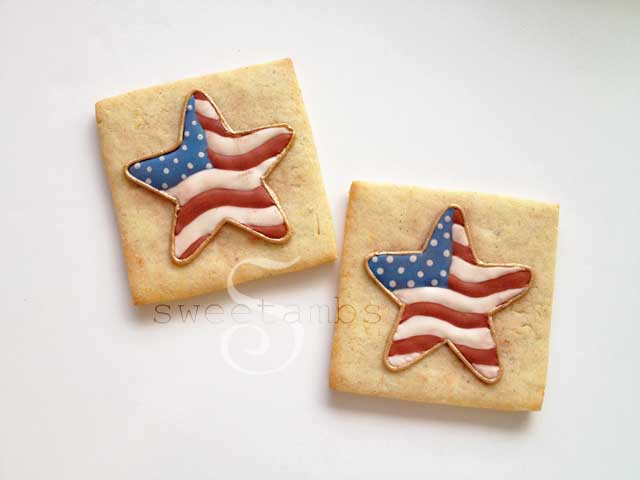
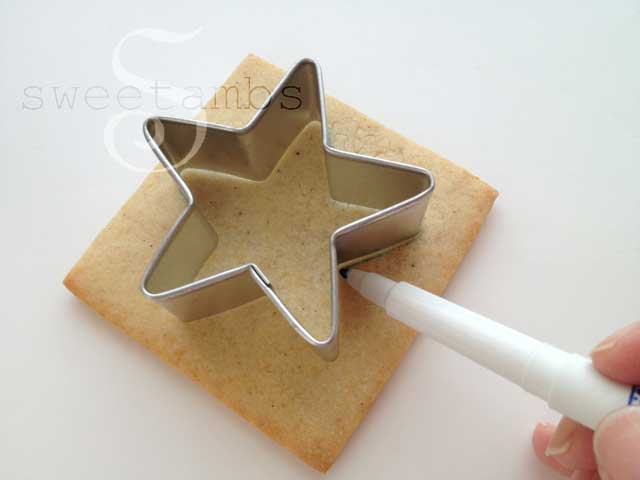
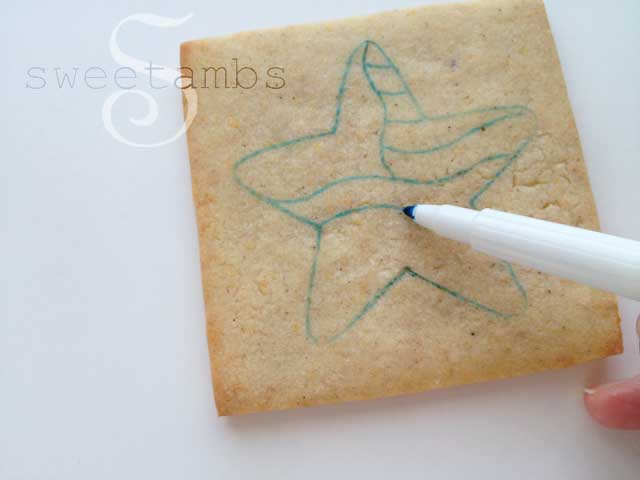
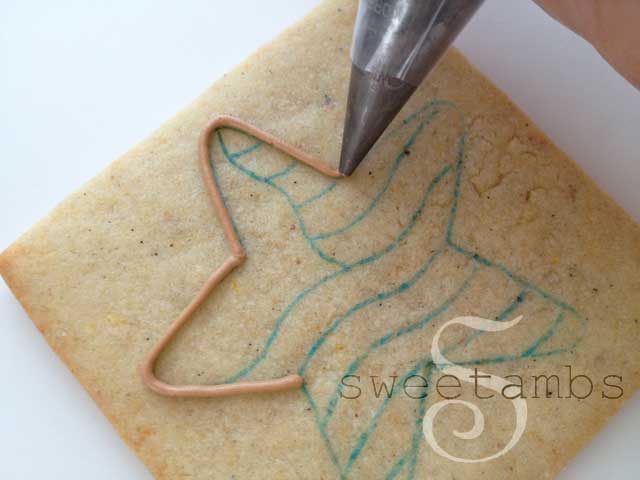
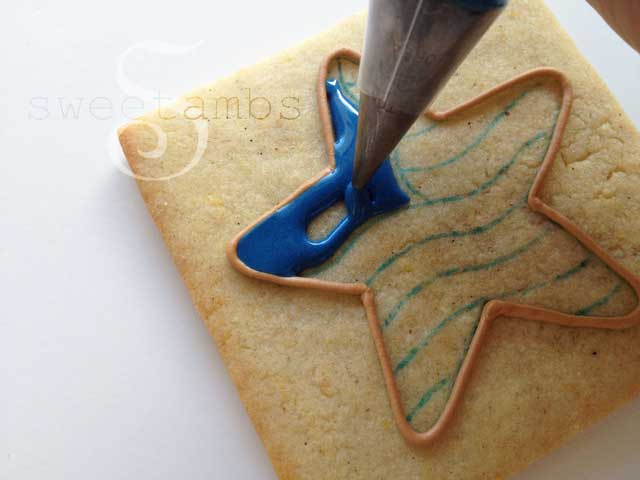
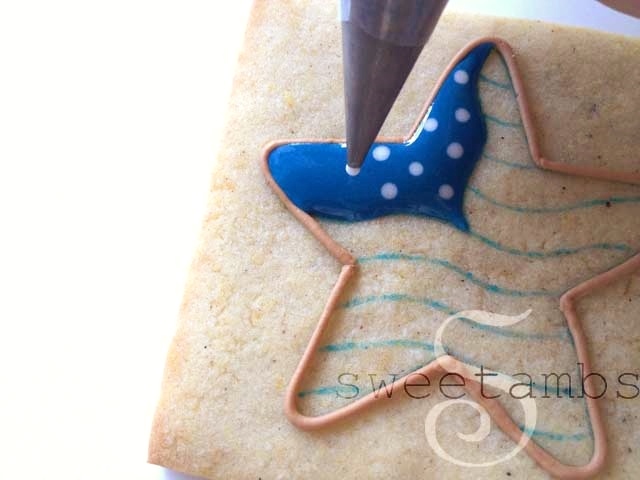
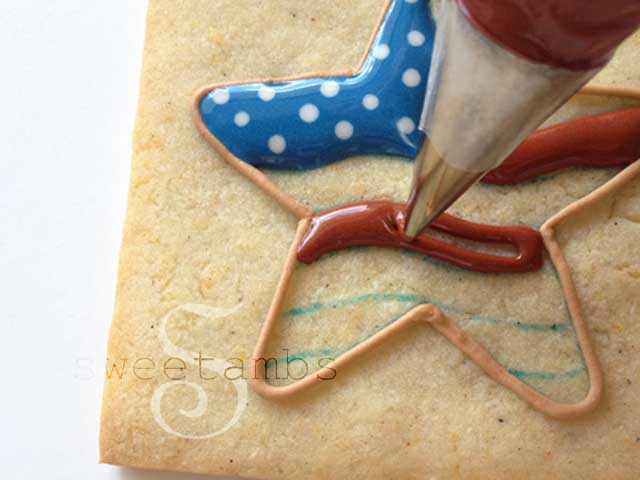
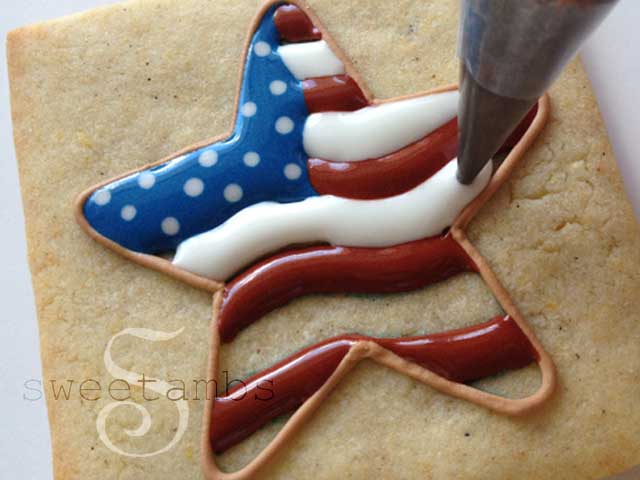
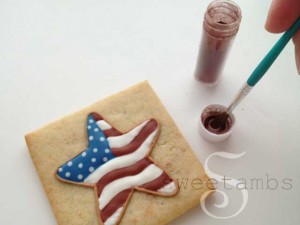
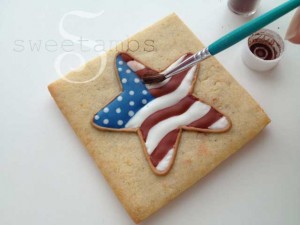
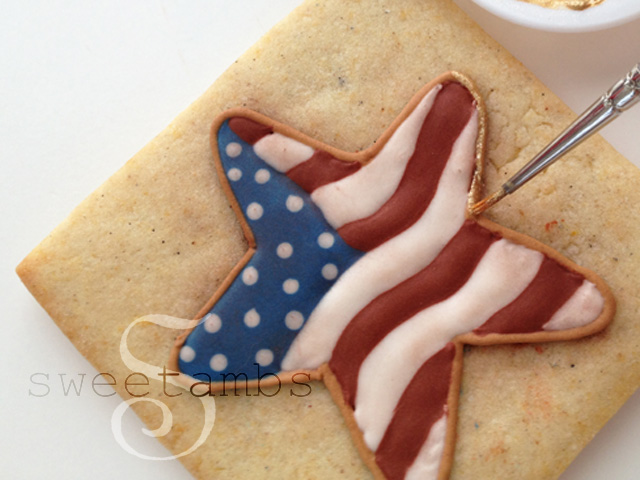
I decided to do things a little differently with this design. I left a lot of exposed cookie around the star in order to add to the rustic look of it. I also brushed on some color dust at the end to add to its antique feel. Read on for the step by step tutorial. Happy 4th of July! For products used in this and other tutorials, visit my recommended products page. This cookie measures 3x3" and was made using my Orange Vanilla Spice recipe, which is available in my tutorial shop. Once your cookies are baked and cooled, trace a star cutter using an edible ink marker onto the surface of the cookie.


Thanks for this super cute Tutorial. Your cookies are always such an inspiration and push me to try cookie decorating techniques i didn't think i could do.
Thank you, Alicia! I'm so glad to hear that my work inspires you to try something new!!
This tuturial is so awesome. I really love all your desings. Thank you very much for sharing your art.
Thank you!!
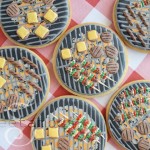
I like that look with the cookie showing. I was looking for something other than a flag for the 4th. I just found a BBQ grill cookie cutter that I am going to have to try too. They won't turn out as good as yours but I'll give it my best thank you
Thanks, Michelle! A BBQ cookie cutter?! That sounds neat!! Let me know how they turn out!
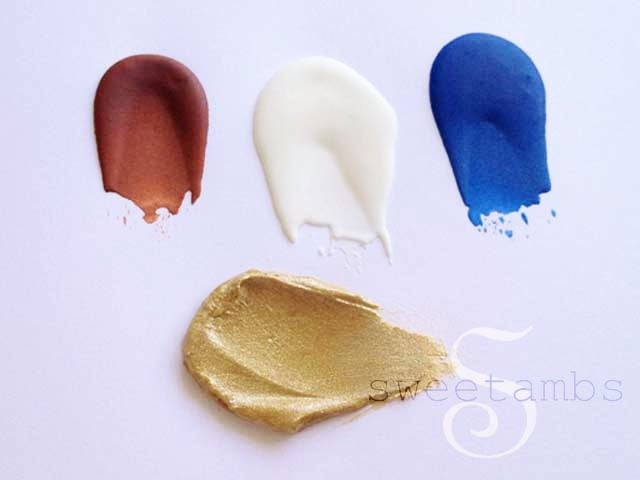
Amber -- thanks for the info on the luster dusts -- who knew??? A question for you on white food coloring. Do you use it? I've read on some cookie sites that you can't get true white without using white coloring.
You're welcome! I actually don't use white food coloring. I've tried it in royal icing and it hasn't worked out well for me! I think it's better for use in buttercream. I don't mind if my royal icing is a little bit off white.