
Of course chalkboard cookies are great for back-to-school treats, but my brain has become wedding soup and I can't think of anything else (3 weeks to go!), so I used the chalkboard icing technique to make these wedding plaque cookies.
You can watch this members-only video tutorial (without ads!) when you join my Cookie Art Club!
Get access to exclusive cookie decorating tutorials, my cookie and royal icing recipes, and individualized cookie decorating advice by joining my Cookie Art Club!
This post contains affiliate links. Read my affiliate disclosure here.

The plaque cookie cutter that I used for this project is from Ann Clark Cookie Cutters.
The idea for these chalkboard cookies came to me after I purchased this beauty from Michaels. I bought it to use at my wedding, but until then it's just hanging out in my craft room!
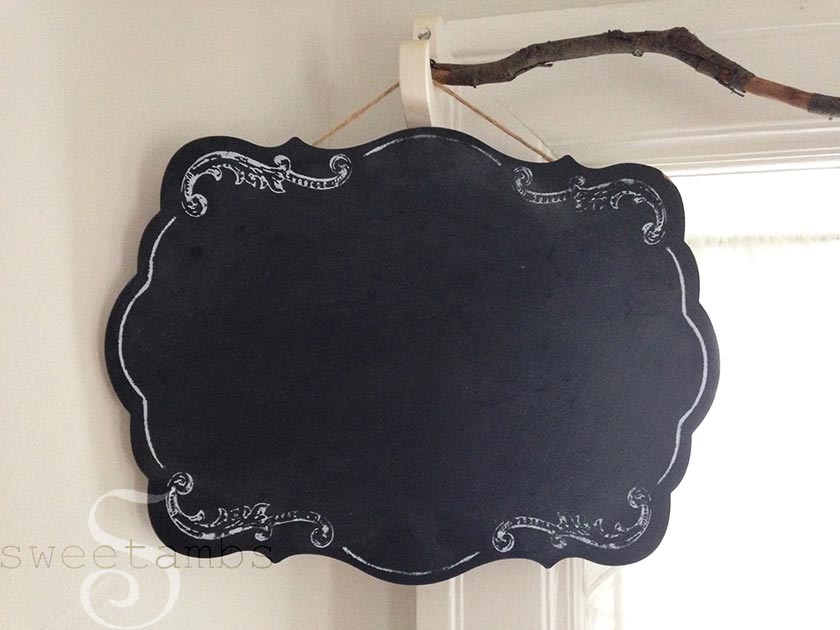
Here's what you'll need to make these chalkboard cookies:
- Roll out cookie dough (my Orange Vanilla Spice cookie recipe is available in the tutorial shop)
- Plaque-shaped cookie cutter
- Flood consistency royal icing in black and white
- Stiff consistency royal icing in pink and green
- 12" decorating bags
- Tipless piping bags
- Decorating tip 2
- Decorating tip 3
- Scribe tool
- Soft round and fine tip Brushes
- Cornstarch
Colors:
- Black: Black from the Wilton Color Right color system
- Pink: Wilton Aster Mauve from the Garden Tone Set
- Green: Wilton Juniper Green from the Garden Tone Set
--
Begin by icing a plaque-shaped cookie with black flood consistency royal icing and a tip 3. Allow the icing to dry completely. I let mine dry overnight. 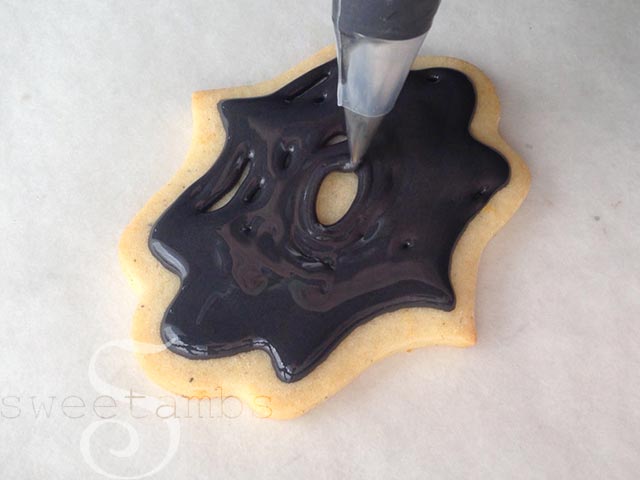
Dust the surface with cornstarch to give the icing a chalky look.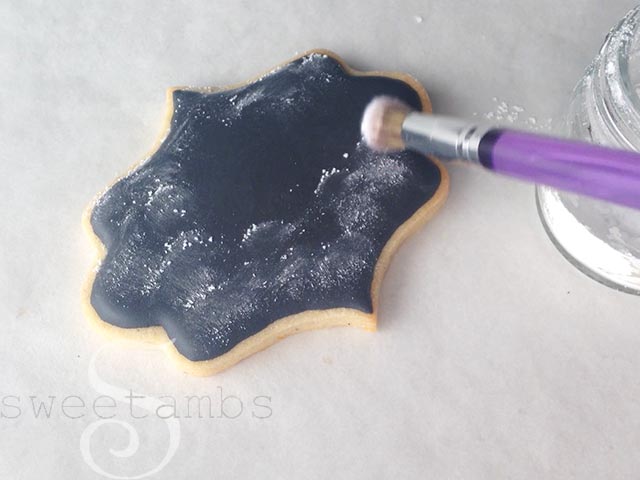 --
--
Fill a "tipless" piping bag with flood consistency icing and cut a very small opening. Pipe your design one section at a time (if you pipe the entire design at once, the icing will dry before you get to the next step). I used a tipless bag here because I needed a very small amount of icing. I prefer to use these smaller, thinner bags rather than using a 12" bag for things like this. 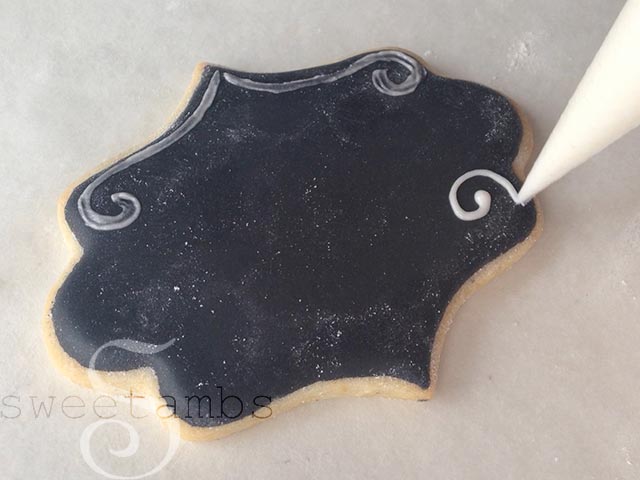
Use a fine tip brush to flatten the icing and remove some of the excess to make it look like the design was drawn with chalk.
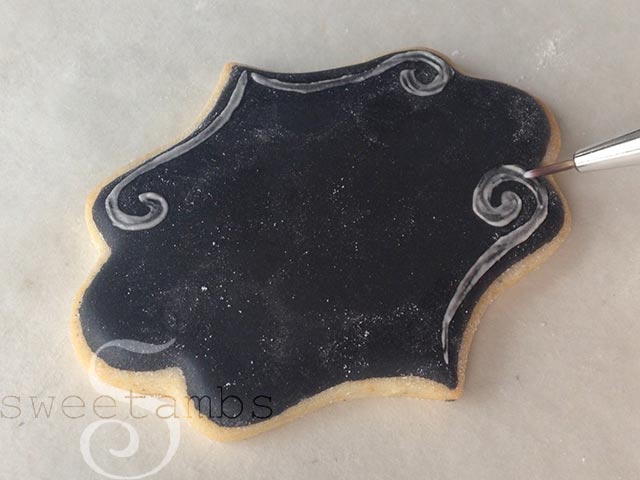
You can see how I piped this monogram in the video in my Cookie Art Club. Add roses by piping swirls with pink stiff consistency icing and a tip 3. 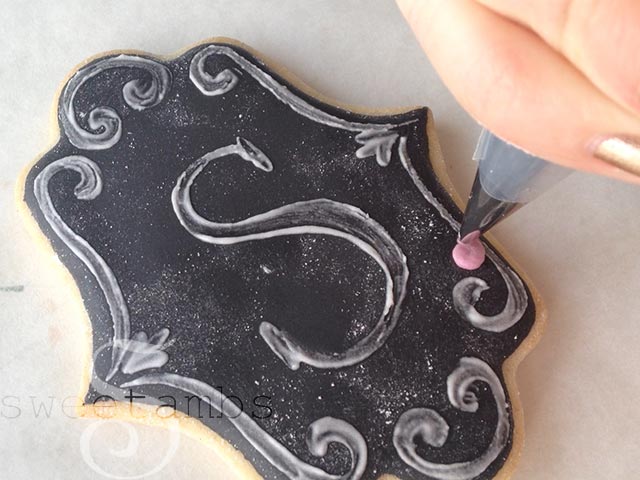
Add leaves with green stiff consistency icing and a tip 2. 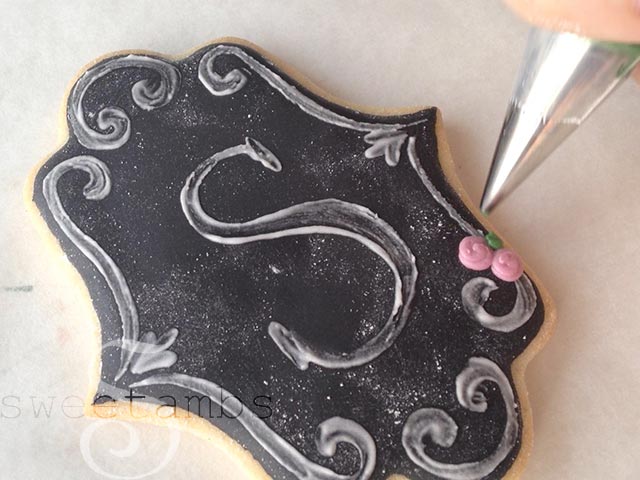




Hi Amber. I have not had much luck with tipless decoration get bags. I purchased the ones you recommend but I find that I do not get a nice rounded tip - especially with writing and dots. Do you have advice? Thanks
*Typo - tipless decorating bags
at the end of the video it shows you writing with something that actually looks like chalk...... is their an edible chalk that you can suggest? I've looked but not sure what works best. Thanks.
Hi Adrienne! I just used white icing and a damp brush to create the chalky effect, but I believe that there are tutorials out there for edible chalk. If I'm not mistaken, Sweetapolita has done it.
Great video, terrible music choice. The sliding of the strings on the guitar was like fingernails on the chalkboard!
Love these, they are gorgeous! Thanks for sharing!
Thanks, Jenn!!
can I order cookies from you for a wedding? I love them!!!
Thank you, Clara! I don't take orders anymore. I only teach cookie decorating classes and make tutorials 🙂
I think these cookies are beautiful, Amber ... however, I always am hesitant to do cookies flooded with black icing. Particularly for wedding or non-kid parties, the thought of everyone having black mouths! Have you tried painting over a lighter flood with thinned black, or maybe airbrushing with black? I'd love to do an elegant set of chalkboard cookies like these, but think I'd like to try some other approaches than full-on black.
Thanks, Barb! I'm not sure if painting or airbrushing would be any better for preventing black teeth and tongues, but Lilaloa has a tutorial on making black icing by adding cocoa powder. That way, you don't need to add as much black food coloring 🙂
Hi Amber! I was (I always am) excited to see another great video/tutorial from you. I love you! lol What can I say? You always deliver! I wish I could be as good as you are. I still try though. I gave the chalkboard a thought but didn't know what to create. Your video (as always) gave me inspiration to revisit this technique again. I've done this technique before but wasn't happy with results. Most likely because I didn't know what to create. Slap dash - lol. I love you and am so happy I met you. As I said years ago, you are an inspiration! I wish you the best of luck in all your endeavors... If I weren't so far away I would help you with your upcoming (and most likely) beautiful wedding day. Anyway, I have plaque cutters, gave them a thought, then went down the hole and picked another cutter - lol. And, you know it, bombed! hahahahaaaa Not sure I want to share these photos... I should have followed my thought and hand painted instead of icing. I am sure it is that I do not like piled icing on cookies and because of this I end up a disaster. Well, I have cookies and am off again to try another way to decorate these cookies. Love from PA!