
This post contains affiliate links. Read my affiliate disclosure here.
--
I recently spotted a post on Instagram from Everyday Party Magazine about a tutorial by Painted and Sprinkled on how to make your own marquee letters (looks like a really fun project!). Painted and Sprinkled's paper mache version inspired me to create my own marquee letters in cookie form using royal icing transfers to go along with my popcorn cookie pops.

-- Here's what you'll need to make a cookie marquee:
- Roll out cookie dough (my Orange Vanilla Spice cookie recipe is available in my tutorial shop)
- T-square ruler and paring knife to cut square cookies
- Letter template
- Wax Paper
- Flat, portable surface such as a sheet tray
- Flood consistency royal icing
- Medium consistency royal icing
- Scribe tool
- Round decorating tips 1, 2 and 3
- Brown color dust
- Gold luster dust
- Soft round brush
- Small brush (size 2/0 liner)
- Alcohol or flavored extract
- Red = Americolor tulip red + burgundy + black
- Cream = Wilton buttercup yellow
 Place the template on a flat, sturdy, portable surface and cover it with wax paper (don't use parchment paper because it will wrinkle as it absorbs moisture from the icing) and secure the wax paper with tape. I placed my template on a 10x14" piece of Plexiglas, but you can also use the back of a sheet tray as shown in my royal icing transfer video, which is available in my tutorial shop. You'll also find the royal icing recipe there, along with my cookie recipe.
 Use medium consistency royal icing and a tip 2 to outline and fill in the letters. This template has two of each letter, but I'd recommend printing 2 templates so that you have plenty of extra just in case. This post on royal icing consistencies and troubleshooting tips has information on how to reduce the risk of breakage.
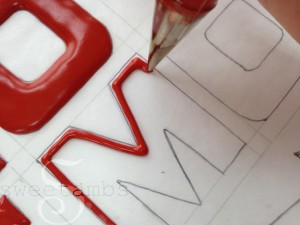
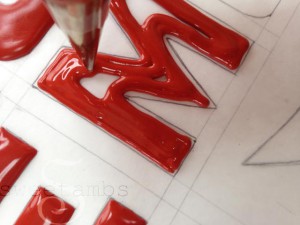 Use a scribe tool to help sharpen the edges of the letters. Place the transfers in front of a fan and let the transfers dry 8-12 hours. The fan doesn't need to be on the whole time, just during the first hour or two.
 While your royal icing transfers are drying, cover a 3x3" square cookie with cream colored flood consistency icing and a tip 3. Allow the icing to dry 8-12 hours. Visit the tutorial shop for a video with full instructions on how to flood a cookie with royal icing.
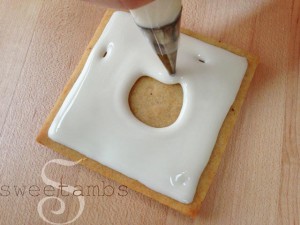
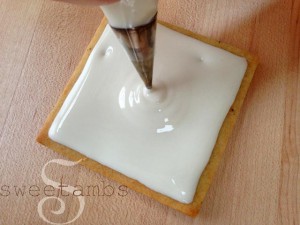 Once the royal icing transfers are completely dry, slide a paring knife under the wax paper to loosen it from the template.
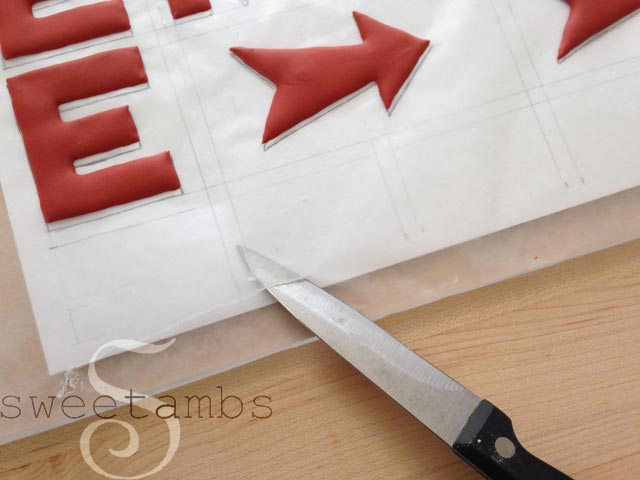 Place your hand under the wax paper and peel it away from the transfer. Once you have most of the paper peeled back, you can gently lift the transfer off the rest of the way.

 Apply some cream colored flood consistency icing (same icing that was used to ice the cookie) to the back of the transfer using a tip 1.
 Place the transfer onto the cookie.
 Use the scribe tool to mark where the lights will be. I made mine about ¼" apart. Pipe little round lights using the cream colored flood consistency icing and tip 1.
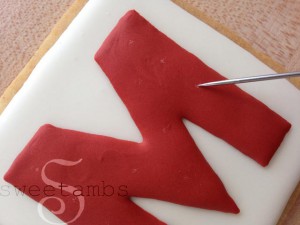
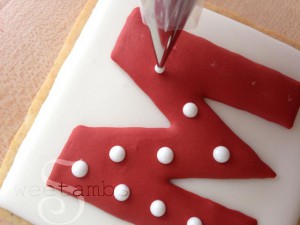 To give the marquee a vintage look, dust the edges with brown color dust using a soft round brush.
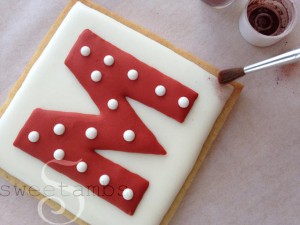
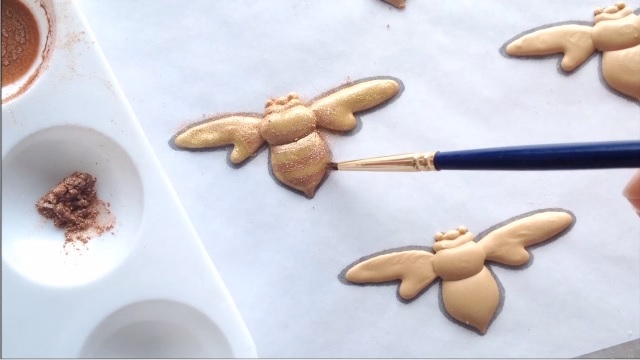
 I also painted the edges of the cookie gold because I just can't help myself. Mix some gold pearl dust with a few drops of alcohol or flavored extract to form a paint and apply it to the cookie with a small brush. Read this post on how to make gold royal icing to learn more about this process.
 Now you have a cookie marquee to display on your movie night dessert table. Don't forget to make the popcorn cookie pops!

--




I love this. Can these be put on buttercream?
Thank you, Sue! Yes, they can be put on buttercream, but you'd have to wait until just before serving since the royal icing will absorb the fat after a while and that will end up staining the icing.
It says wax paper but would using parchment paper have the same effect or no?
Hi Rachel! I prefer to use wax paper because parchment tends to wrinkle under the transfers. But, if you can find a thick, coated parchment paper, that works well, too 🙂
You mentioned you used medium consistency not flood consistency. Should we always use medium for transfers ? Your tutorials are amazing !! Thanks so much for sharing them. I noticed there is nothing under K .. have you ever decorated a kite? Just wondering 🙂
Hi Krissy! I like to use medium consistency icing for small transfers, but I'll use flood consistency if I need to cover a larger area. I haven't decorated kite cookies yet. I'll add it to my list! 🙂
Gracias por compartir tus conocimientos, eres muy linda y generosa, voy a comenzar con este arte de decorar galletas.
Wow! What a great idea. I was searching for a special way to make birthday cookies. Thanks so much! I will be making my cookies this evening. Baker's everywhere will be using your ideas. ( or should). Thank you!
Excellent tutorial!!
Thank you, Martha!
Thanks for the great tutorial! I'm thinking of placing the dried transfer letter onto a wet flooded cookie (as opposed to drying both and then gluing on with icing). Have you ever done it that way? Other than possible bleed of colors do you think it would work that way? Thanks if you have any advice!
Hi Molly! Yes, I have done it that way and it works well because the transfer sits flush against the icing without any tiny gaps that you would get if you applied it to dry icing. You can find information on preventing color bleed in this post: https://www.sweetambs.com/tutorial/royal-icing-consistencies/
Scroll down to the section on troubleshooting tips.
lindo
THESE ARE FABULOUS!! I would love to have you share a DIY on EPM anytime!!
Thank you!
Jess
Thank you so much, Jessica! I'm so glad you like them. I'd love to share a tutorial on EPM. Thanks for the invite!
Thanks again for another great tutorial. Cookie makers everywhere are able to grow their skills because of you! I have been making cookies for less than a year and have gotten so many great tips from your page and videos. You are fab!
That's awesome, Ginny! Thank you so much!
These cookies look so realistic! I love how you made them appear vintage. Great work, Amber. I like your suggestion of working on a sheet of plexiglass. I will go get a sheet!
Thanks, Kathy! The Plexiglass has been so helpful! I use it in class, too, for the students to practice their piping skills.