
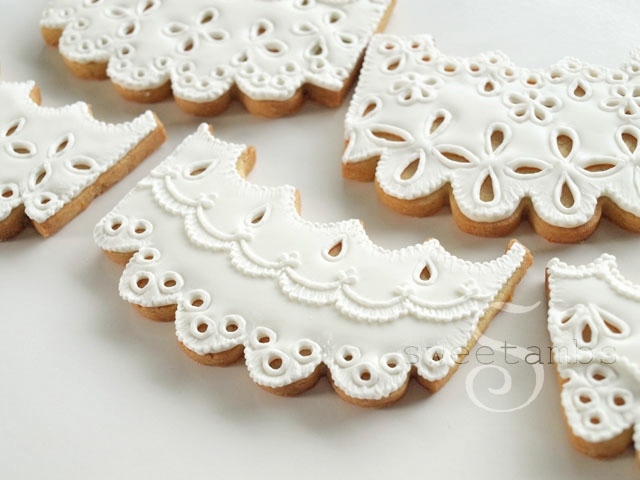
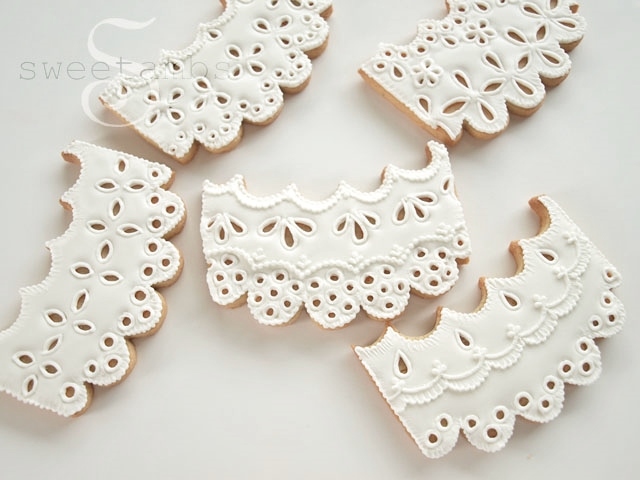
A few years ago when I was flipping through Martha Stewart's Wedding Cakes, I came across a cake decorated in fondant that was cut to look like eyelet lace. It was one of the most gorgeous cakes I'd ever seen and I can't believe it's taken me this long to finally put eyelet lace on a cookie! I'll show you how to make eyelet lace using royal icing in this tutorial.
For products used in this and other tutorials, visit my recommended products page.
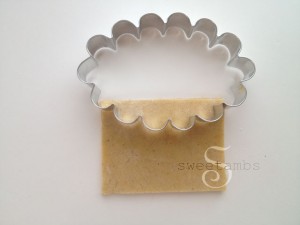
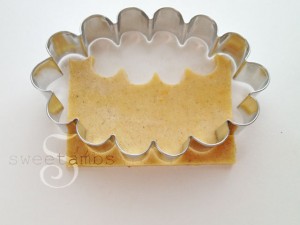
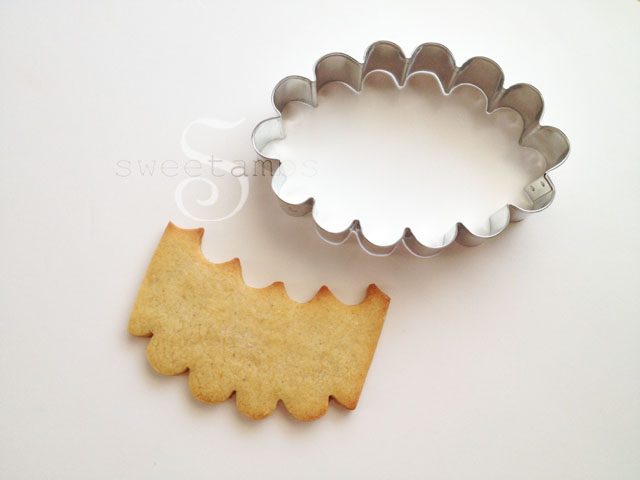
 This scallop cutter is one of the latest designs from KarensCookies.net. I started with a 4x3" piece of cookie dough and trimmed off the top and bottom using the scallop cutter. You can use the scraps to make molded cookies.
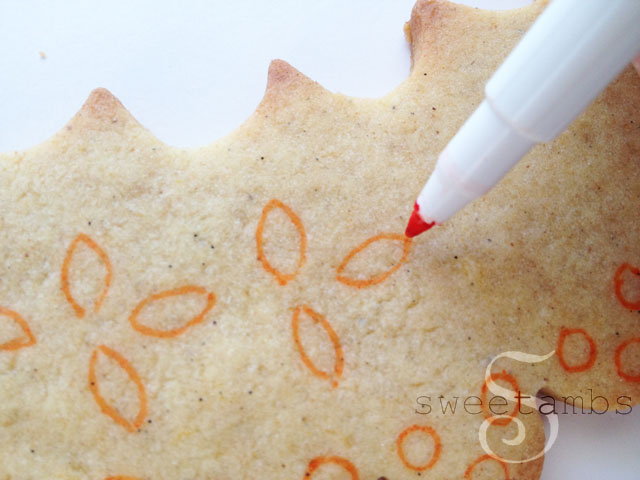 Then, with stiff icing and a tip 2, outline the shapes you just drew. Stiff icing is the consistency that I refer to when the icing comes off the mixer. It is spreadable, but able to hold a peak. You can learn more about this in the videos, How To Make Royal Icing and Cookie Decorating Basics, which are available in my tutorial shop.
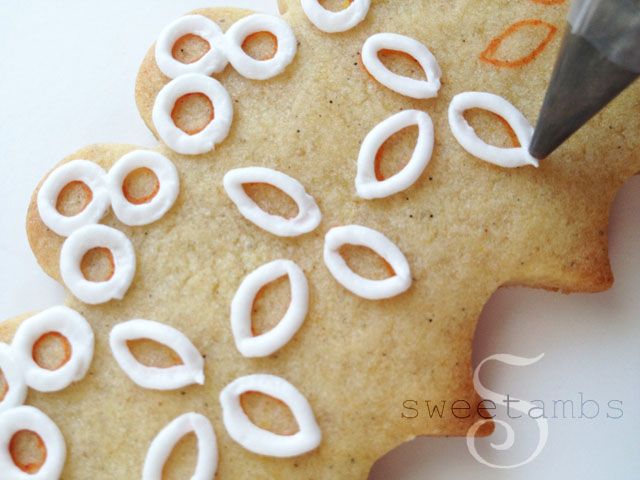 Once you've outlined the shapes, fill in the tiny spaces around and in between them using flood consistency icing and a tip 1. There's a video on flood consistency icing available in my tutorial shop.
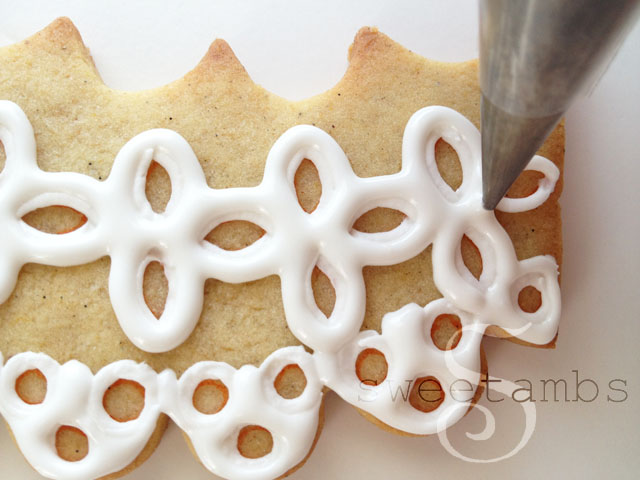 Immediately fill in the rest of the space with flood icing and a tip 3. You'll have to work quickly at this point so that all of the icing blends together.
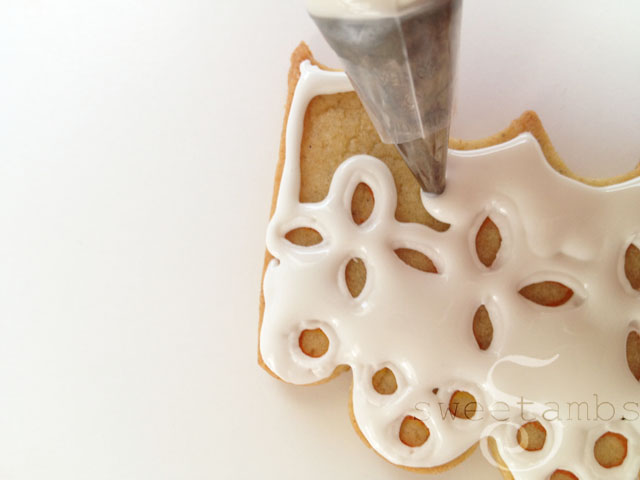 Once you've flooded all the areas that need to be covered, use a scribe tool to help evenly distribute the icing and shape the edges.
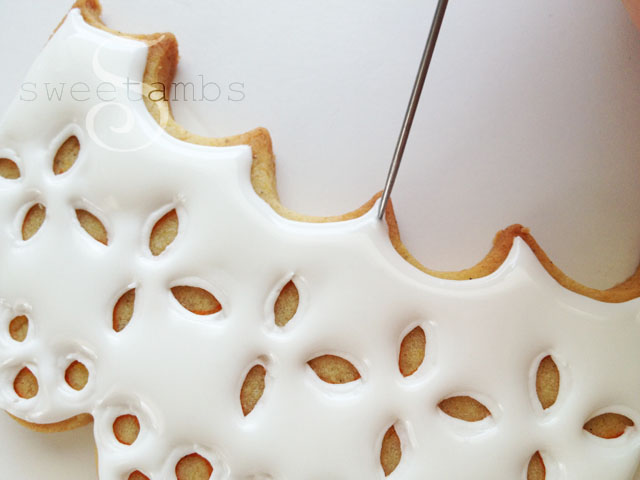 Allow the icing to dry for 8-12 hours.
I used the brush embroidery technique to decorate the edges of the cookie. Using stiff icing and a tip 1, pipe a line in a zigzag motion along the edge of the cookie and use a damp brush to bring the icing inward. There's a video on this technique available in my shop.
Allow the icing to dry for 8-12 hours.
I used the brush embroidery technique to decorate the edges of the cookie. Using stiff icing and a tip 1, pipe a line in a zigzag motion along the edge of the cookie and use a damp brush to bring the icing inward. There's a video on this technique available in my shop.
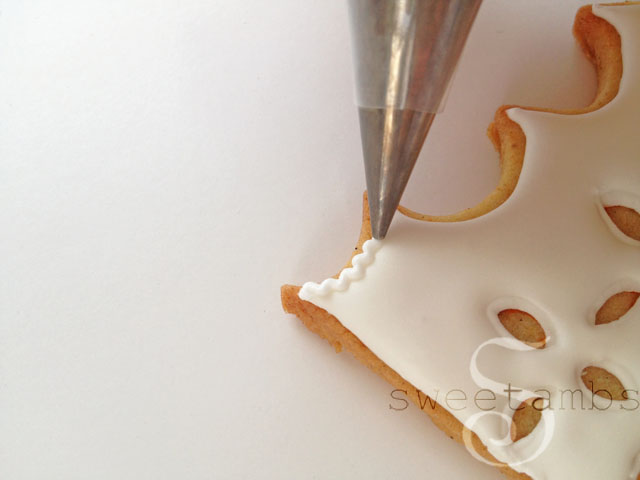
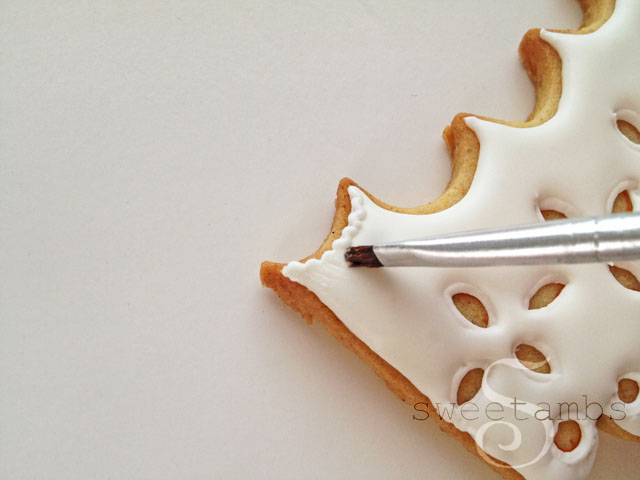 Once all of the edges are brushed, pipe an outline around each shape in the lace pattern using stiff icing and a tip 1. Allow the icing to dry for another couple of hours before handling the cookie.
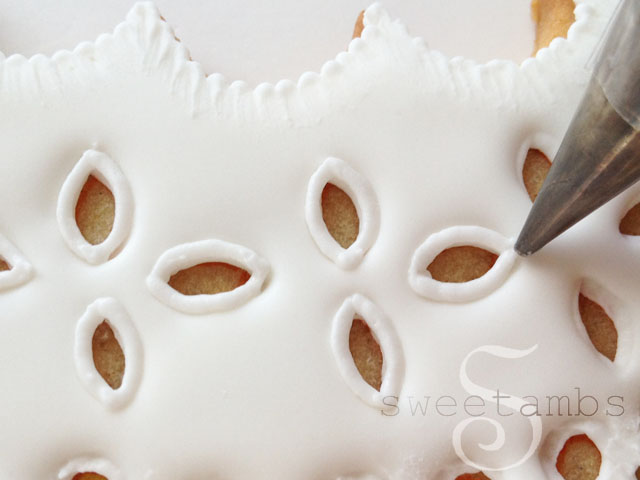 You can also add swags and beads to dress them up.
This scallop cutter is one of the latest designs from KarensCookies.net. I started with a 4x3" piece of cookie dough and trimmed off the top and bottom using the scallop cutter. You can use the scraps to make molded cookies.
Then, with stiff icing and a tip 2, outline the shapes you just drew. Stiff icing is the consistency that I refer to when the icing comes off the mixer. It is spreadable, but able to hold a peak. You can learn more about this in the videos, How To Make Royal Icing and Cookie Decorating Basics, which are available in my tutorial shop.
Once you've outlined the shapes, fill in the tiny spaces around and in between them using flood consistency icing and a tip 1. There's a video on flood consistency icing available in my tutorial shop.
Immediately fill in the rest of the space with flood icing and a tip 3. You'll have to work quickly at this point so that all of the icing blends together.
Once you've flooded all the areas that need to be covered, use a scribe tool to help evenly distribute the icing and shape the edges.
Allow the icing to dry for 8-12 hours.
I used the brush embroidery technique to decorate the edges of the cookie. Using stiff icing and a tip 1, pipe a line in a zigzag motion along the edge of the cookie and use a damp brush to bring the icing inward. There's a video on this technique available in my shop.
Once all of the edges are brushed, pipe an outline around each shape in the lace pattern using stiff icing and a tip 1. Allow the icing to dry for another couple of hours before handling the cookie.
You can also add swags and beads to dress them up.



Absolutely beautiful!!!
Very nice thanks!!!
You've presented this in such a way to make it doable and not scary. I love this and will try it this Christmas.
That's great to hear!
Beautiful
hermoso!!!
Thank you, Gladys!
Lindooooooooooooooooooooooooooooooooooooooooo, maravilhosoooooooooo, wonderfull, Q Deus abençoe suas mãos!
Maravilhoso, sensacional, estou em êxtase de tanta coisa linda. Parabéns, congratulations........ que Deus abençoe sempre suas mãos lindas!!!!!!! Amoooooooo as bolachas
Preciosas!! me encanta todo lo que haces, simplemente espectacular!! Que talento! gracias por compartir! Guapaaaaaaaa!!!
LOVE your stuff!!!! Soo creative, talented and precise!
Thank you so much, Jane!!
Omg just beautiful!
Thank you, Yani! 🙂
wow
wow!!!! brilliant, thanks a lot for sharing this valuable experiences
Wuaaao is excelent
Великолепное кружево! Спасибо за наглядный урок.
I am not into baking but since it is not the first time I see your wonderful work posted by someone on Facebook I decided to check your website. Everything you do is amazing, so wonderfully amazing and well explained that I 've started thinking about starting some baking of my own following your steps, obviously. Thank you for the beautiful things you do, they are inspiring!
I hope to do something right; and if I do, I'll give credit to you here in Guadalajara, Mexico. If you are not yet, you'll become internationally known! Gracias.
Just gorgeous, as all your work! I´ve learnt a lot from your tutorials, so I will try this new desing!
Will you ever com to Argentina? Please!
What a great job. Every cookie takes my breath away. I am learning a lot from your tutorials. Thanks a lot for sharing all this beauty with us. We really appreciate it. Are you planning to teach in Atlanta in the near future? I will be glad to help somehow. Please keep me posted. Thanks for all.
You are GREAT Amber.....
Endless thanks for your precious teaching.
Thank you!! 🙂
amazing cookies, amazing blog, simply love it !
Thank you!!
As everything you do detailed and exquisite. Pieces of art. It is so much work, You are an expert at this. Thank you for sharing your love of sweets with us!
Thank you, Tina!
All of your cookies are beautiful. What I like most about these is how versatile they are. These eyelet cookies could be used for a bridal or baby showers, Mother's day, etc. etc. Yet another technique I would like to try.
Very nice and creative! I love the sharp, clean look of an all white cookie. Doesn't every little girl have an eyelet dress? This brings back memories.
Wow! These are amazing! Thank you so much for the step-by-step tutorial...it encourages me to give this a try!
That's great to hear! I hope you try it. Thank you!
What can I say , this is so beautiful , The Lord bless you.
Thank you, Sarah 🙂
These are so so gorgeous! I love eyelet! <3
Thank you, Melissa!
TIENES UNA PAGINA DONDE TODO ES UNA BELLEZA.
GRACIAS POR HABERLA CREADO Y PONERLA AL ALCANCE DE TODOS.
These are so beautiful, thank you, Amber,
Sugar cookie virtuoso.
Thank you tons for sharing and inspiring.
You never cease to amaze me... Beautiful. You are so creative. Keep it up. You are an inspiration.
Wow! So cute and clean
I love your work 🙂 Thanks for the tutorial
You know that your clases in Madrid are all sold out!?
I would love you to come to Barcelona ^^
Laia.
Thank you, Laia! Yes, I can't believe it sold out that fast!! I hope I can make another trip to Spain later to teach more classes 🙂
Que preciosidad , haces un trabajo muy bonito . felicidades .
Remarkable!
You are simply amazing your work is fabulous, thank you for sharing.
You have wonderful ideas and great skill to bring them into being. Thanks so much for sharing. Your work is inspirational!
Beautiful
Beautiful, of course!
une fois de plus j'adore