
This post is sponsored by Primera Technology, Inc.
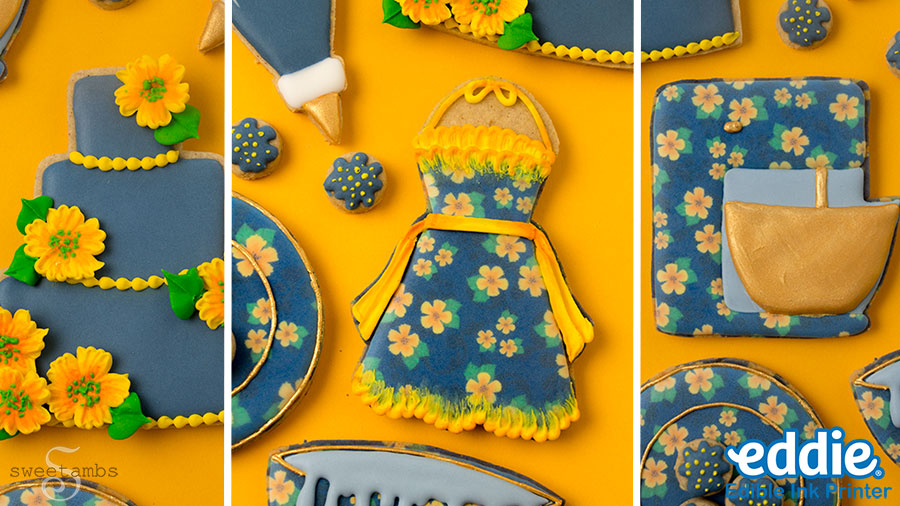
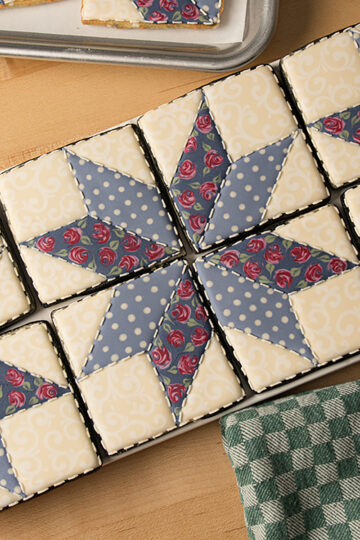
I decorated this set of floral cookies with the help of Eddie, The Edible Ink Printer! I created my own floral pattern on my tablet and then printed it directly onto my iced cookies.
This printer is so much fun to use and I love that it allows me to be as creative as I want while saving me time. Watch the video below and learn more about Eddie, The Edible Ink Printer at Primera.com/Eddie. You can also join the Eddie user group on Facebook for tons of inspiration and tips.
This post contains affiliate links. Read my affiliate disclosure here.
I didn't know much about this printer before it arrived at my house. I was so intimidated at first, but once I opened the box my fears subsided. The instructions made it really easy to put together and it fits nicely on a sturdy side table in my studio.
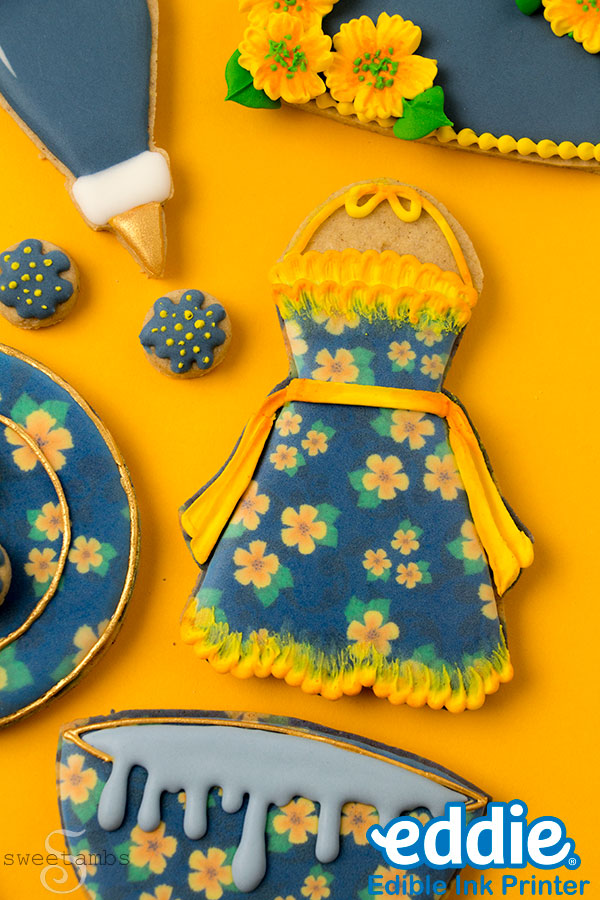
Once I printed my first cookie during the online training I was so excited to print more! It was so much easier and way more fun than I thought it would be. And I'm thrilled with how these cookies turned out!
Here's what you'll need to make these cookies with Eddie, The Edible Ink Printer
Find these supplies in my Amazon shop
- Eddie, The Edible Ink Printer
- Cookie templates and an image to print on the cookies (I used this floral pattern)
- Chilled sheet of cookie dough (available in my Cookie Art Club)
- 3" cookie cutter
- Flood consistency royal icing in white and dark blue
- Medium consistency royal icing in golden brown
- Stiff consistency royal icing in yellow
Read my Ultimate Guide To Royal Icing to learn all about royal icing consistencies.
- 12" decorating bags
- Coupler
- Decorating tip 59s
- Decorating tip 8 or larger (for cutting the small round cookies)
- Decorating tip 2
- Decorating tip 352
- Couplers
- Scribe tool
- Flower nail
- Parchment paper squares
- Chefmaster food coloring in Royal Blue, Coal Black, Golden Yellow, Lemon Yellow, Buckeye Brown, and Leaf Green
- Gold luster dust
- Vodka, grain alcohol, or any flavor extract for painting (read this post for more about painting on royal icing)
- Decorator brushes
- Paint palette or small dish for mixing paint
Colors
- Dark blue = Royal Blue + a touch of Coal Black
- Light blue = the same dark blue as above but a lighter shade
- Golden brown + Lemon Yellow
- Golden yellow = Lemon Yellow + Golden Yellow
- Green = Leaf Green
Instructions
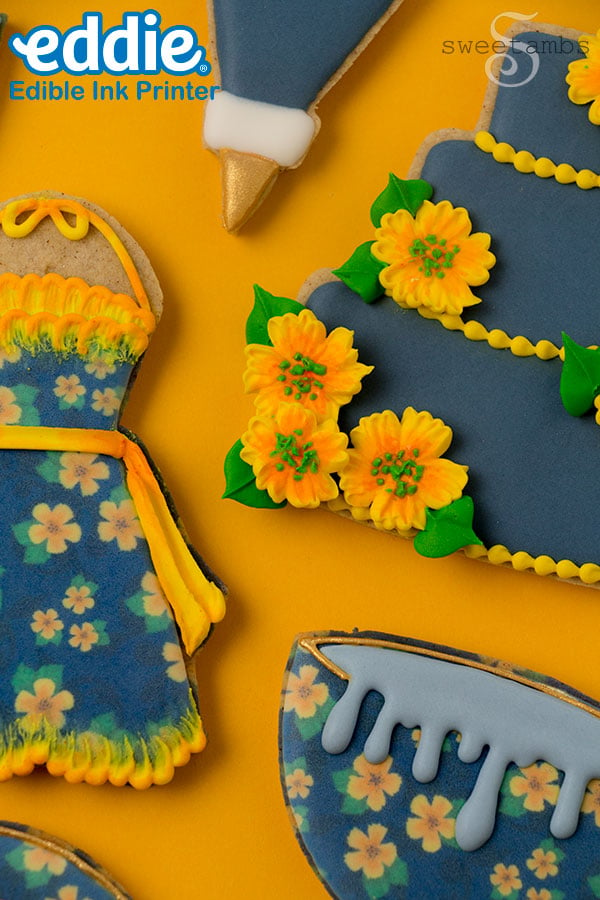
Begin by cutting the cookies from a chilled sheet of cookie dough. I cut an apron, a mixer, a piping bag, a bowl, a tiered cake, and a 3” round cookie.

I cut a few very small cookies using the wide end of a decorating tip. Use a decorating tip 8 or larger so that you can fit something in the small end to help push the dough out of the tip.
Bake the cookies at 350˚F for 10-12 minutes and allow them to cool completely before you decorate them.
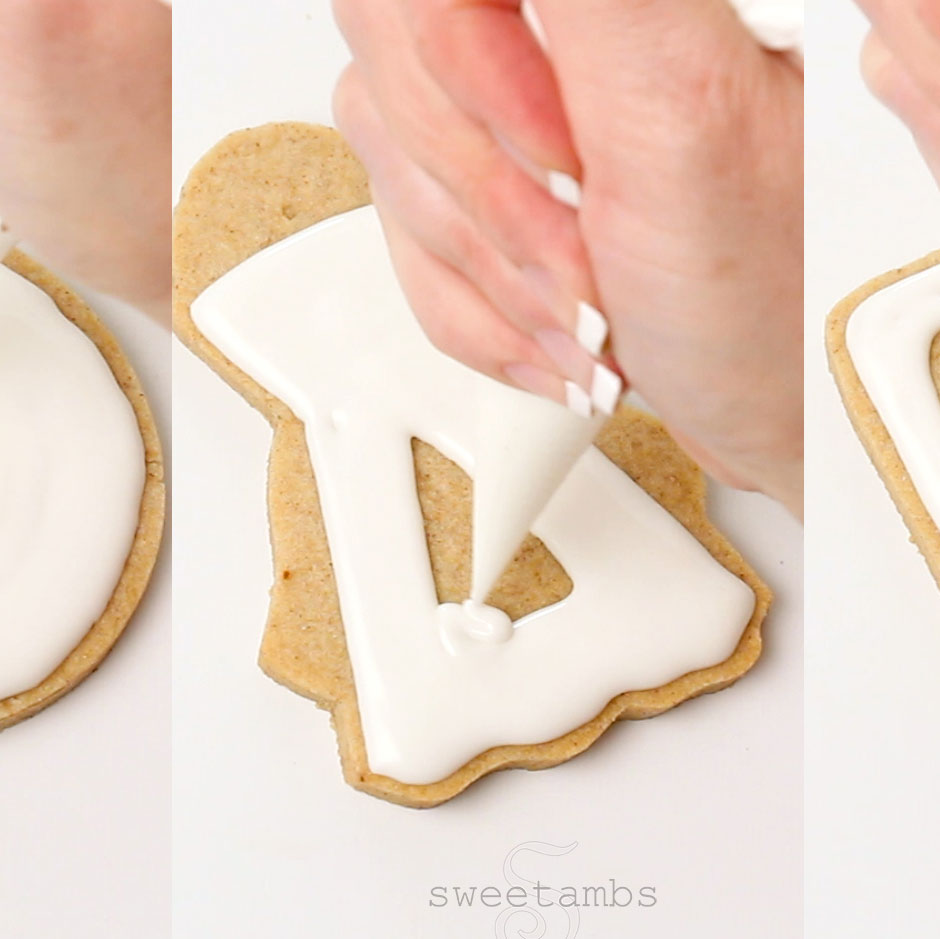
Ice the apron, mixer, bowl, and round cookies with white flood consistency royal icing. Use a scribe tool to help shape the icing.
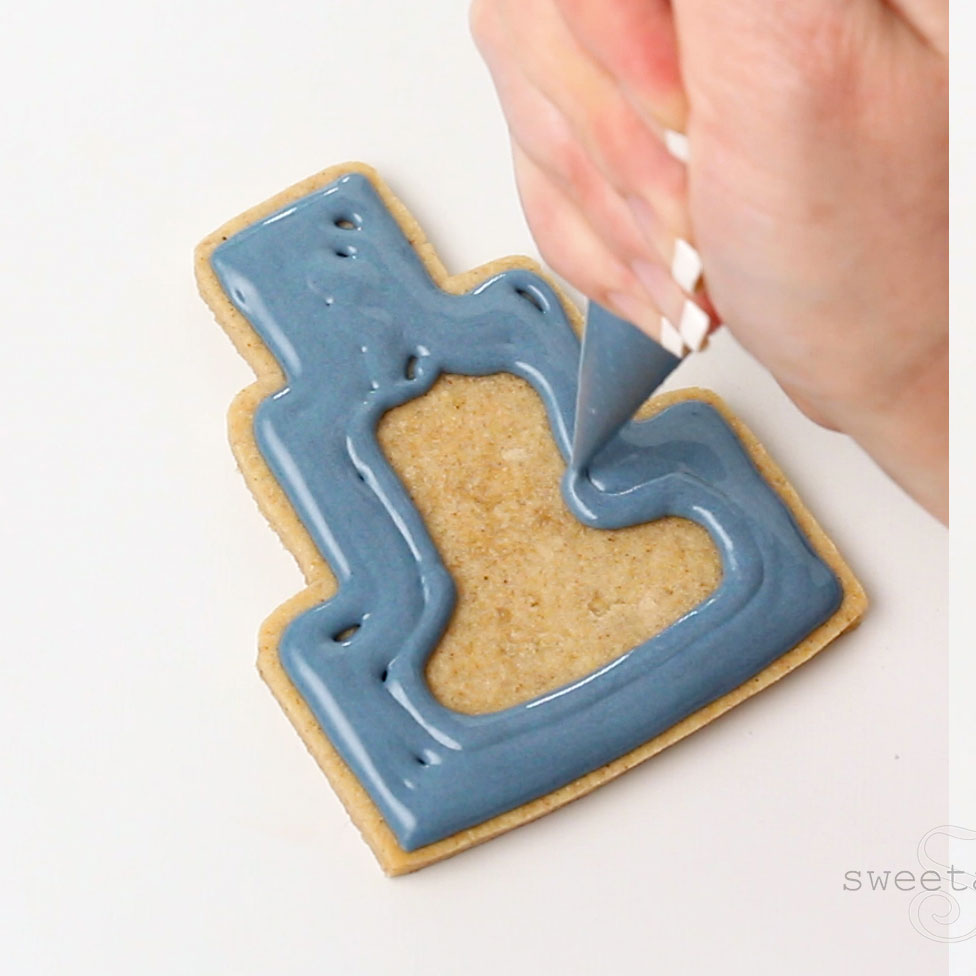
Ice the tiered cake and the piping bag with blue flood consistency icing.
Pipe a reflection in the piping bag with white flood consistency icing. Use the white icing to fill in the top of the bag and the coupler.
Ice the very small cookies with the blue icing. Allow the icing to dry completely. I let mine dry overnight.
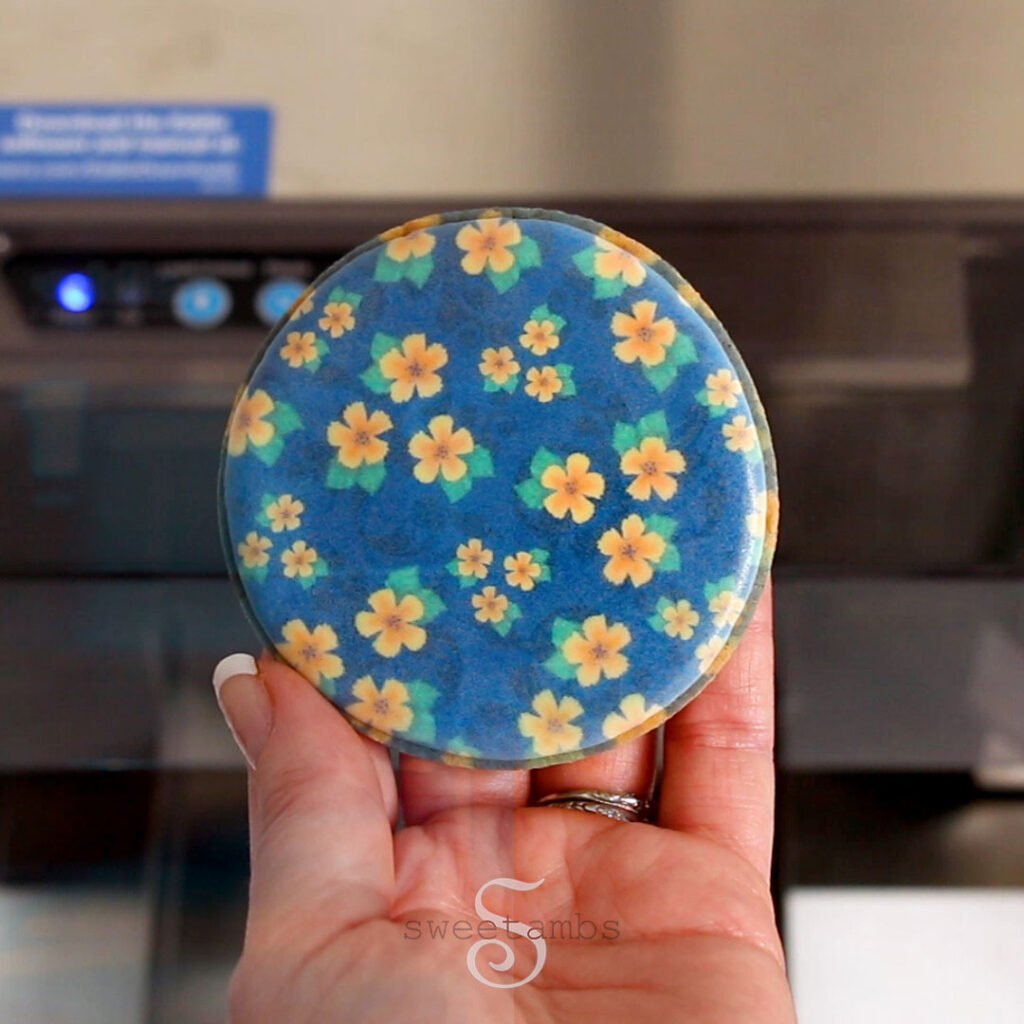
Print directly onto the iced cookies.
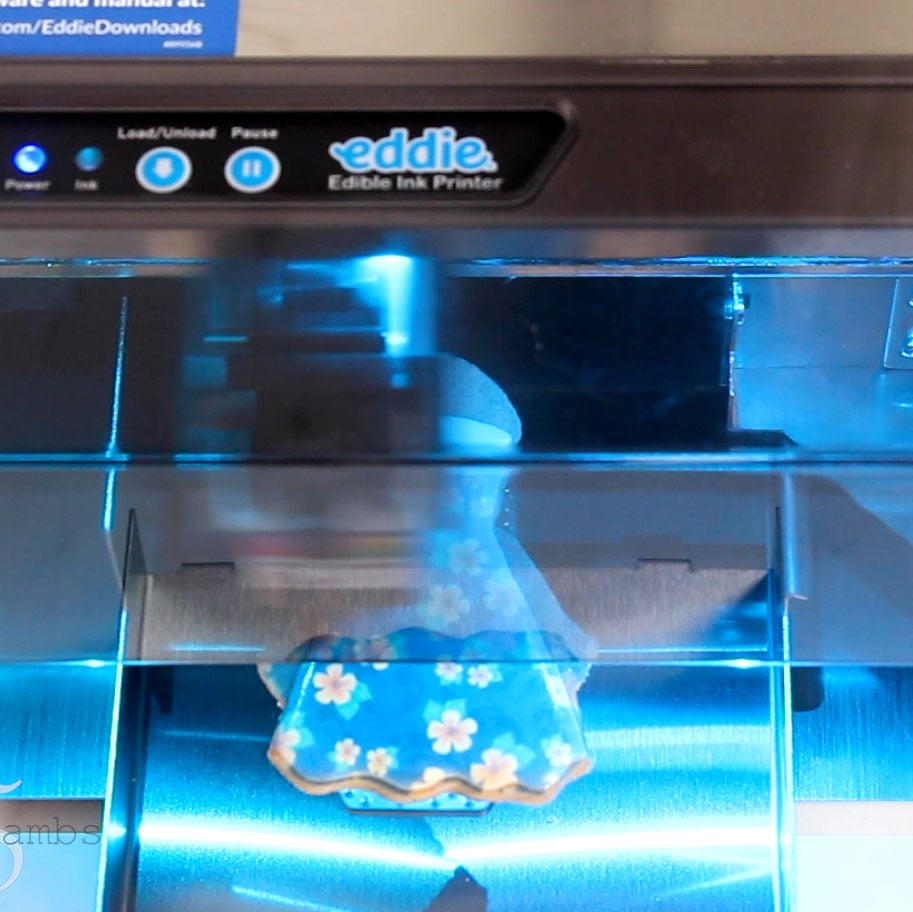
Once the printing is finished, add some more layers of royal icing on the cookies.
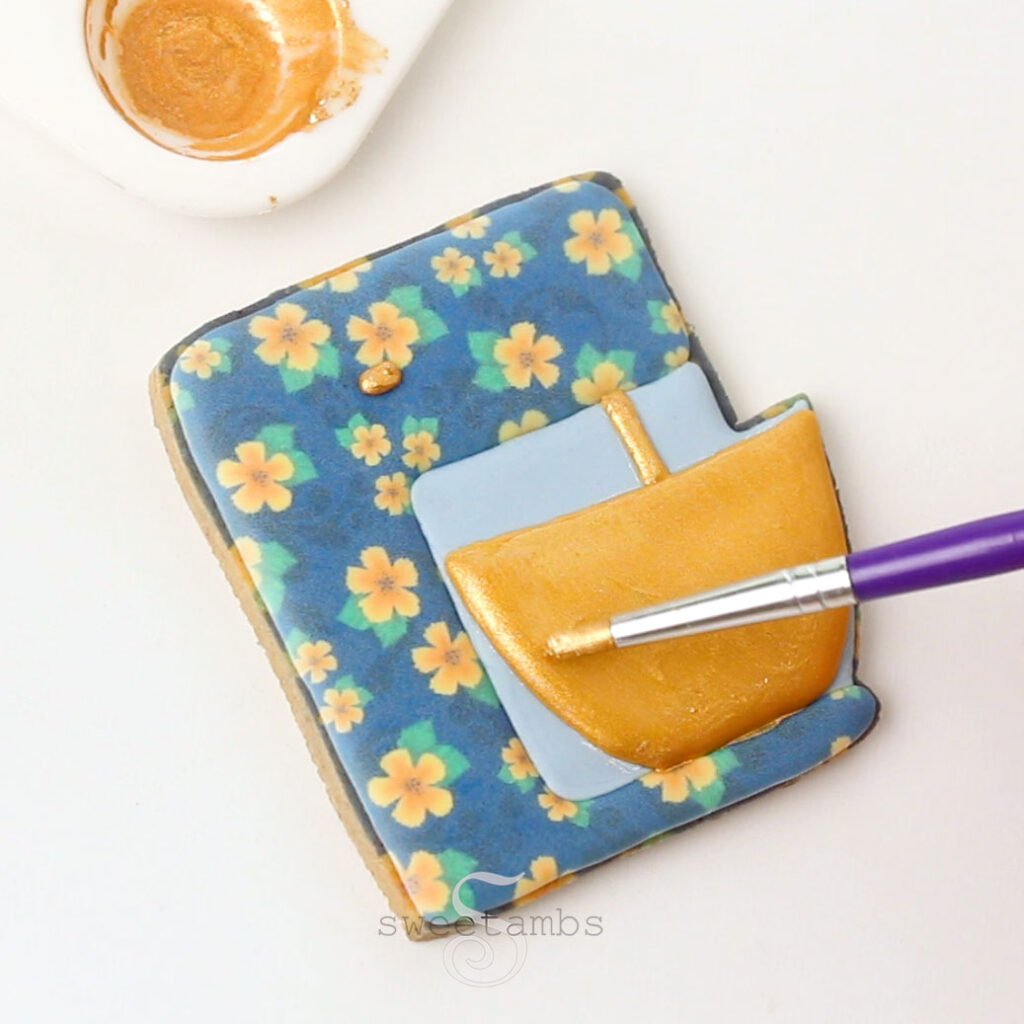
To make gold accents, apply golden brown medium consistency icing.
If your icing is a little bumpy, shake the cookie back and forth and tap it on the table a few times to smooth it out.

Allow the icing to dry before you move on to the next step. I let mine dry for about an hour.
Add a little bit of vodka or grain alcohol to edible gold luster dust.
Use a brush to apply the gold paint to all of the golden brown icing.
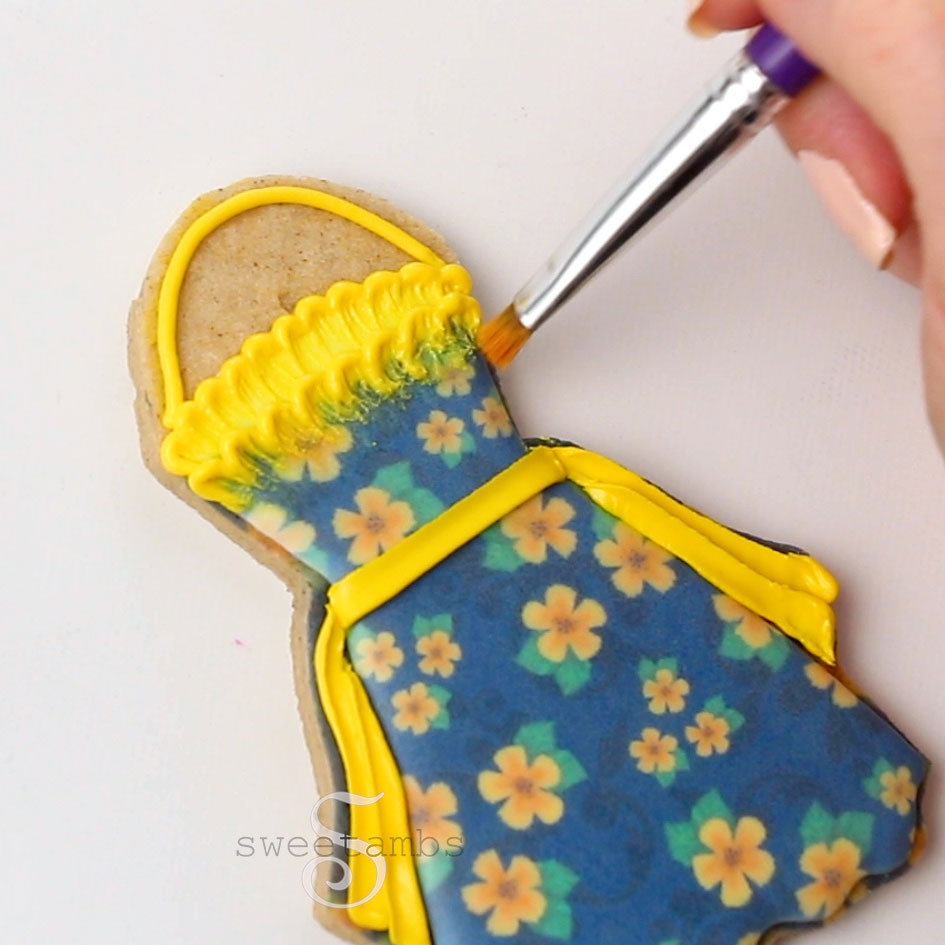
Add some details to the apron cookie using yellow stiff consistency royal icing with a decorating tip 59s, which is a small petal tip. Use a scribe tool and a dry brush to help shape the icing.
Switch the decorating tip to a number 2 for the smaller details and the lace edges.
Use a slightly damp brush to brush the icing to make it look like lace trim. This is known as the brush embroidery technique.
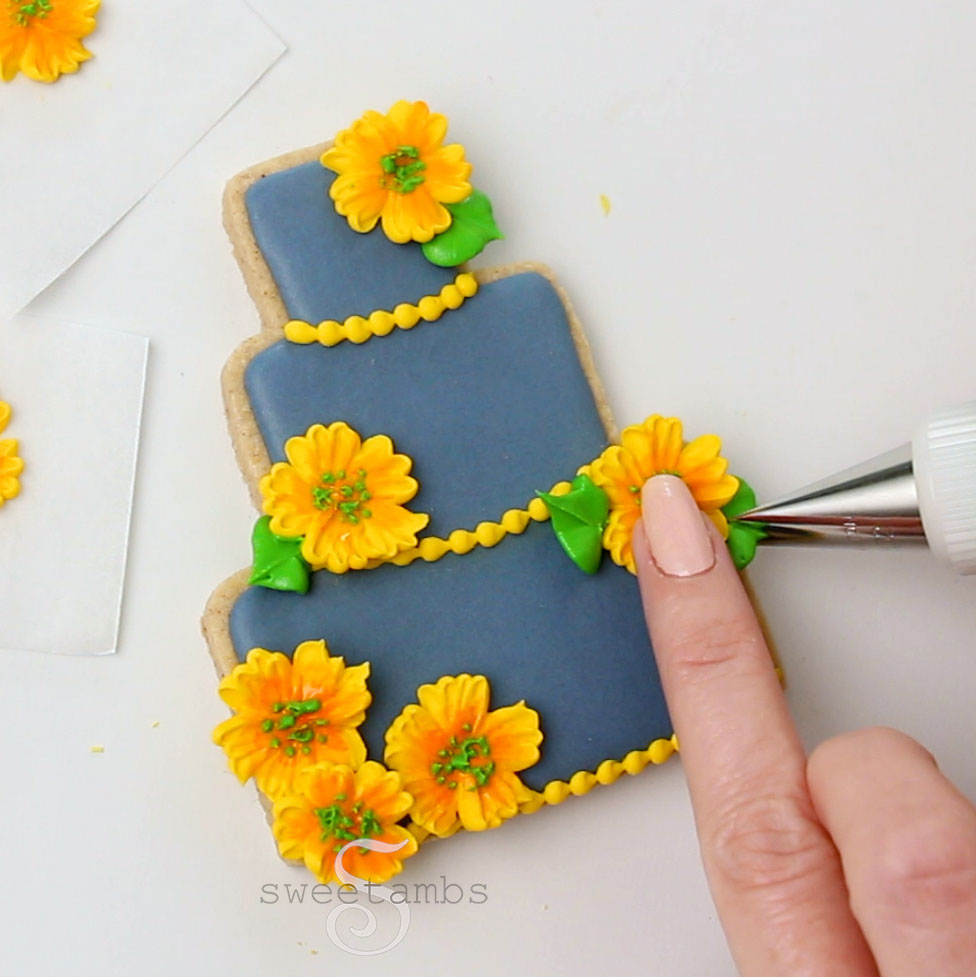
Use the same yellow icing and tip 2 to pipe a bead border on the tiered cake cookie.
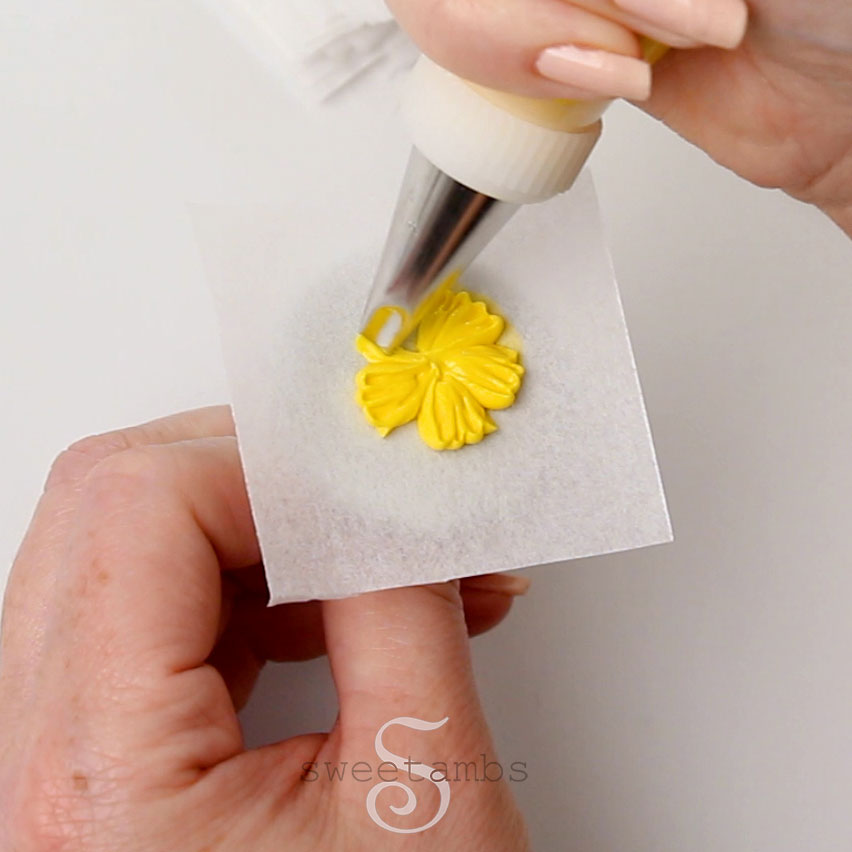
Pipe some yellow flowers with stiff consistency icing on a parchment lined flower nail to decorate the cake.
Allow the flowers to dry completely and then paint them with a mixture of golden yellow food coloring and vodka or grain alcohol.
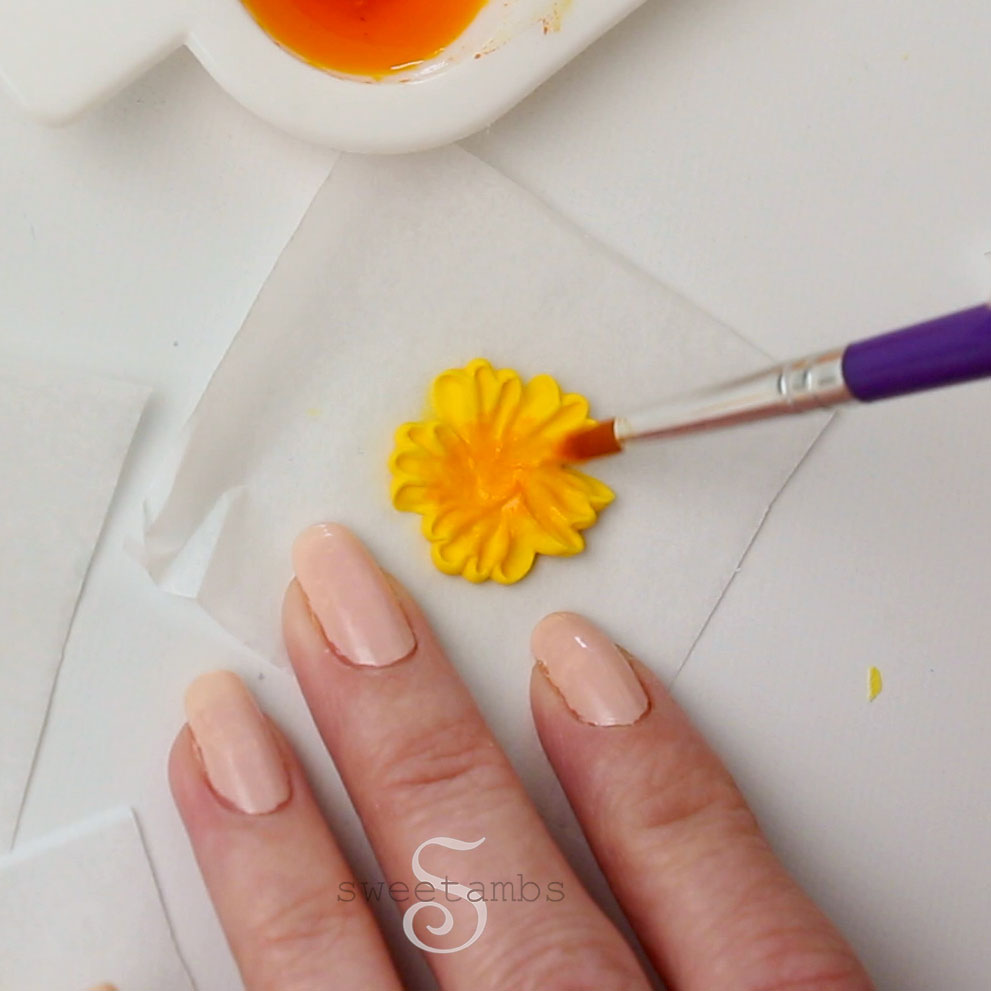
Use the paint it add some shading to the yellow icing on the apron.
To finish the flowers, add some small dots of green stiff consistency icing to the centers.
Switch the decorating tip to a 352 and attach the flowers to the cake cookie.
Pipe some leaves around the flowers with the green icing.
Learn more about Eddie, The Edible Ink Printer at Primera.com/Eddie. You can also join the Eddie user group on Facebook for tons of inspiration and tips.



Hi, do you recommend this over a cannon printer and frosting sheets? It’s so much more expensive…
TIL that there's such a thing as edible ink printers. Great content, thank you!
Wow, it looks amazing. Thanks a lot for sharing this amazing tutorial.