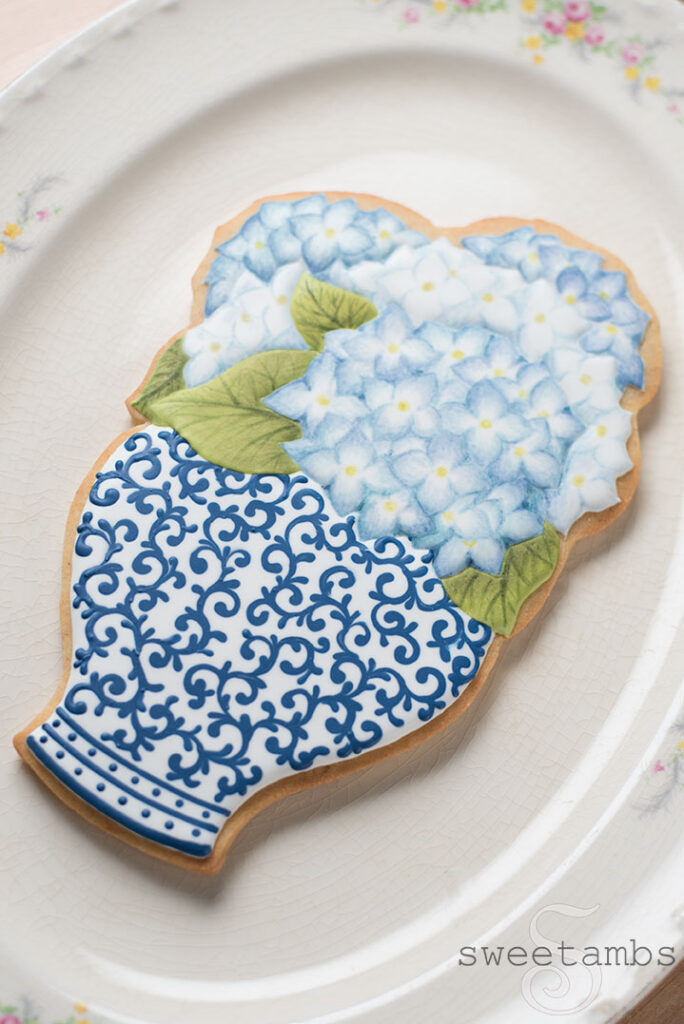
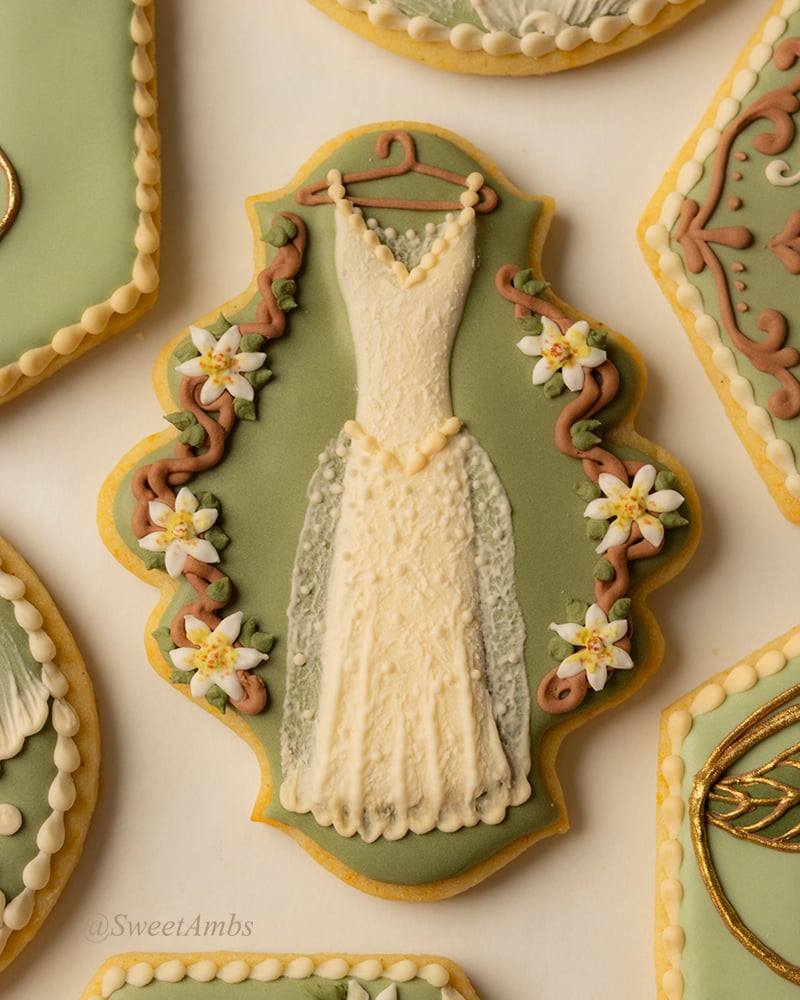
This rather large hydrangea cookie was requested by a lovely client who wanted to give her mother and sister something extra special for Mother's Day this year. Her vision included a bunch of blue and white hydrangeas sitting in a ginger jar and I was happy to oblige!
You can watch this members-only video tutorial (without ads!) when you join my Cookie Art Club!
Get access to exclusive cookie decorating tutorials, my cookie and royal icing recipes, and individualized cookie decorating advice by joining my Cookie Art Club!
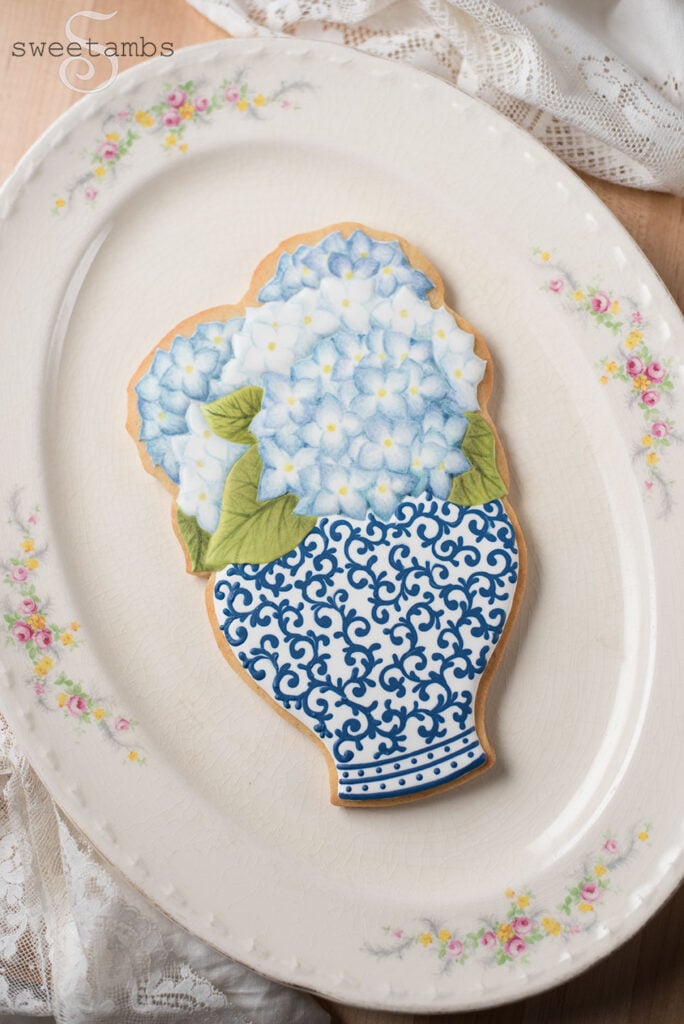
Before making the cookie, I drew a sketch for the client which I then used as a template to cut out the dough. Once the cookie was baked, I cut the template into pieces and traced each section on the cookie with my scribe tool so I would know where to pipe each section of icing. You could also use an edible ink marker for that part.
--
Here's the full supply list for this project:
Most of these supplies can be found in my Amazon Store unless otherwise noted.
- Chilled sheet of cookie dough (use your favorite or get mine in the Cookie Art Club)
- Template (above)
- Knife to cut around the template
- Flood consistency royal icing in white, green, and blue
- Decorating bags
- Decorating tips: Wilton 2 and 3 and PME 1.5
- Couplers
- Bag ties
- Edible ink marker (optional for tracing template)
- Round decorator brush
- Fine tip brush
- Food coloring for painting (I used Wilton Color Right)
- Alcohol or any flavor extract – Alcohol or flavored extracts are used for painting on royal icing because they evaporate very quickly, which means that the liquid won’t dissolve the icing as you are applying the paint.
- Small dish or paint palette for mixing paint
--
--
I don't think I could ever make them look this good. You are amazing!
This a so amazing! How long did it take you to complete?
Gosh, you are so talented!
Thanks, Connie!
so so so much beauty, WONDER-FUL
Thank you!!! 🙂
This is one of the prettiest cookies, I have ever seen! Absolutely beautiful.
Thank you, Jean!