
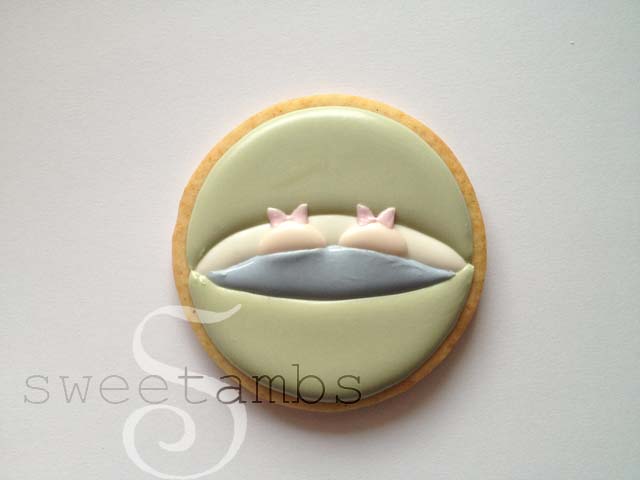
I made these cookies in 2013 when my grandmother requested a special design for her friends who became grandparents to twins.
--
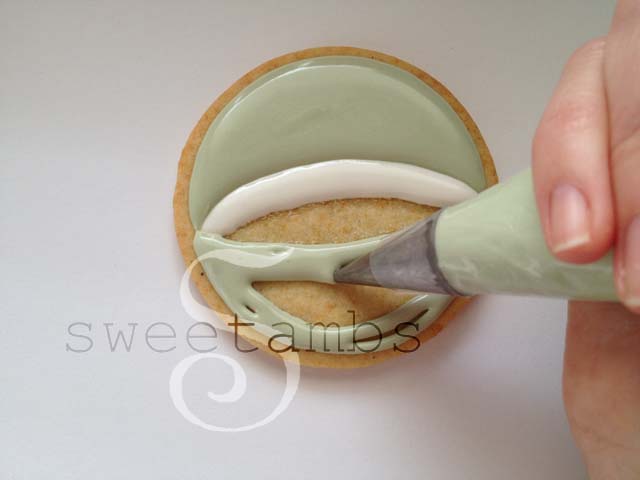
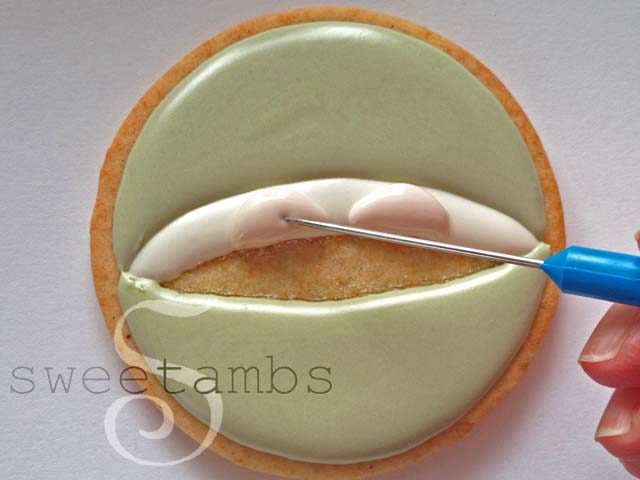
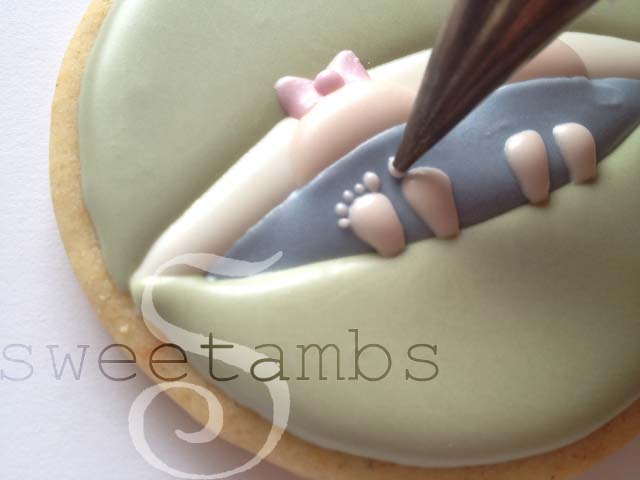
These baby bassinet cookies utilize the royal icing flooding technique, brush embroidery, ruffles and beading. Scroll down for the step-by-step tutorial!
--
This post contains affiliate links. Read my affiliate disclosure here.
 --
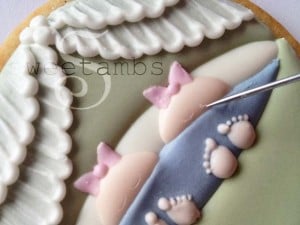
The blue, pink and green colors in these bassinets are from the Wilton Garden Tone 4-Piece Colors Set. You can also achieve these colors by adding black or brown to your pinks, blues and greens. To make the skin color shown here, I used a touch of brown mixed with a touch of pink and a mixture of brown and black for the eyes.
--
--
The blue, pink and green colors in these bassinets are from the Wilton Garden Tone 4-Piece Colors Set. You can also achieve these colors by adding black or brown to your pinks, blues and greens. To make the skin color shown here, I used a touch of brown mixed with a touch of pink and a mixture of brown and black for the eyes.
--
--
The blue, pink and green colors in these bassinets are from the Wilton Garden Tone 4-Piece Colors Set. You can also achieve these colors by adding black or brown to your pinks, blues and greens. To make the skin color shown here, I used a touch of brown mixed with a touch of pink and a mixture of brown and black for the eyes.
--
Here's what you'll need for this project. Find most of these supplies in my Amazon Store.
- 3" round cookie (my Orange Vanilla Spice recipe is available in the tutorial shop)
- Flood consistency royal icing
- Stiff consistency royal icing
- Scribe tool
- Decorating tips 1, 2, 3 and 104
- Square tip brush
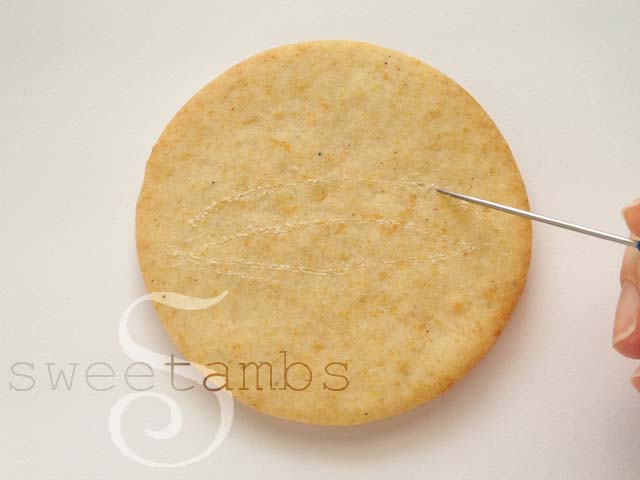
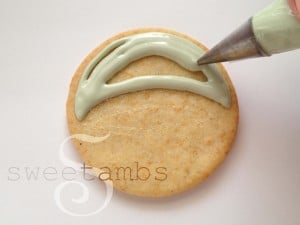
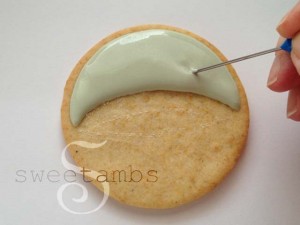
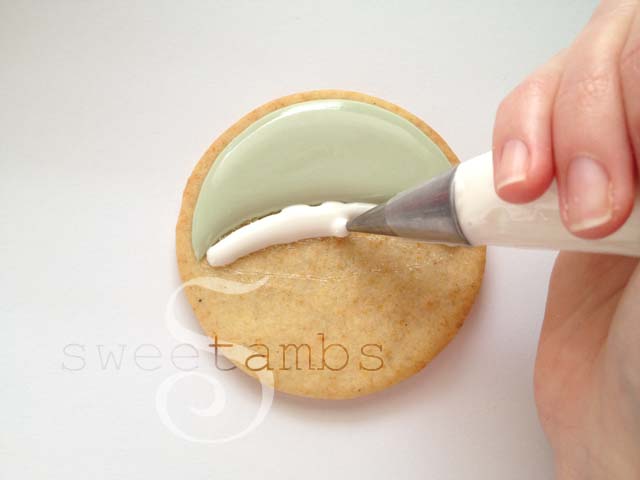




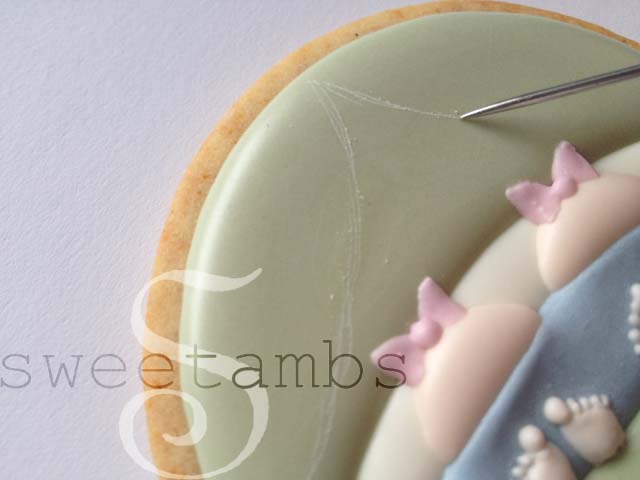
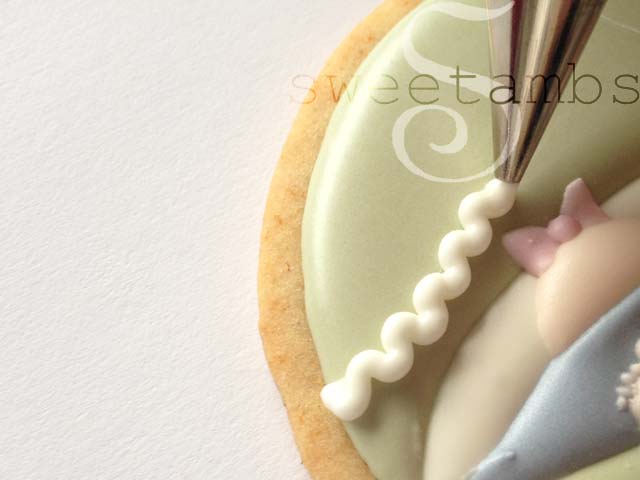
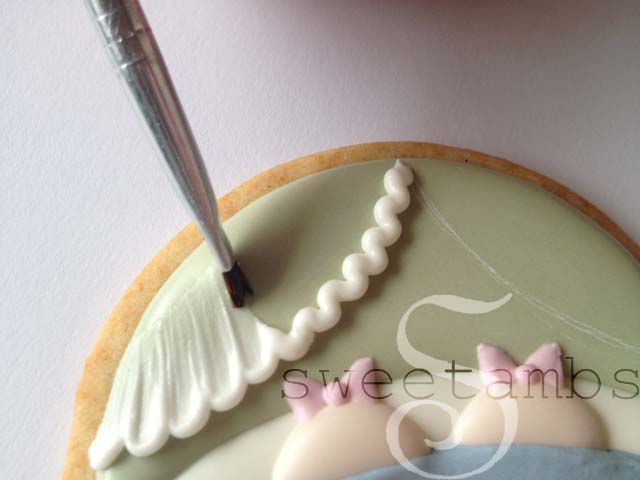
--
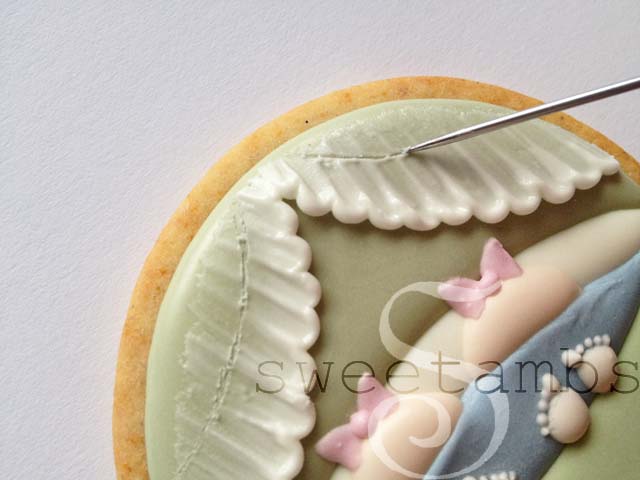
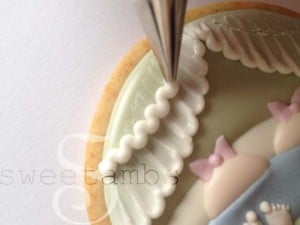
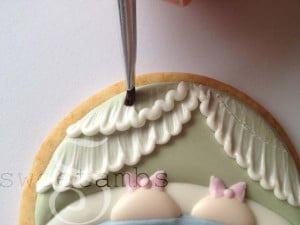
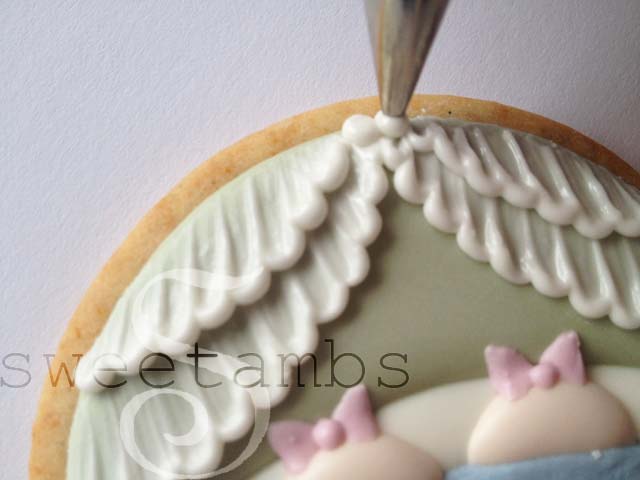
Make another layer of drapes using the same process.
--

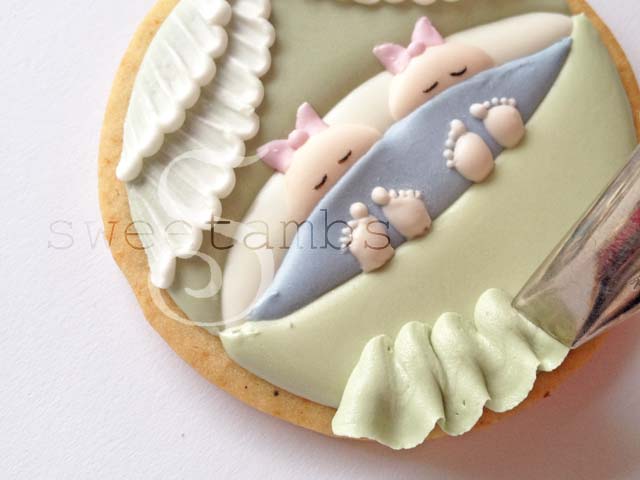
--
Layer the next ruffle over the first one.
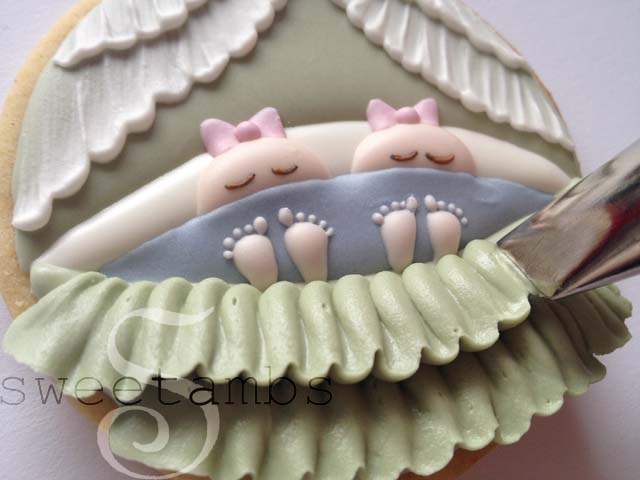
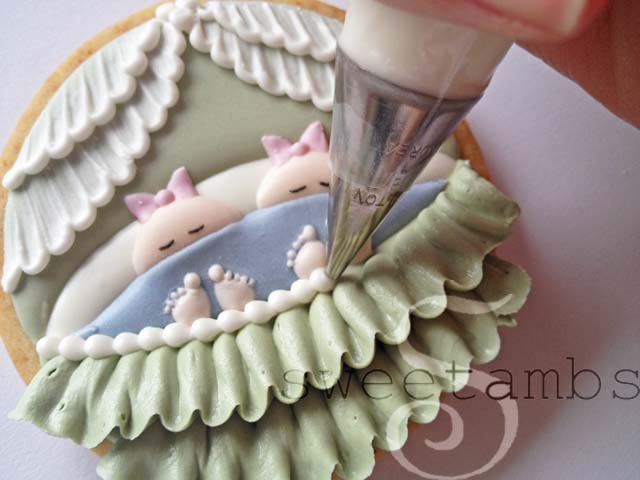

--
This post was originally published in April 2013.
--



Gracias por compartir sin preciosas
Fenomenalno umjetnost! ?
So very cute!
Thanks, Jackie!
LOVE !!! your work.
Thank you so much!
HERMOSO ?????
veryyyyyyyy niceeeeeeeeeeeeeee
Öğrenmeyi çok istiyorum keşke sizden ders alabilsem.çok başarılısınız
I can not wait to try this cookie design. It just makes you smile
to look at them.
EXCELLENT!!!
Ok, I don't bake, but I eat and I watch. i cannot get enough of your blog and tutorials. I can't imagine what you must charge per cookie for the amount of time and effort that is put into your beautiful creations.
Hy Amber I just want to say how amazing you are. The stuff you do are amsolutly gorgeous. Thanks for sharing:)
gorgeous!!!
What size are the cookies?
These are about 3" in diameter
Genial!! Sin palabras!!
Confeti en los bolsillos
Absolutely Adorable!!! Thank you for sharing your amazing talent!!!
Thank you, Sandy!!
excelente y gracias por compartirlo
Amber..
I enjoyed looking through all of your new tutorials.....love all of them, but this is my favorite!!
I just found your site via Pinterest. Amazing you are!! Question, how long did it take you to make these cookies? How many did you make?
Thank you for showing how you did it! That is very kind!
Thank you, Stephany! It takes about 30 minutes of decorating time to make each cookie, but there's a lot of drying time in between the steps. I only made 8 cookies and it took 2 days from start to finish. Thanks for your comment!
Parabéns pelo seu trabalho.É de uma delicadeza!!!!!
Amei de paixão!!!!!!
Muy lindos
Con tu blog hermoso, me ayudara para mil ideas
Claro como tu nunca
Eres genial no se qué decir de tanta hermosura
Un beso
HI!! i have a Question???????? You used a scribe to get a basic idea of where u were going to flood.....what about an edible marker???????is ok! to use a light colored edible mark to draw out a pic.. before flooding???????????or would it bleed threw???????? and Have u ever done that???????? Thankyou!!!!
Hi Davett! You can definitely use an edible marker for this. Use a light one, like you said, just in case it bleeds! Let me know if you have any other questions!
Charming, sweet, lovely adorable as usual, Amber!
Thank you, Felicia!
Amber your choice of colors are always so beautiful!! I simply adore this set. Great tutorial and thank you for always sharing your tips with us. You inspire me to want to be better 🙂
That's so nice! Thank you!!
WOW! WOW! WOW! Just came across your site and I am absolutely amazed. Your work is so beautiful! Thank you for sharing your knowledge.
Thank you!!
Just lovely thank you so much for inspiring and sharing . I will need a lot of practice !
Wow! You are so inspiring! Thank you for sharing this! 🙂
Excellent and amazing !!
SO beautiful! And you make it look so easy!
Beyond precious love love love them!
You are incredible. Thanks for sharing your talent with the world.
These are the most adorable baby cookies I have ever seen. You are amazing! Thank you for the tutorial!
The the tutorial and the cookies are awesome!
Thank you for sharing! Your work is amazing!
Thank you, everyone! I'm so glad you like this tutorial!
Thank you do much for posting this very detailed tutorial. Youre awesome!!!!!!!!!!!
Love this and your work. Thank you!
Moro no Brasil e amo seus trabalhos,são simplesmente lindos.beijos
So genius and beautiful! You make everything look so easy. Thank you for sharing this!
These are just adorable!