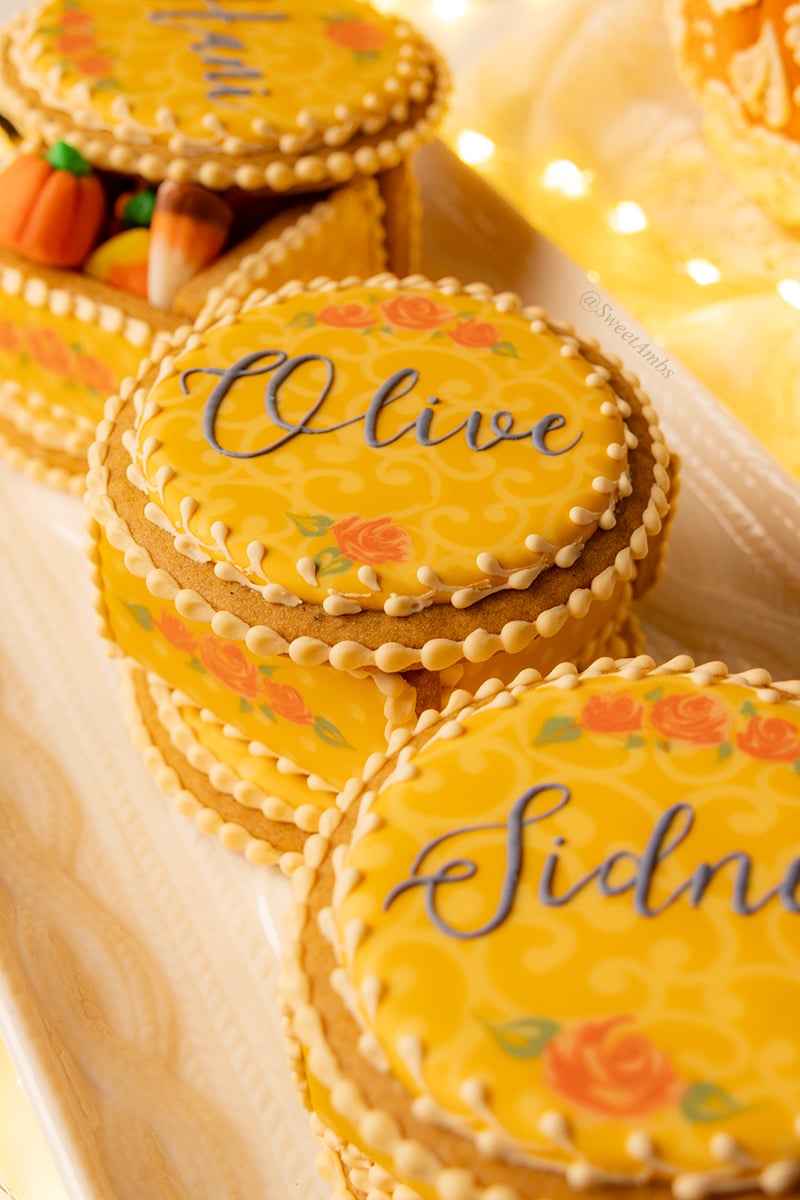
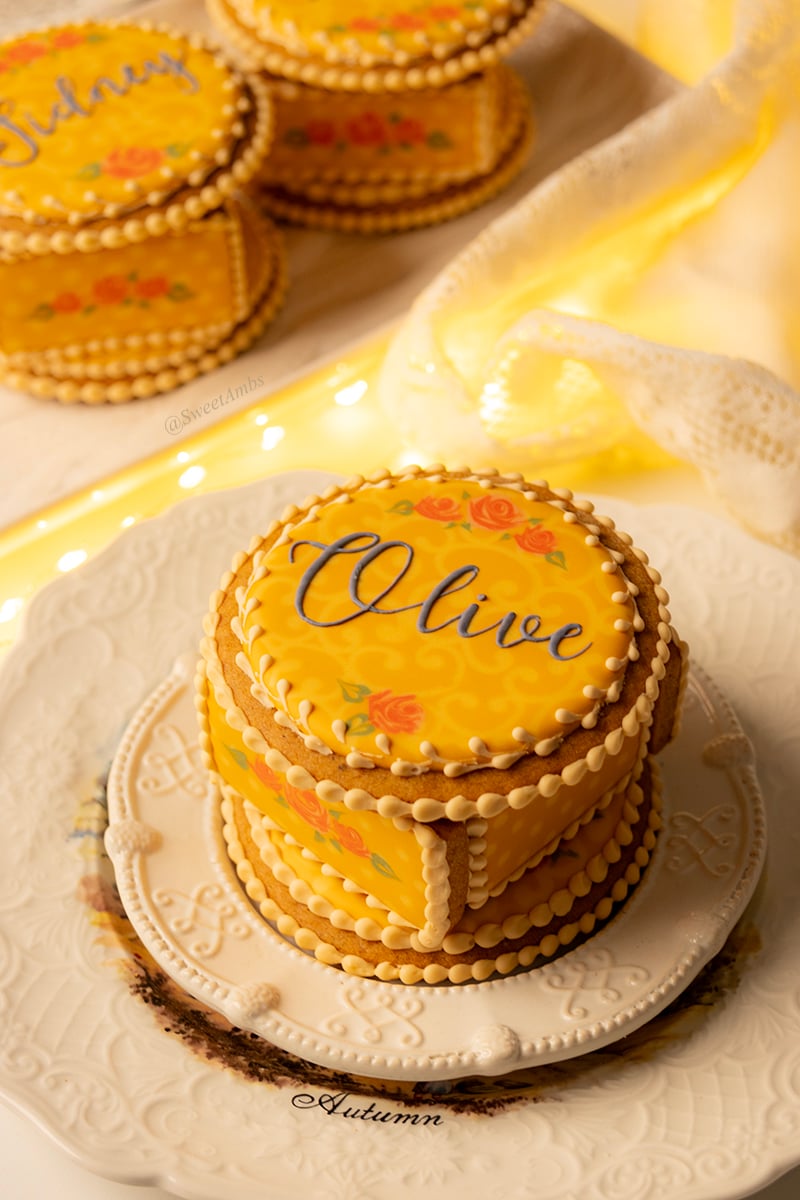
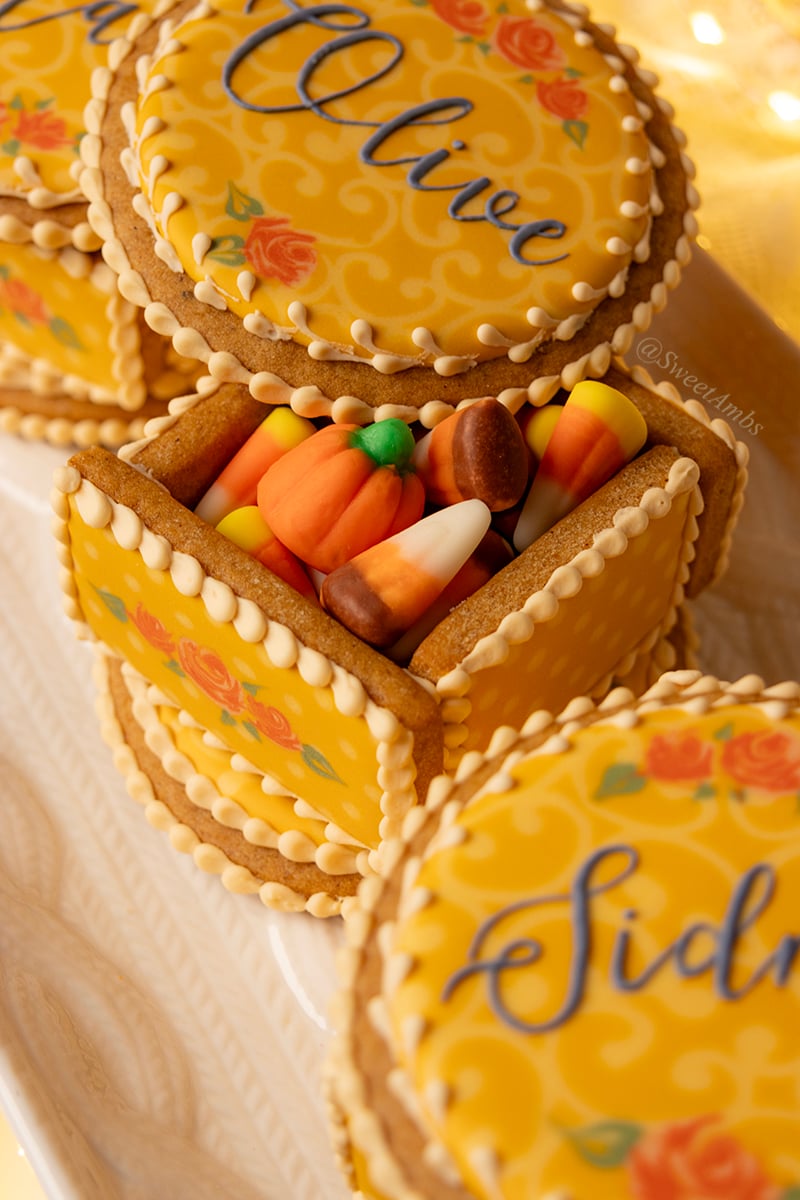
I recently completed an order for a fall wedding and was feeling very inspired by the icing color palette, so I created these personalized edible favor box cookies for fall that can be filled with treats. I think they would be really nice as place cards at a (small) Thanksgiving gathering!
The full tutorial, recipes, and templates for these fall cookies are in the Cookie Art Club.
You can watch this members-only video tutorial (without ads!) when you join my Cookie Art Club!
Get access to exclusive cookie decorating tutorials, my cookie and royal icing recipes, and individualized cookie decorating advice by joining my Cookie Art Club!
This post contains affiliate links. Read my affiliate disclosure here.
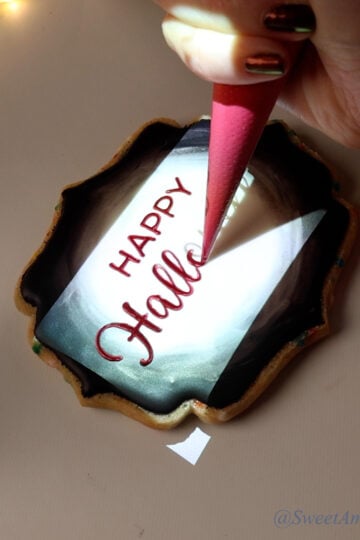
I used my new projector to help me with piping the names on these edible favor boxes, which makes the process go much faster! I made one box for each of my kids and one for my friend Hani of Haniela's as a little surprise before our livestream last week.
All of the colors on these decorated cookies are made with natural food coloring from The Sugar Art. The design includes filigree and roses, both done using the wet-on-wet royal icing technique, requiring you to move somewhat quickly. You'll have up to 10 minutes to work with the royal icing if you are using my recipe, depending on the humidity, how much food coloring is in the icing, and the consistency of your icing.
Here's what you'll need to make these edible favor box cookies for fall
These supplies are available in my Amazon store or Walmart store unless otherwise noted. These are affiliate links.
- Chilled sheet of cookie dough
- 3” round cookie cutter
- 2-¼” square cookie cutter or ruler to cut box pieces
- Knife to cut box pieces
- Microplane for box edges
- Royal icing
- The Sugar Art natural food coloring in Sunny, Golden Ivory, Harvest, Ruby, Slate, and Garden Sage
- 4 12” decorating bags with coupler
- 4 tipless decorating bags
- Decorating tips 1 or 1.5 and 3
- Bag ties or rubber bands
- Scribe tool
- Decorator brush
- Name templates on a computer, phone, or tablet (I make my templates in Canva and Photoshop)
- Kodak Mini Portable Projector or similar projector (If you don’t have one, see my tutorial on how to pipe lettering without a projector)
- HDMI to USB-C cable (this came with the Kodak projector)
- Tabletop tripod (I have this one from B&H Photo)
Relevant tutorials: Royal Icing 101, How To Pipe Filigree, How to Pipe Royal Icing Borders, How to Use A Projector (available in the Cookie Art Club)
I filled these cookie boxes with a fall assortment of candy corn (my kids' favorite!).
Want to make your own edible favor box cookies? My recipes and cookie decorating tutorials are available to Cookie Art Club members and you can try it free for 7 days. If you’re already a Cookie Art Club member, you can log in here.