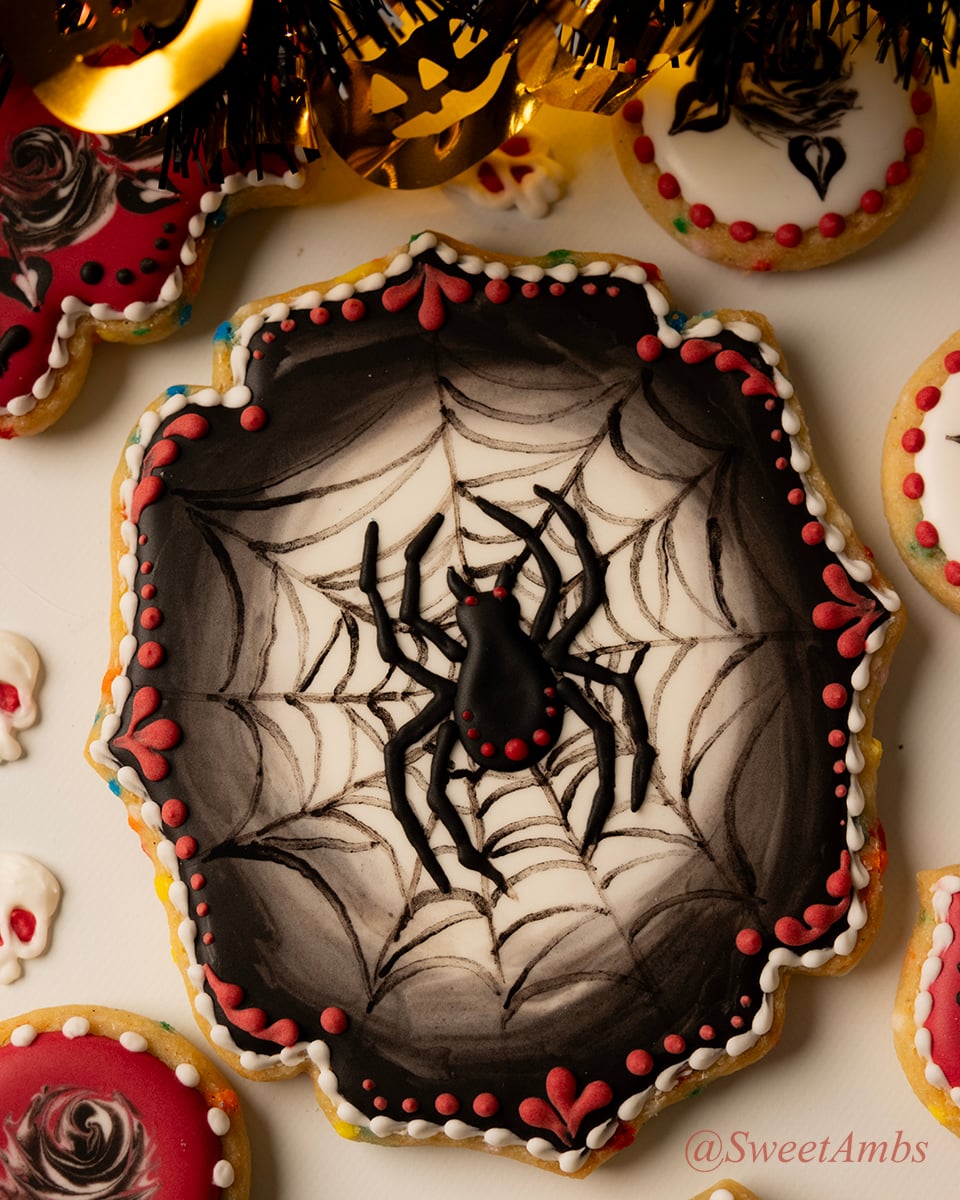
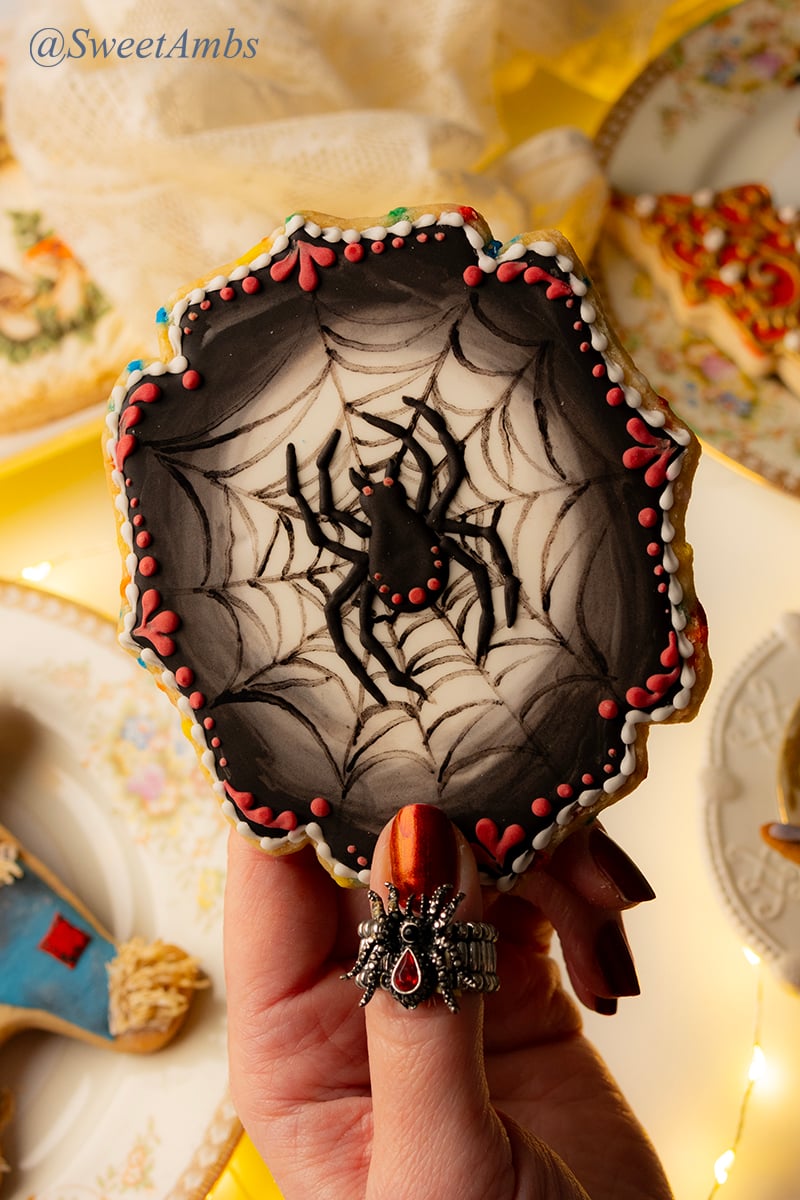
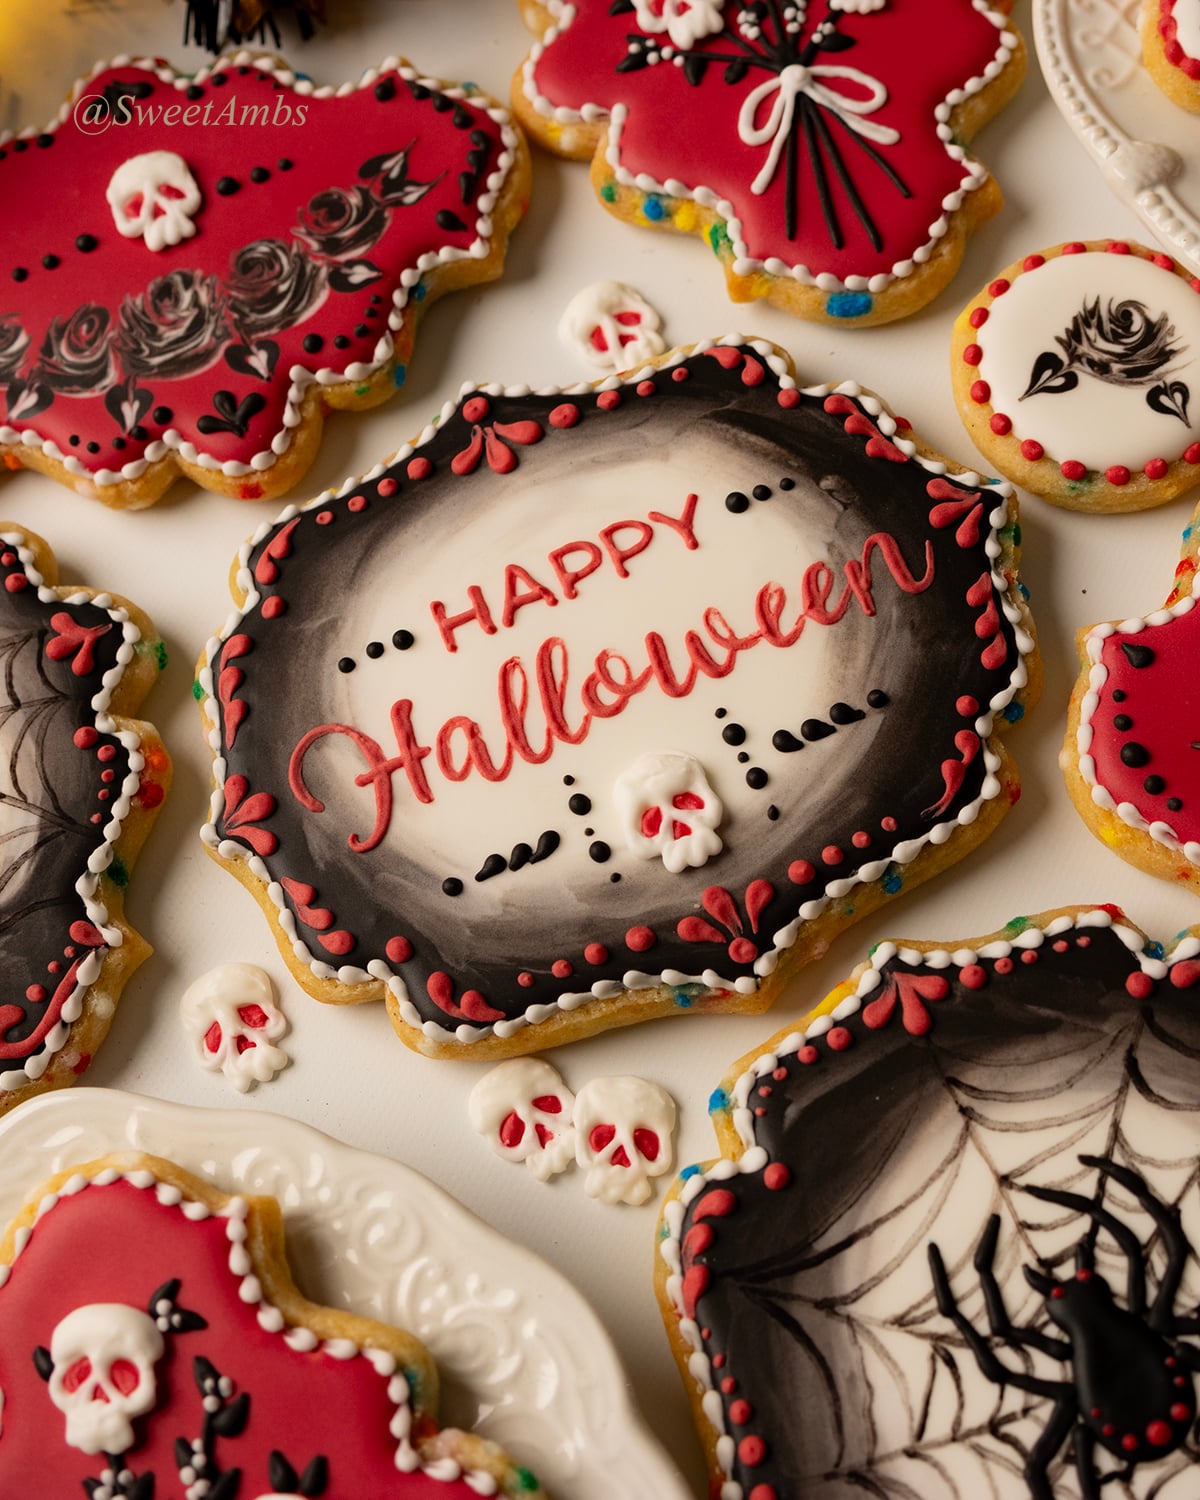
I've been avoiding using artificial colors as much as possible over the last several months, so decorating Halloween cookies with royal icing looked a little different for me this year! Friend and Cookie Art Club member Sally of the blog For The Love Of Cookies sent me a picture that inspired these Halloween cookies. I challenged myself to recreate the inspiration using only natural food coloring!
The full tutorial, recipes, and templates for these Halloween cookies are in the Cookie Art Club.
You can watch this members-only video tutorial (without ads!) when you join my Cookie Art Club!
Get access to exclusive cookie decorating tutorials, my cookie and royal icing recipes, and individualized cookie decorating advice by joining my Cookie Art Club!
This post contains affiliate links. Read my affiliate disclosure here.
I tried natural food coloring from The Sugar Art for the first time late last year, and I have used it in nearly every project since then! This December will be a full year of cookie decorating tutorials made with natural food coloring, and I have to say, I was feeling nervous about creating Halloween designs without artificial black and red food coloring! Fortunately these natural colors are vibrant and, even though they don't make a natural black color, black cocoa powder is a fantastic substitute.
To make black icing, I mixed King Arthur black cocoa powder with Slate natural food coloring from The Sugar Art. The red icing is made with their Ruby & Sunny natural food coloring. The full tutorial and color mixing instructions are available to Cookie Art Club members.
Here's what you'll need for decorating halloween cookies with royal icing
These supplies are available in my Amazon store or Walmart store unless otherwise noted. These are affiliate links.
- Chilled sheet of cookie dough
- Plaque cookie cutters
- Royal icing
- The Sugar Art natural food coloring in Slate, Ruby, and Sunny
- Black cocoa powder
- 2 12” decorating bags with coupler
- 3 tipless decorating bags
- Decorating tip 3
- Bag ties or rubber bands
- Scribe tool
- Tapered offset spatula
- Thin brush (I used one from Chua Cookie)
- Color Solution from The Sugar Art, strong vodka, grain alcohol, or any extract for painting on royal icing
- Paint palette or small dish
Relevant tutorials: Royal Icing 101 and How to Pipe Royal Icing Borders (available in the Cookie Art Club)
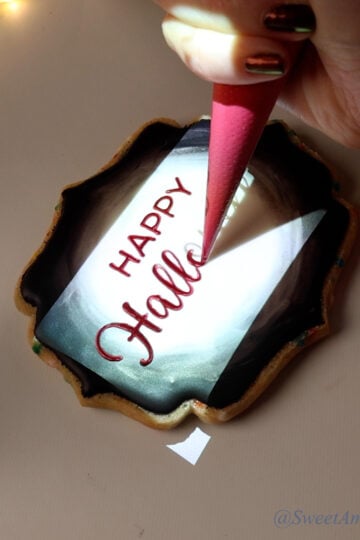
This spider Halloween cookie is part of the set that I shared previously showing how to use a projector to decorate cookies.
Want to make your own Halloween cookies? My recipes and cookie decorating tutorials are available to Cookie Art Club members and you can try it free for 7 days. If you’re already a Cookie Art Club member, you can log in here.