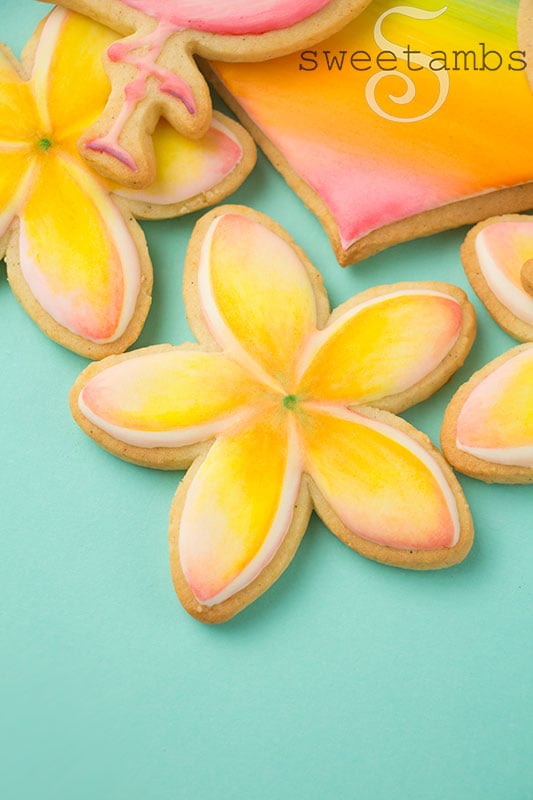
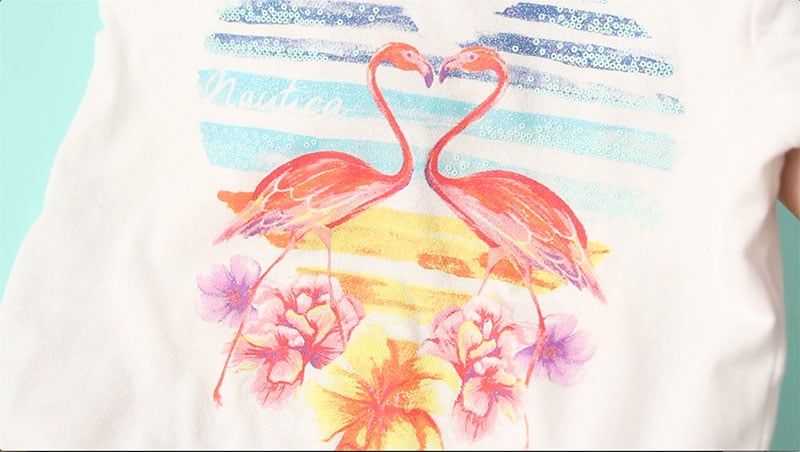
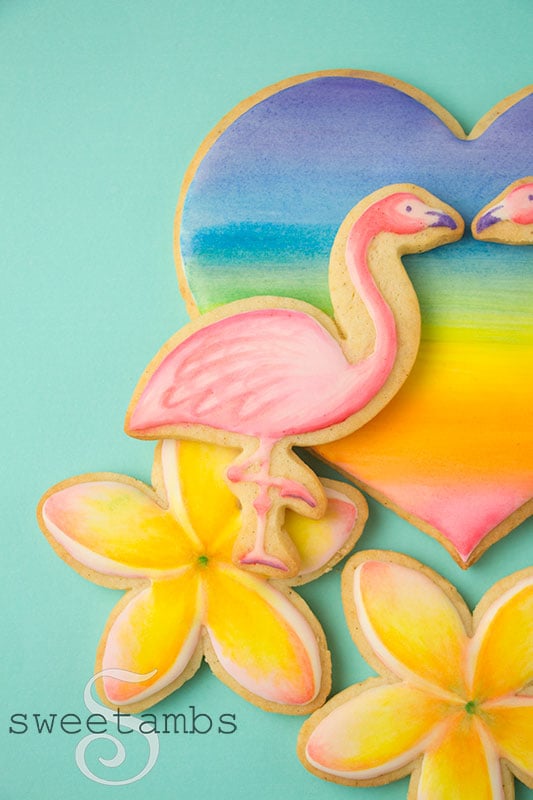
Here's another design that was inspired by one of my daughter's outfits! These tropical cookies are based on a t-shirt with a similar scene.
You can watch this members-only video tutorial (without ads!) when you join my Cookie Art Club!
Get access to exclusive cookie decorating tutorials, my cookie and royal icing recipes, and individualized cookie decorating advice by joining my Cookie Art Club!
This post contains affiliate links. Read my affiliate disclosure here.
Here's the shirt that inspired these tropical cookies. I decided to paint them with edible watercolor rather than mix the colors into the icing and pipe them onto the cookies.
I find that with painting I have a lot more flexibility with the colors than I do with piping. It's also easier to blend them and it saves time because I don't have to mix up all those colors and fill the bags!
Read this post to learn more about painting with food coloring on royal icing.
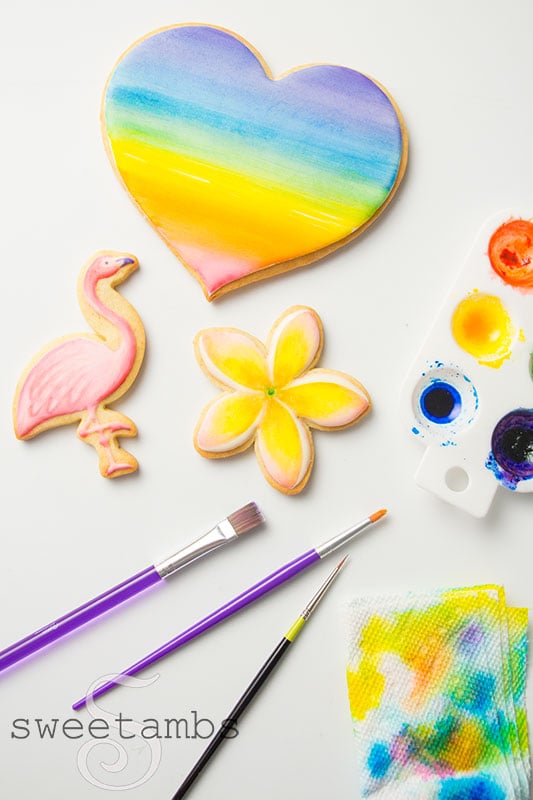
Here's what you'll need to make these tropical cookies with edible watercolor
These supplies are available in my Amazon Store unless otherwise noted.
- Chilled sheet of cookie dough (my recipe is available in the tutorial shop)
- Heart template (available to my Patreon Subscribers)
- Plumeria template (available to my Patreon Subscribers)
- Flamingo Cookie Cutter
- Paring knife to cut the cookies
- Flood consistency royal icing in white
- 12″ decorating bags
- Couplers
- Decorating tip 3
- Bag tie
- Scribe tool
- Gel food coloring for painting: Chefmaster Rose Pink, Sunset Orange, Lemon Yellow, Leaf Green, Sky Blue, and Violet
- Round decorator brush and flat decorator brush (I used the brushes from the Wilton 5 piece set)
- Thin artist brush
- Paint Palette
- Vodka or grain alcohol for painting
- Reference photos of flamingo and plumeria (find your favorites on Google Images)
Read my Ultimate Guide To Royal Icing to learn all about royal icing consistencies.