Vintage Inspired Christmas Cookie Ornaments
This post contains affiliate links. Read my affiliate disclosure here. — I made more Christmas cookie ornaments! You can see the other two sets of cookie ornaments here and here. I was inspired to make this set after seeing this photo of vintage ornaments posted on Rachel Ashwell’s Facebook page. 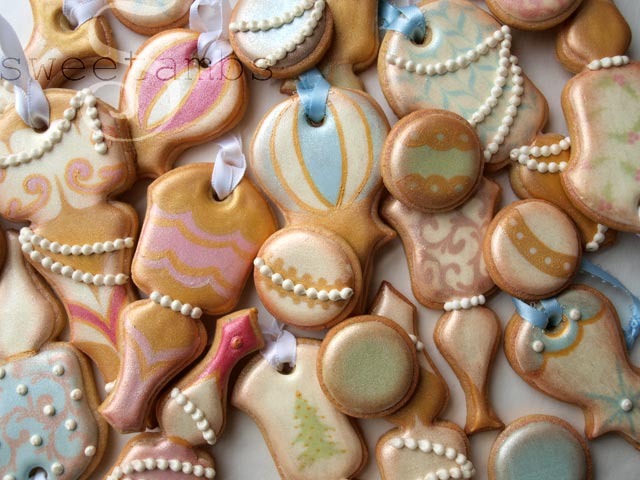
 — For this project you will need:
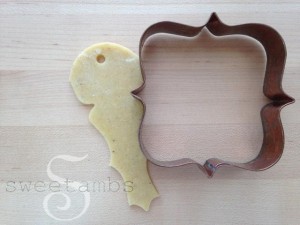


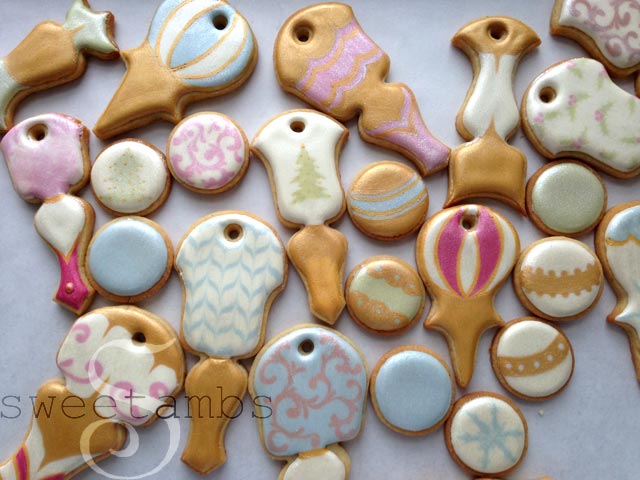
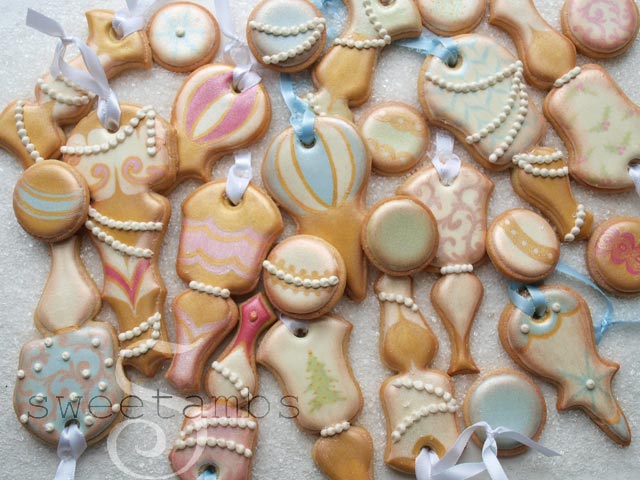
 Once the cookies were baked and cooled, I used the wet on wet technique to decorate them with flood consistency royal icing and a tip 2. You can see an example of the wet on wet technique here and you can see the filigree technique here. — All of the sections that were painted gold were iced in brown first.

 — I allowed the icing to dry overnight and then painted the cookies with a mixture of white pearl dust and a few drops of alcohol, avoiding the areas of light brown. I also painted some of the pink sections with the orchid pink. Read this post for more information about painting with pearl dust.
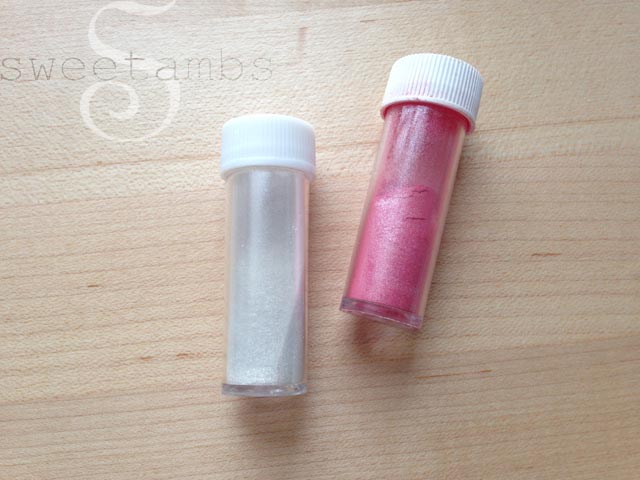


 — The NY Cake super gold was also applied as a paint.
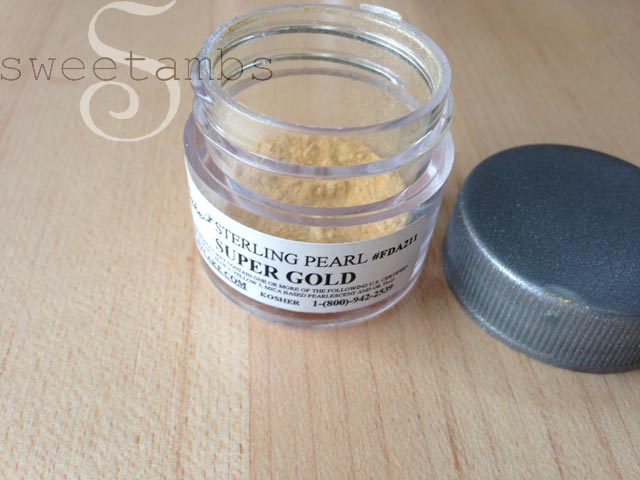

 — Once the pearl dust paint was completely dry (wait about 20 minutes to be safe), I added a little bit of dry bronze pearl dust around the edges of the cookies.
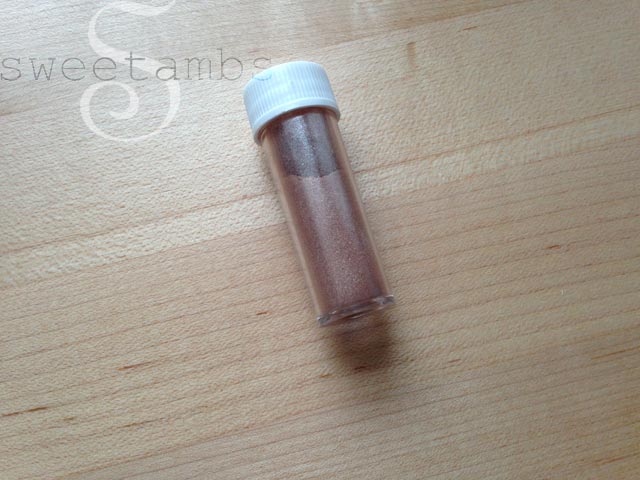

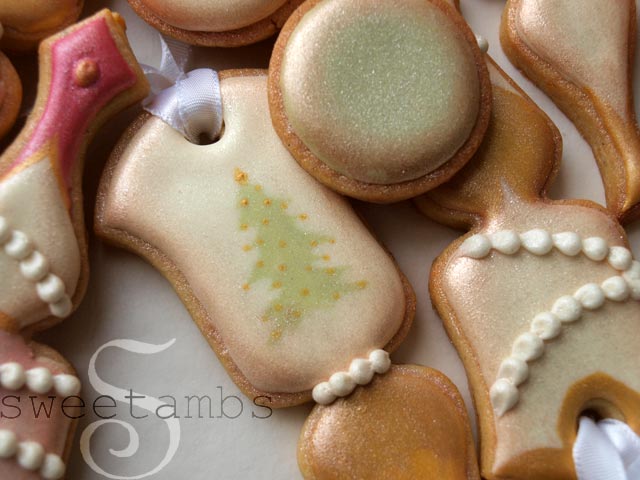
 — I also added some strings of beads with stiff consistency icing and a tip 3, then painted the beads with the white pearl dust.
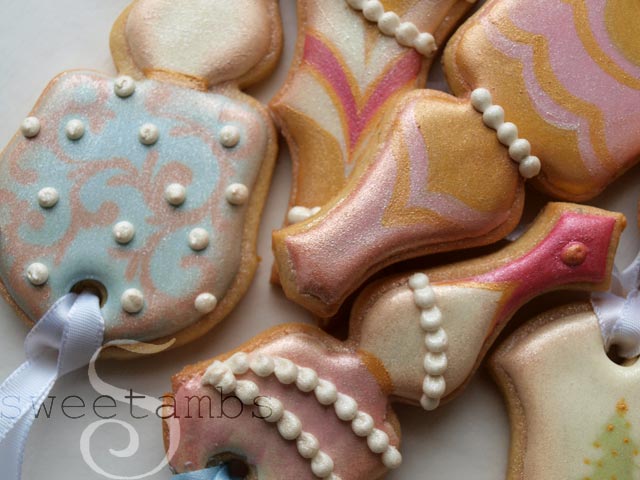

 —
—


 —
—
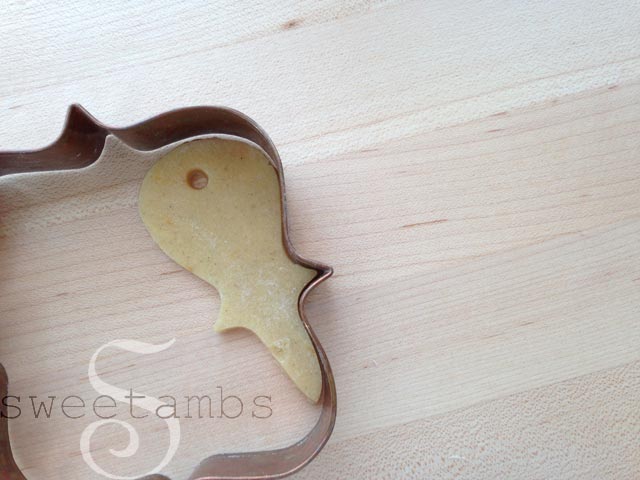
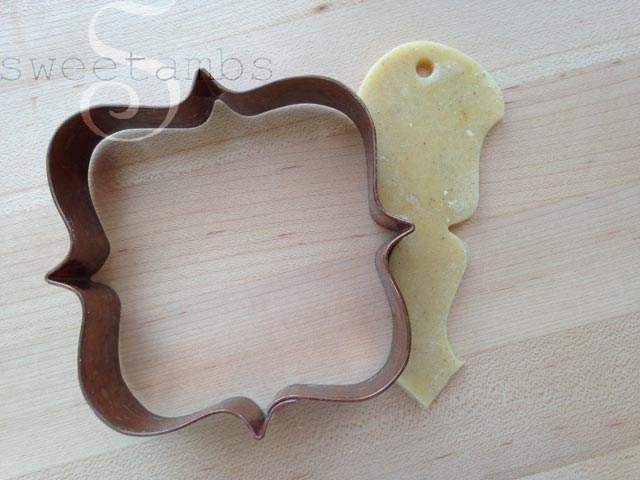
— For this project you will need:- Roll out cookie recipe (my Orange Vanilla Spice Recipe can be found in my tutorial shop)
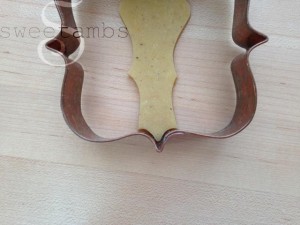
- Fancy square cookie cutter or your favorite ornament shaped cookie cutter
- Flood consistency royal icing
- Stiff consistency royal icing
- Decorating tips 2, 3 and 8
- Scribe tool
- Wilton pearl dust in white, orchid pink and bronze

- NY Cake super gold luster dust
- Alcohol or flavored extract for painting
- Small paint brush
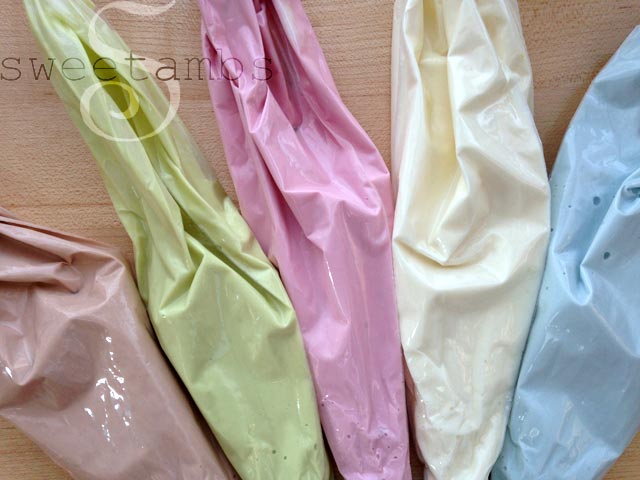
- Light brown: Wilton brown + a touch of green
- Light green: Sugarflair gooseberry
- Pink: Sugarflair dusky pink
- Cream: Wilton golden yellow
- Light blue: Sugarflair navy


 Once the cookies were baked and cooled, I used the wet on wet technique to decorate them with flood consistency royal icing and a tip 2. You can see an example of the wet on wet technique here and you can see the filigree technique here. — All of the sections that were painted gold were iced in brown first. — I allowed the icing to dry overnight and then painted the cookies with a mixture of white pearl dust and a few drops of alcohol, avoiding the areas of light brown. I also painted some of the pink sections with the orchid pink. Read this post for more information about painting with pearl dust. — The NY Cake super gold was also applied as a paint. — Once the pearl dust paint was completely dry (wait about 20 minutes to be safe), I added a little bit of dry bronze pearl dust around the edges of the cookies. — I also added some strings of beads with stiff consistency icing and a tip 3, then painted the beads with the white pearl dust. —
Click on the images below for more cookie decorating tutorials
—
Subscribe
Login
0 Comments
Subscribe
0 Comments