Piping Without a Kopykake Projector – NYC Cookies
If you’re like me and don’t own a Kopykake projector, you can use this tissue paper method to transfer almost any design onto a cookie. For products used in this and other tutorials, visit the recommended products page.
 Begin by tracing your image onto a piece of tissue paper using an edible ink marker. You can use Google images to find inspiration for your designs. Then, you can either print them out on a piece of paper or draw them yourself.
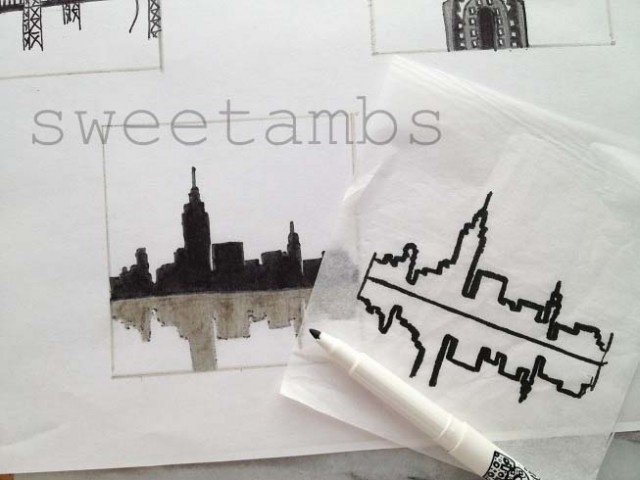

 Place the tissue paper with the image over a cookie that has been flooded with royal icing and allowed to dry completely (8-12 hours drying time). This cookie was made using my Orange Vanilla Spice recipe, which is available in my tutorial shop. It measures 3×3″.
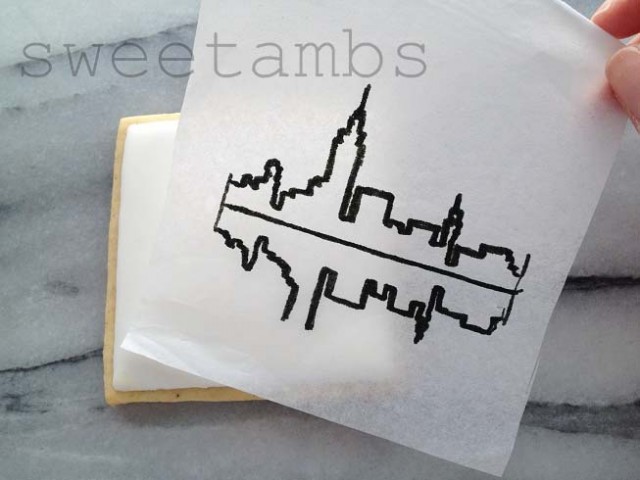
 With the image placed over the cookie, go over it again with the edible ink marker. Use a little pressure to be sure that the image transfers onto the icing. The ink will bleed through the tissue paper, transferring your image onto the cookie.
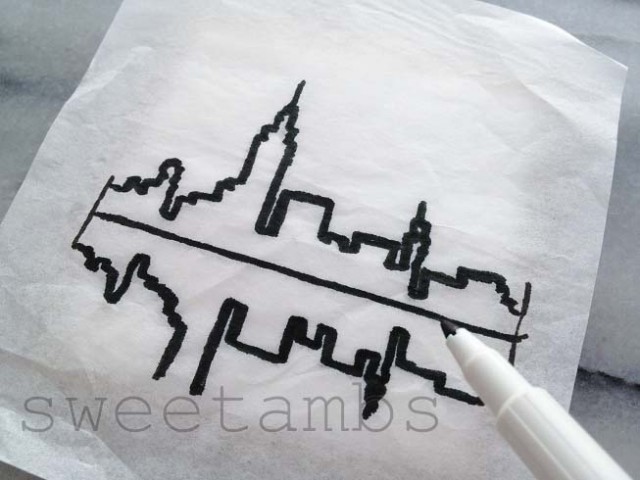
 You’ll have a rough outline to follow, like this:
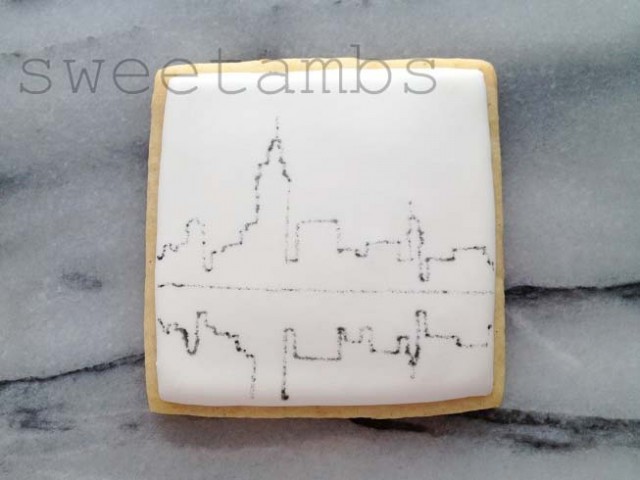
 Outline and fill in the image with a tip 1 and flood consistency royal icing.
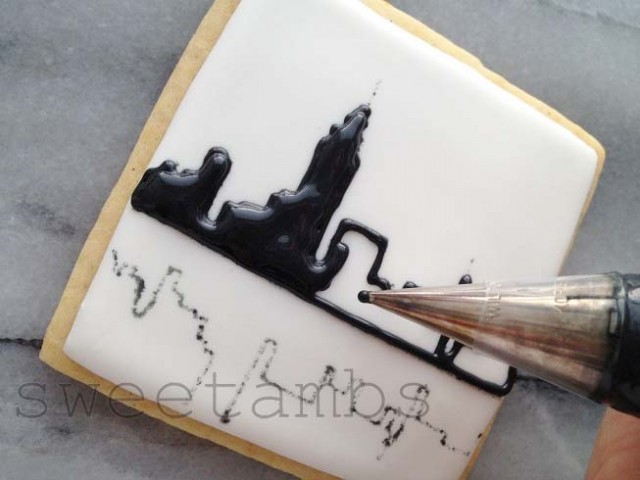
 Then, use a scribe tool or a toothpick to evenly distribute the icing and fix the edges.
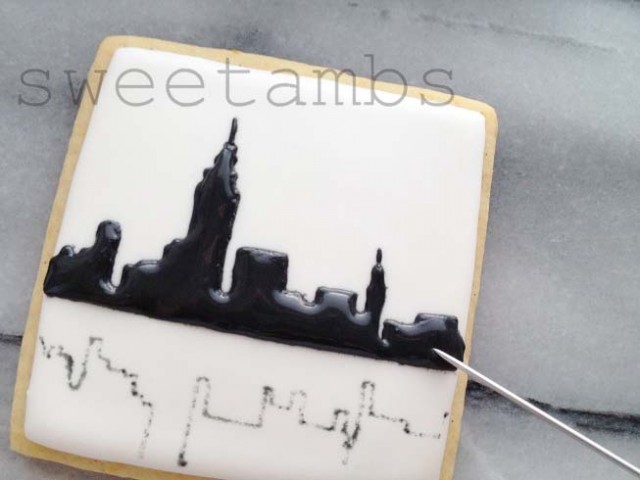
 Immediately fill in the lower section with flood consistency icing and a tip 1. I used gray for the lower section to give the impression that it is a reflection of the city skyline. Pipe a border by outlining the edges of the cookie using the black flood consistency icing and tip 1.
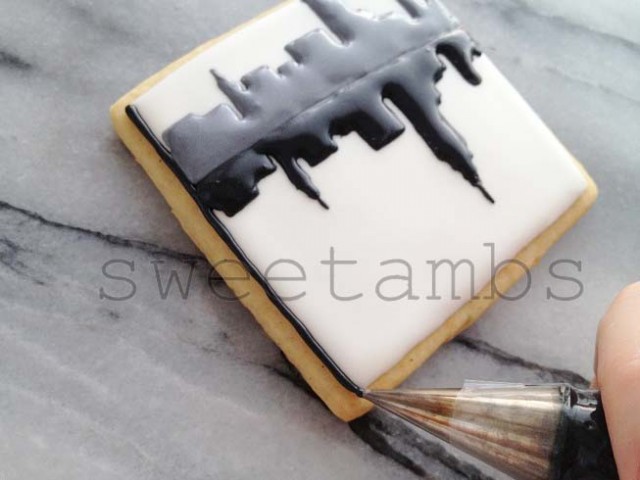
 Allow the icing to dry another 6-8 hours before handling the cookie.

 I also used this tissue paper method to make these art deco cookies.
 Have you tried this method? Share photos of your work on my Facebook page!
Begin by tracing your image onto a piece of tissue paper using an edible ink marker. You can use Google images to find inspiration for your designs. Then, you can either print them out on a piece of paper or draw them yourself. Place the tissue paper with the image over a cookie that has been flooded with royal icing and allowed to dry completely (8-12 hours drying time). This cookie was made using my Orange Vanilla Spice recipe, which is available in my tutorial shop. It measures 3×3″. With the image placed over the cookie, go over it again with the edible ink marker. Use a little pressure to be sure that the image transfers onto the icing. The ink will bleed through the tissue paper, transferring your image onto the cookie. You’ll have a rough outline to follow, like this: Outline and fill in the image with a tip 1 and flood consistency royal icing. Then, use a scribe tool or a toothpick to evenly distribute the icing and fix the edges. Immediately fill in the lower section with flood consistency icing and a tip 1. I used gray for the lower section to give the impression that it is a reflection of the city skyline. Pipe a border by outlining the edges of the cookie using the black flood consistency icing and tip 1. Allow the icing to dry another 6-8 hours before handling the cookie. I also used this tissue paper method to make these art deco cookies. Have you tried this method? Share photos of your work on my Facebook page!
Subscribe
Login
0 Comments
Subscribe
0 Comments