Food Emoji Cookies Part Two! Fruits and Vegetables
This post contains affiliate links. Read my affiliate disclosure here.
—
Well, this is one way to get my daughter to eat her vegetables! These fruit and vegetable emoji cookies are the second part of my food emoji cookie series (maybe I’ll gather up the energy to do another set, but don’t hold your breath… these took forever!).

—
The corn and broccoli turned out to be my favorite in the set. Although I really love how the coconut turned out, too! I posted a few days ago on Instagram about Olive calling corn “kern” and how it’s the cutest thing ever. And she says it with such conviction, like “KERN!”. Scroll down for the video tutorial, supply list, and instructions.

—
I had to speed up the video to fit everything in and it still ended up being 15 minutes long! I have no idea how long it actually took to make all of these cookies because I did this over the course of several days in between other projects.
—
Here’s what you’ll need for this project. Get all of these supplies in my Amazon Store: https://bit.ly/SweetAmbsAmazonStore
—
-Roll-out cookie dough (use your favorite recipe or get mine in the tutorial shop)
-Emoji templates (google image search “food emoji cookies” and print them any size you like!)
-Flood Consistency Royal Icing
-“tipless” decorating bags
-Scribe tool
-Edible ink marker for kiwi seeds
-Food coloring: Wilton Color Right set
-Crystal Colors Snowflake powdered food coloring for highlights
-Decorator brushes
-Paint palette
-Grain alcohol, vodka, or extract for painting (Alcohol or flavored extracts are used for painting on royal icing because they evaporate very quickly, which means that the liquid won’t dissolve the icing as you are applying the paint. The stronger the alcohol, the better!)
I
Instructions:
1) Begin by icing the cookie with flood consistency royal icing.
—
2) Use a scribe tool to help shape the icing.
—
3) Allow the icing to dry completely.
—
4) Mix food coloring with grain alcohol, vodka, or any flavor extract such as vanilla, lemon, or almond.
—
5) Use the edible paint to add shading to the dry icing.
—
6) Repeat the process on the rest of the cookies.
—
7) Use white powdered food coloring for highlights.
—
Pin this project for later!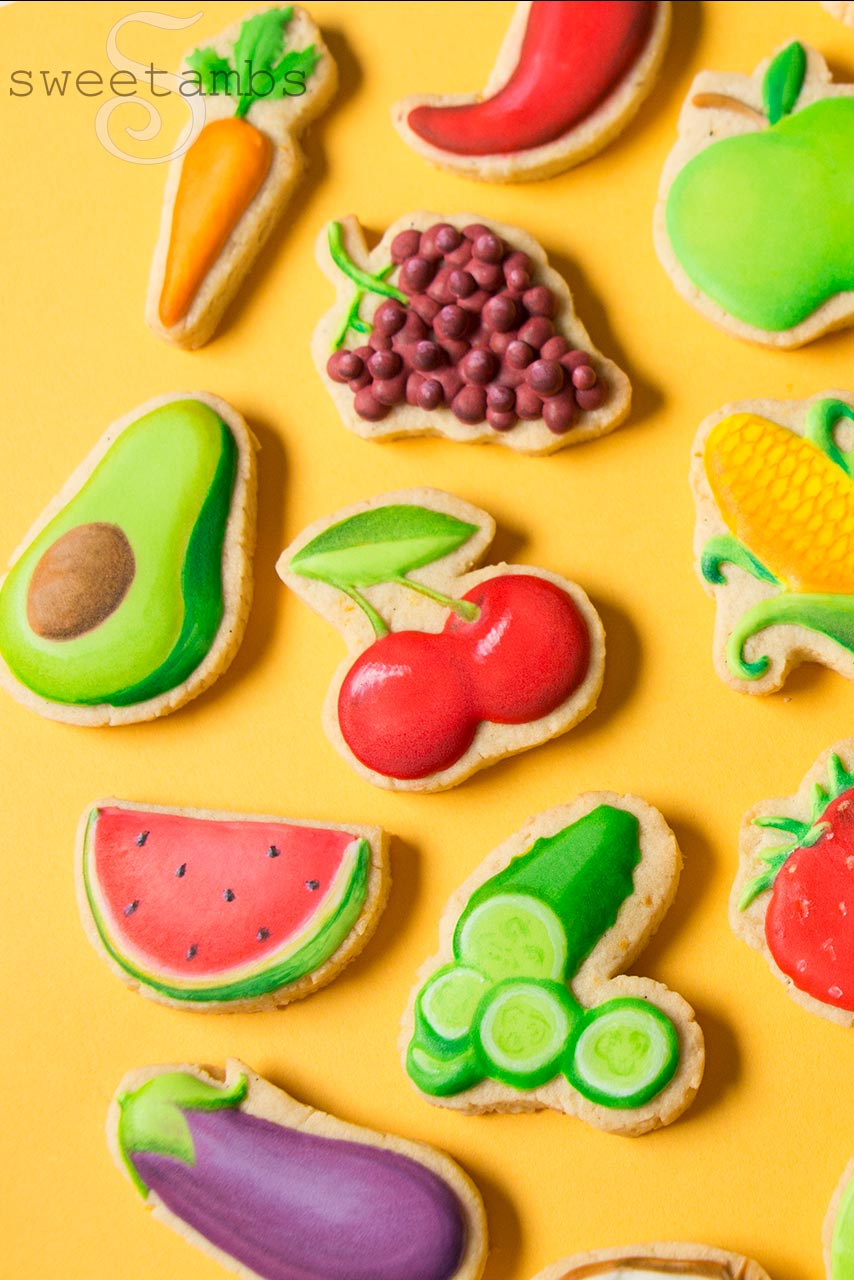


—
Click on the images below for more cookie projects!


—

Subscribe
Login
0 Comments
Subscribe
0 Comments