
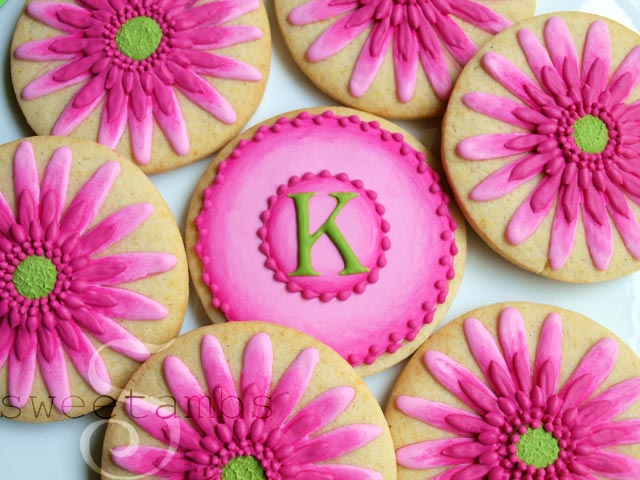
I'd been thinking about making brightly colored gerbera daisy cookies a lot lately. After a couple failed attempts, I was very happy to give it another shot when my friend ordered some for her friend as a wedding gift.
 Here's what you'll need to make gerbera daisy cookies:
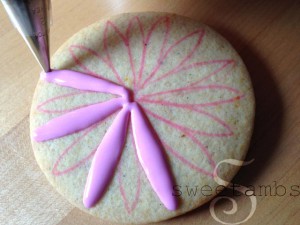
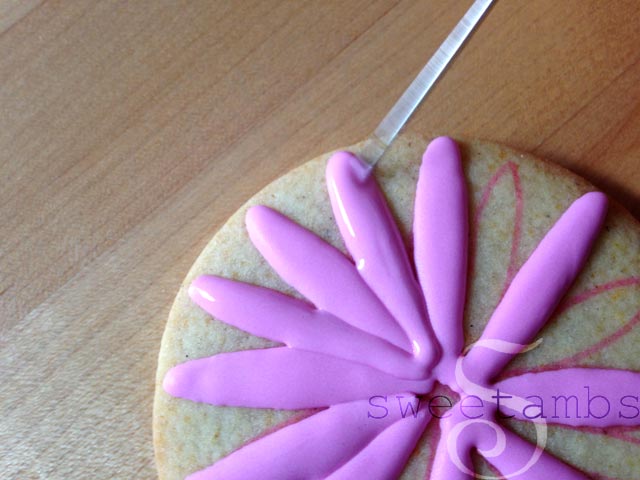
 Fill in every other petal with a light shade of pink flood consistency royal icing and a tip 2. Use the scribe tool to help shape the icing.
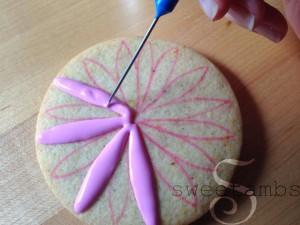 Allow the first set of petals to dry about 1 hour in front of a fan. Then fill in the rest of the petals.
 Allow the icing to dry about 8 hours. Using a mixture of deep pink gel paste and a few drops of alcohol or flavored extract (much like painting with gold on royal icing), paint the center of the flower with a soft round brush.
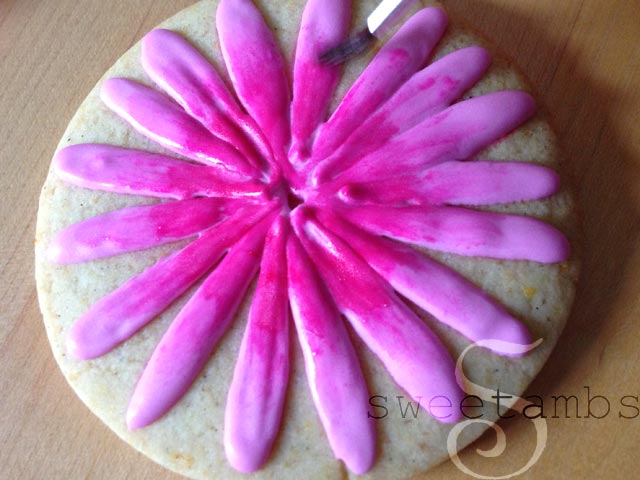
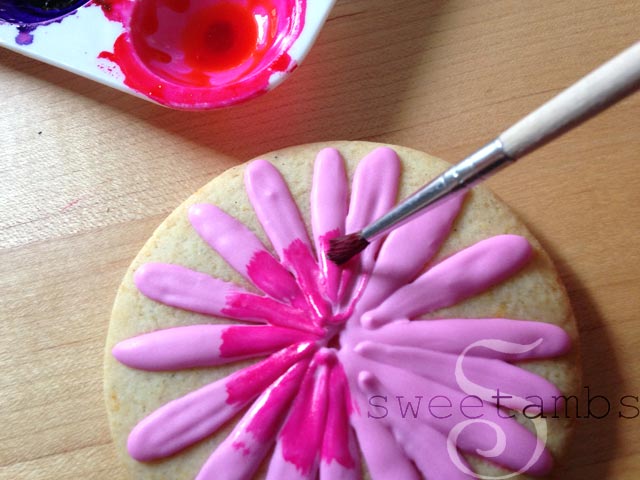 Blend the "paint" to the outer edges of the petals.
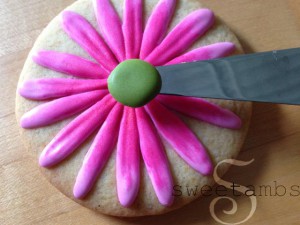
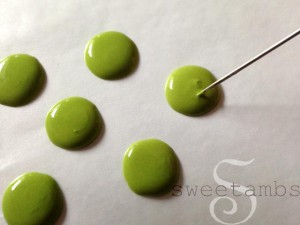
 Once the green centers are dry, apply them to the cookies with a dab of pink icing.
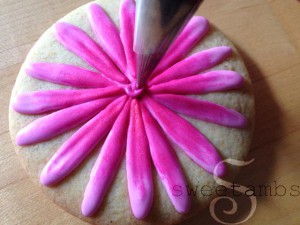
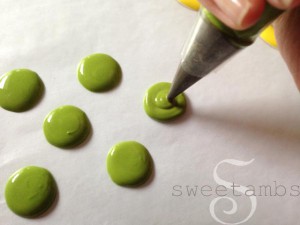
 Pipe a swirl of green icing on top with a tip 2.
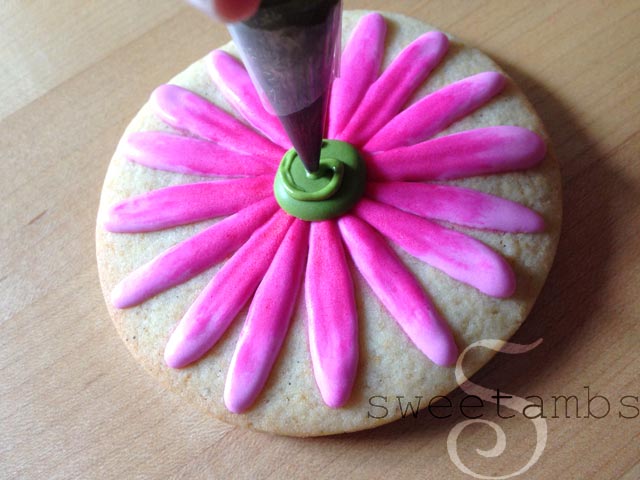 Use a soft brush to stipple the icing. This is the same technique that I used to create the fuzzy texture on my teddy bear cookie and the sand on my beach cookie.
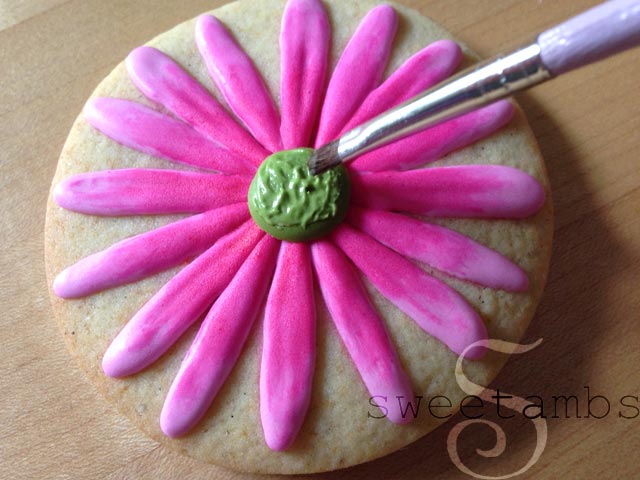 I piped these small petals with medium consistency icing, but then ended up elongating them later, so you can skip this step.
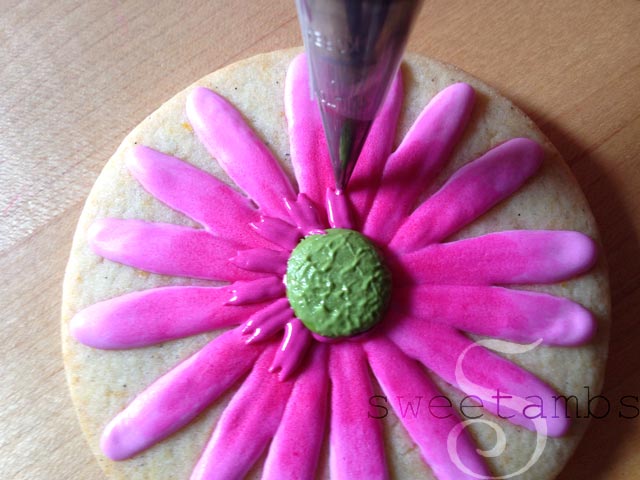 Pipe two rows of pointed dots around the center of the flower with medium consistency icing and a tip 1.
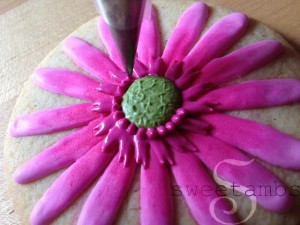
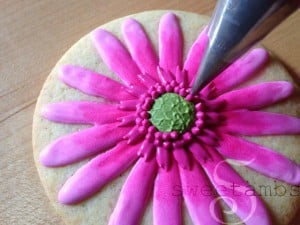 Pipe another set of petals about half the length of the first set.
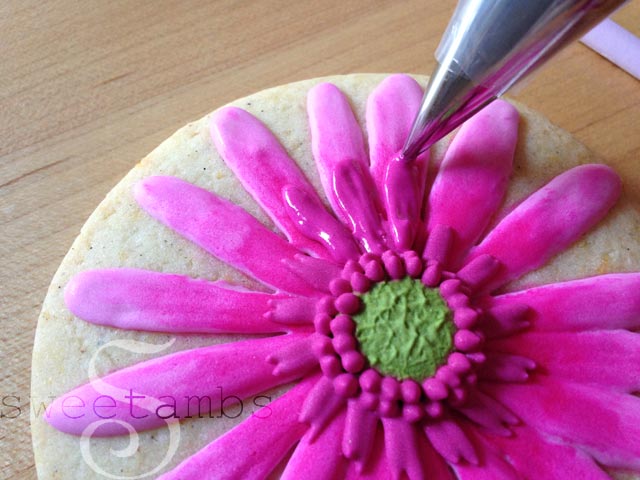 Pipe a shorter set of petals in between.
 And that's it! Allow the icing to dry another 2 to 4 hours before handling the cookies.
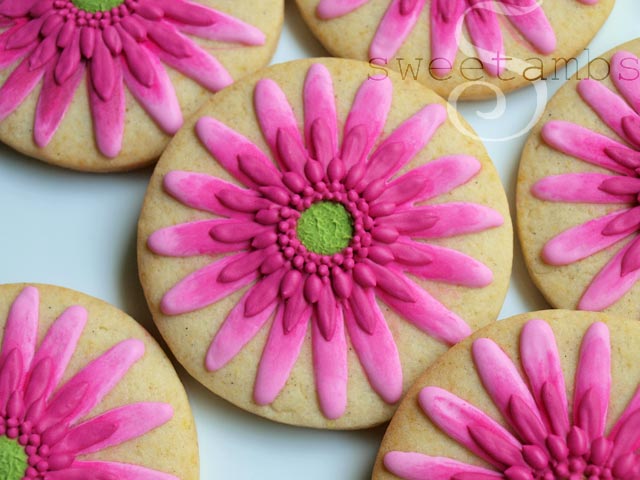 I also included a monogram cookie, which was colored the same way that I painted the petals.
 Click on the images below for more floral cookies!


Here's what you'll need to make gerbera daisy cookies:
- Roll out cookie dough (my Orange Vanilla Spice cookie recipe is available in my tutorial shop)
- 3″ round cutter (I like these round cutters from Ateco)
- Flood consistency royal icing
- Medium consistency royal icing
- Scribe tool
- Round decorating tips number 1 and 2
- Edible ink marker
- Waxed paper for royal icing transfers
- Soft brush (I used the round brush from this Wilton set)
- Pink: Americolor deep pink
- Green: Wilton juniper green + Lemon yellow
Fill in every other petal with a light shade of pink flood consistency royal icing and a tip 2. Use the scribe tool to help shape the icing.
Allow the first set of petals to dry about 1 hour in front of a fan. Then fill in the rest of the petals.
Allow the icing to dry about 8 hours. Using a mixture of deep pink gel paste and a few drops of alcohol or flavored extract (much like painting with gold on royal icing), paint the center of the flower with a soft round brush.
Blend the "paint" to the outer edges of the petals.
Once the green centers are dry, apply them to the cookies with a dab of pink icing.
Pipe a swirl of green icing on top with a tip 2.
Use a soft brush to stipple the icing. This is the same technique that I used to create the fuzzy texture on my teddy bear cookie and the sand on my beach cookie.
I piped these small petals with medium consistency icing, but then ended up elongating them later, so you can skip this step.
Pipe two rows of pointed dots around the center of the flower with medium consistency icing and a tip 1.
Pipe another set of petals about half the length of the first set.
Pipe a shorter set of petals in between.
And that's it! Allow the icing to dry another 2 to 4 hours before handling the cookies.
I also included a monogram cookie, which was colored the same way that I painted the petals.
Click on the images below for more floral cookies!




Gracias, son hermosos estos vídeos y disfruto mucho viendo como tiene facilidad para hacer los dibujos. Como se llama la herramienta q usa para distribuir el glasé en la galletas? Mil gracias por ser tan amable y compartir sus diseños.
Beautiful work, you inspire me to give it a try. Thanks
I feel so lucky that I came across your YouTube channel........... then to see such a nicely designed site, with an overwhelming amount of pictures and detailed info. 🙂 I am addicted to flood cookies now because of all the info you share. Thank you so much. Your cookies are so unique and beautiful!!!!!!!!!
Thank you so much, Annabell!!
Beautiful as always! Wonderful tutorial!
Thank you, Anna!
I can't believe you share these designs. It's so kind and generous of you. These are SO lovely!
Those are very cool. I love watching your tutorials. Thanks so much for sharing.
So perfect! Thanks for sharing!!
That was amazing. thank you for sharing.
Gorgeous. congratulations on your beautiful work.
Thanks, Carina!
Absolutely beautiful Amber! I love how often you are sharing new tutorials with us now. You really make them look easy lol!
Thank you, Maria!! It's fun for me to keep coming up with new ones. I'm so glad you are enjoying them!