
TruColor Natural Food Coloring – Painting on Royal Icing
When I first saw these colors at the TruColor booth at CookieCon, I was immediately in love! I couldn’t believe that these vibrant, shiny colors were natural food coloring. These shimmery dusts were created for use as airbrush colors, but I don’t own an airbrush, so I mixed them up with a little bit of alcohol (Barcardi 151 is my favorite) and painted them onto dry royal icing, just like I do when making gold icing. 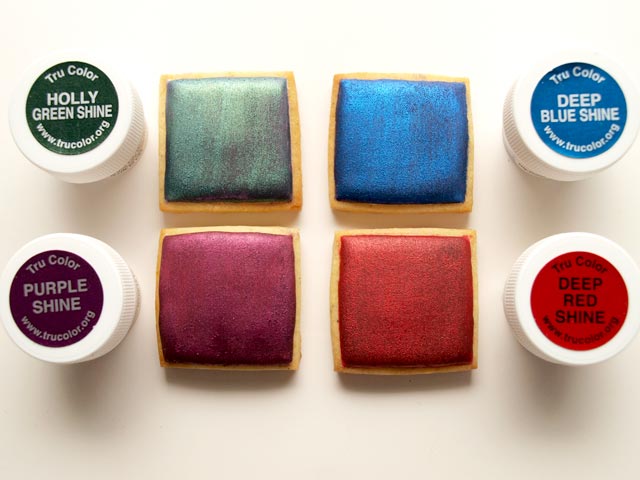
 As explained on the TruColor website, these colors are a little bit different than what we’re used to. They’re sold as dry dust, which is then mixed with a liquid (distilled water is recommended on the site) to make it usable. The dusts need to be mixed for several minutes to be fully incorporated into the liquid. I didn’t try mixing the colors directly into the icing (you can see tips on how to do that here), but I can tell you that as paints, they work great. I did have some issues with the red and purple colors, as they didn’t dissolve as well as the blue and the green, so there were a few little chunky pieces. I was told that not all of the colors are alcohol soluble, but I left the colors sitting in the alcohol for about 15 minutes and then they went on much more smoothly. This might not be the case for all colors, but for these four, it worked. It does take a little patience and some experimenting to figure out how to work with these, but I think the results are worth it. You can see how great the coverage is, even over white icing!


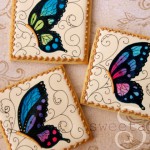
 I piped a filigree design using medium consistency icing and a tip 1. You can download my step-by-step filigree video from the tutorial shop. You’ll also find my cookie and royal icing recipe there.
 I allowed the icing to dry about 30 minutes, then painted it with a small brush.


 For these peacock feather cookies, I used the peacock feather stencil by The Cookie Countess, which is available exclusively through Flour Box Bakery. Click here to buy it! Like I said before, I don’t own an airbrush, so I used that tiny brush shown above to paint over the stencil.
 Click on the images below for more cookie projects:




As explained on the TruColor website, these colors are a little bit different than what we’re used to. They’re sold as dry dust, which is then mixed with a liquid (distilled water is recommended on the site) to make it usable. The dusts need to be mixed for several minutes to be fully incorporated into the liquid. I didn’t try mixing the colors directly into the icing (you can see tips on how to do that here), but I can tell you that as paints, they work great. I did have some issues with the red and purple colors, as they didn’t dissolve as well as the blue and the green, so there were a few little chunky pieces. I was told that not all of the colors are alcohol soluble, but I left the colors sitting in the alcohol for about 15 minutes and then they went on much more smoothly. This might not be the case for all colors, but for these four, it worked. It does take a little patience and some experimenting to figure out how to work with these, but I think the results are worth it. You can see how great the coverage is, even over white icing! I piped a filigree design using medium consistency icing and a tip 1. You can download my step-by-step filigree video from the tutorial shop. You’ll also find my cookie and royal icing recipe there. I allowed the icing to dry about 30 minutes, then painted it with a small brush. For these peacock feather cookies, I used the peacock feather stencil by The Cookie Countess, which is available exclusively through Flour Box Bakery. Click here to buy it! Like I said before, I don’t own an airbrush, so I used that tiny brush shown above to paint over the stencil. Click on the images below for more cookie projects: 
Subscribe
Login
0 Comments
Subscribe
0 Comments