This post contains affiliate links. Read my affiliate disclosure here.
—
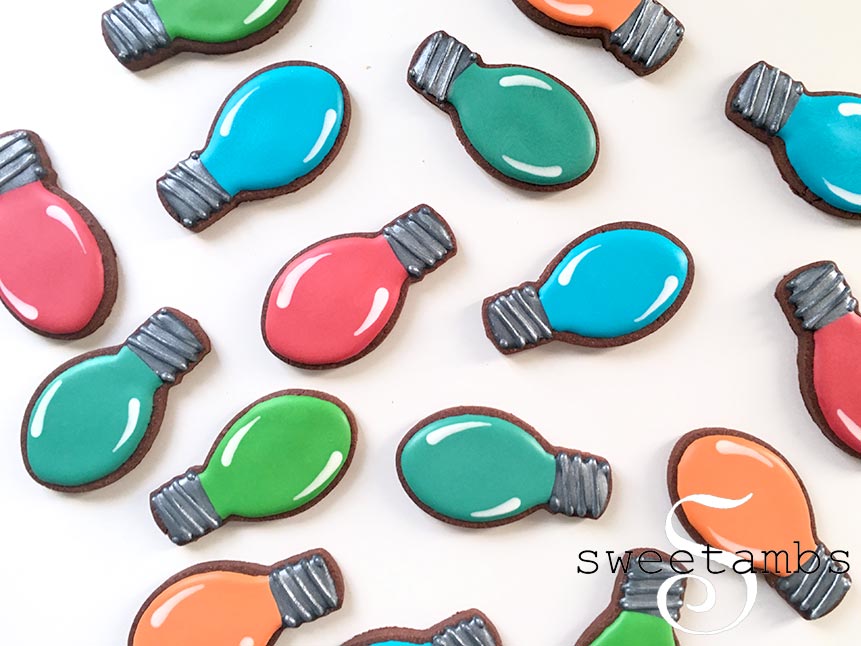
These Christmas light cookies were made using the Christmas Light Bulb cookie cutter from AnnClarkCookieCutters.com. You can find the bow cookie cutter there, too, along with so many other beautiful shapes!
—
Here’s what you’ll need for this project. These products and more are available in my Amazon Store.
-
Chocolate cookies (recipe below)
-
Bow cookie cutter
-
Christmas light cookie cutter
-
Flood consistency royal icing
-
12″ piping bags
-
Decorating tip 2
-
Silver pearl dust
-
Scribe tool
-
Brushes
-
Alcohol or flavored extract for painting with pearl dust (why? read this)
-
Paint palette or small dishes
-
The Wilton Color Right color system was used to create all of the icing colors in this set of cookies.
—
Watch the video below to learn how to make them:
—
—
Chocolate Cookies
Yields about 3 dozen 3-inch cookies
This recipe is from my book, Cookie Art: Sweet Designs From Special Occasions
Ingredients:
4 cups (575 grams) all-purpose flour, plus more for dusting
1 cup (85 grams) cocoa powder
1 teaspoon (4 grams) salt
1 cup (226 grams) butter, softened
2 cups (450 grams) sugar
2 eggs, room temperature
1 teaspoon (5 mL) vanilla extract
1/2 cup (122 grams) milk
—
Instructions:
1. Sift the flour, cocoa powder and salt into a medium bowl. Whisk to combine.
2. In large bowl, beat the butter and sugar with an electric mixer (handheld, or a stand
mixer fitted with the paddle attachment) on medium speed until the mixture is light and
fluffy, about 5 minutes. Scrape down the bowl and beater with a rubber spatula as
needed.
4. Add one egg and mix on low speed until it’s well blended. Stop the mixer, scrape the
bowl, add the second egg, and beat until well blended. Add the vanilla and milk and beat
until well blended.
5. Add the dry ingredients and beat on low speed, stopping once to scrape the bowl, until
they’re incorporated and the dough pulls away from the sides of the bowl, about 15
seconds. Do not over-mix. The dough should be soft and somewhat sticky, but not so
sticky that it’s difficult to handle. If the dough feels too soft, add flour until it stiffens up
(2 Tbs. at a time). If the dough is very dry and crumbly, add another 2 to 3 Tbs. milk to
soften it.
6. Divide the dough in half and roll each half into a 1-inch-thick rectangle. Wrap each
half tightly in plastic and chill the dough for at least 1 hour in refrigerator. You can also
freeze the dough for later use; the dough can last in the freezer for up to 3 months.
7. Remove the dough from the refrigerator and let it soften slightly for 15 to 20 minutes.
Roll the dough on a floured sheet of parchment or waxed paper to 3/16 inch thick. Layer
the dough on a baking sheet and chill for another 30 minutes.
8. Position racks in the upper and lower third of the oven and heat the oven to 350°F
(175°C) Line two or more rimmed baking sheets with parchment or nonstick baking
liners.
9. With a floured cookie cutter, cut the cookies while the dough is cold and arrange the
cutouts on the prepared pans. Freeze until very firm, another 15 minutes.
10. Bake two pans at a time, rotating and switching their positions halfway through, 10
to 12 minutes. Meanwhile, press the dough scraps together, re-roll, chill, and cut more
shapes; freeze. Cool the cookies completely on a rack before decorating.
—
Merry Christmas!
—
Click on the images below for more cookie projects!
—
—
Can you share your flood icing recipe?
Hi Carole! You can learn all about icing consistency here: http://www.sweetambs.com/tutorial/royalicing/
Do you have to freeze these cookies before you bake them? Can’t I just roll, cut and and bake?
Hi Elaine! It’s best to keep the dough cold throughout the process, which is why I recommend chilling the dough between each step.
i love watching you do your magic!
~ happy holidays ~
Happy Holidays, Dona!