Chalkboard Cookies!
Of course chalkboard cookies are great for back-to-school treats, but my brain has become wedding soup and I can’t think of anything else (3 weeks to go!), so I used the chalkboard icing technique to make these wedding plaque cookies.
You can watch this members-only video tutorial (without ads!) when you join my Cookie Art Club!
Get access to exclusive cookie decorating tutorials, my cookie and royal icing recipes, and individualized cookie decorating advice by joining my Cookie Art Club!
This post contains affiliate links. Read my affiliate disclosure here.

The plaque cookie cutter that I used for this project is from Ann Clark Cookie Cutters.
The idea for these chalkboard cookies came to me after I purchased this beauty from Michaels. I bought it to use at my wedding, but until then it’s just hanging out in my craft room!

Here’s what you’ll need to make these chalkboard cookies:
- Roll out cookie dough (my Orange Vanilla Spice cookie recipe is available in the tutorial shop)
- Plaque-shaped cookie cutter
- Flood consistency royal icing in black and white
- Stiff consistency royal icing in pink and green
- 12″ decorating bags
- Tipless piping bags
- Decorating tip 2
- Decorating tip 3
- Scribe tool
- Soft round and fine tip Brushes
- Cornstarch
Colors:
- Black: Black from the Wilton Color Right color system
- Pink: Wilton Aster Mauve from the Garden Tone Set
- Green: Wilton Juniper Green from the Garden Tone Set
—
Begin by icing a plaque-shaped cookie with black flood consistency royal icing and a tip 3. Allow the icing to dry completely. I let mine dry overnight. 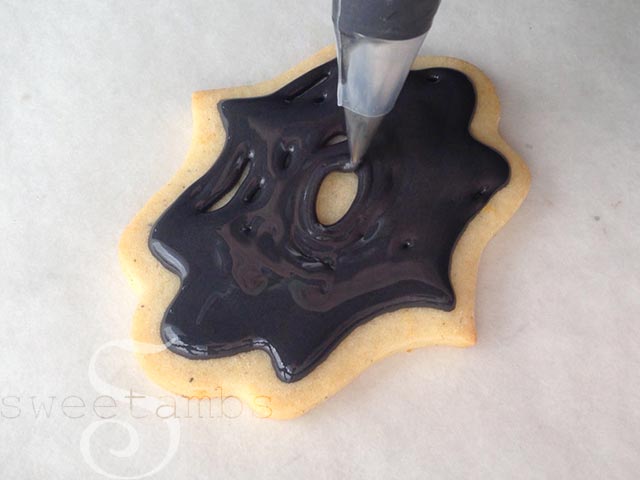
Dust the surface with cornstarch to give the icing a chalky look.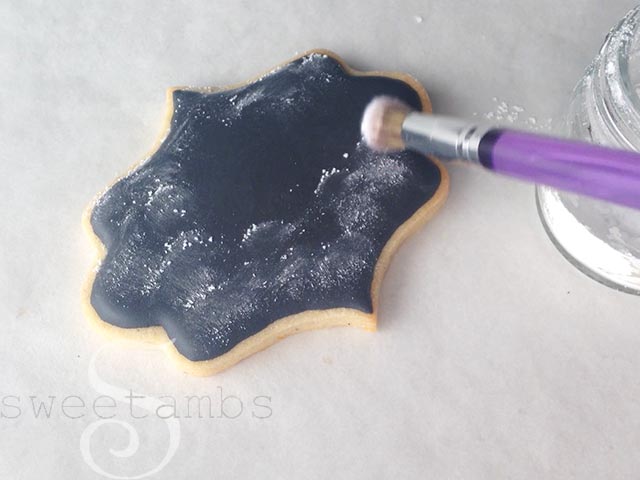 —
—
Fill a “tipless” piping bag with flood consistency icing and cut a very small opening. Pipe your design one section at a time (if you pipe the entire design at once, the icing will dry before you get to the next step). I used a tipless bag here because I needed a very small amount of icing. I prefer to use these smaller, thinner bags rather than using a 12″ bag for things like this. 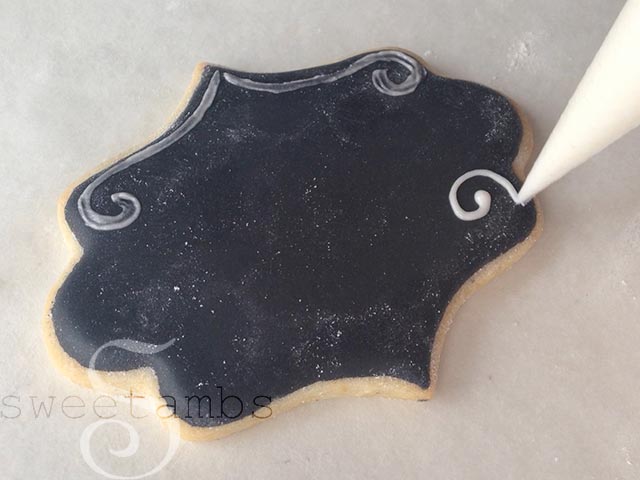
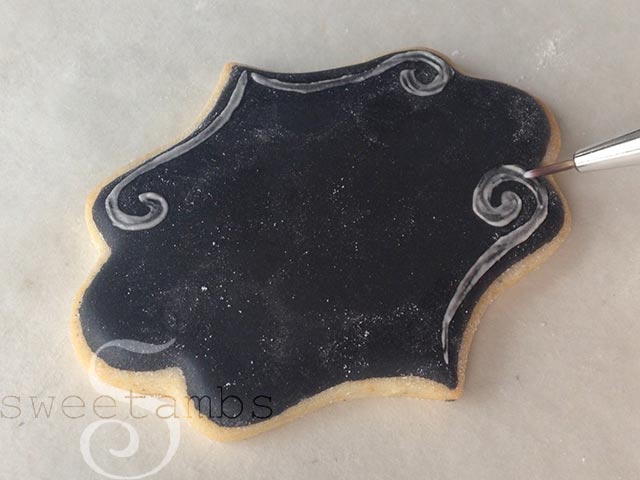
Use a fine tip brush to flatten the icing and remove some of the excess to make it look like the design was drawn with chalk.
You can see how I piped this monogram in the video in my Cookie Art Club. Add roses by piping swirls with pink stiff consistency icing and a tip 3. 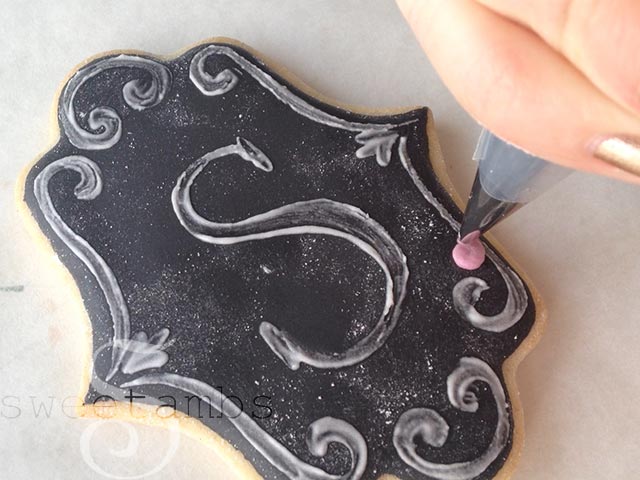
Add leaves with green stiff consistency icing and a tip 2. 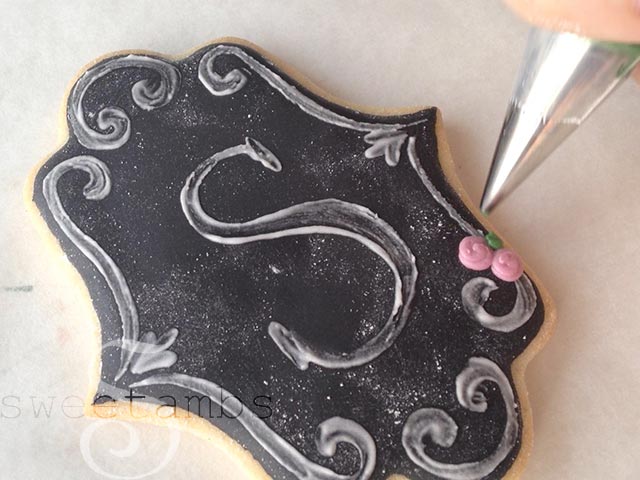
—
—
