How To Make Holiday Place Card Cookies
Here’s a sweet way to dress up your holiday table! I made these place card cookies using the enamel technique that I used for these Jay Strongwater inspired cookies back in May of this year. You can see the full tutorial on the enamel technique in this post.
 For this project you will need:


 Also cut out some triangle pieces. These will be the stands that hold up the place card cookies. Make sure to cut the triangles so that the cookie will lean back slightly when you stick the pieces together.
 Once the cookies are baked and cooled, ice them using brown flood consistency royal icing and a tip 3. Immediately pipe stripes of white icing, also with a tip 3.
 Swirl the two colors together with a scribe tool.
 Also ice both sides of the triangle pieces with brown flood consistency icing, allowing the first side to dry 8 hours before icing the other side. Allow the icing to dry 8-12 hours, then coat the cookie with a mixture of corn syrup and a few drops of alcohol. This gives the cookie a shiny surface and it will dry to the touch if you let it sit for a day or two. If you don’t have that kind of time, or if you will be shipping these cookies, you can use this technique without the corn syrup as Michelle shows here on her blog Make Me Cake Me.
 Mix together some gold pearl dust with a few drops of alcohol and dab it onto the corn syrup.
 Swirl it around.
 Allow this to dry for a couple of hours, then pipe the names using a light shade of brown medium consistency icing and a tip 1.
 Pipe a laurel leaf-like border using the same medium consistency icing that was used to pipe the name.
 Allow the icing to dry about 2 hours, then paint it with a mixture of gold pearl dust and alcohol. Read this post to learn more about painting with gold.
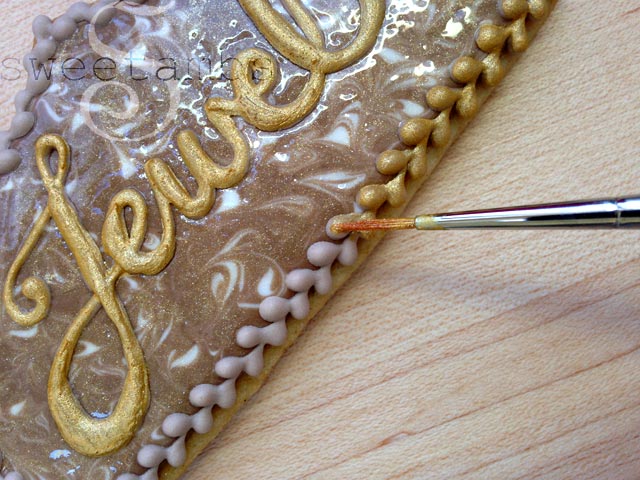
 Pipe a bead border with stiff consistency icing and a tip 2. Allow it to dry, then paint it with white pearl dust.
 Pipe some stiff consistency icing to the triangle cookie and apply it to the back of the place card. Apply some pressure to make sure that it sticks.
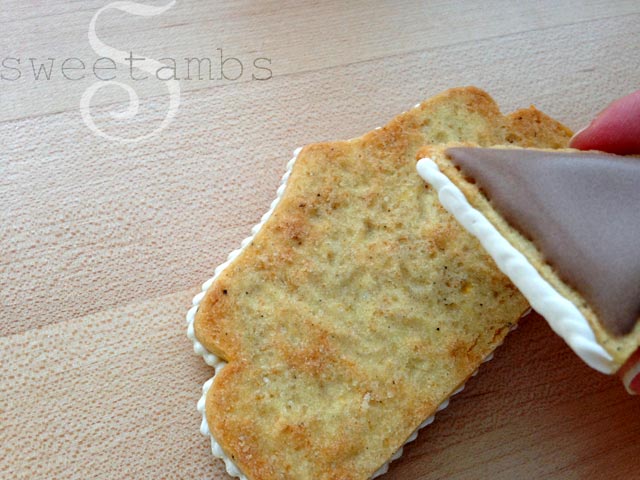
 Pipe a bead border over the seams.
 Allow the “glue” to dry for a couple of hours before handling the cookies.
 Happy Holidays!
 There are still a few days left to enter the Shells and Sweets Giveaway!

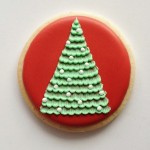
 Click on the images below for more cookie decorating tutorials


For this project you will need:- Roll out cookie dough (my Orange Vanilla Spice recipe is available in my tutorial shop)
- A fancy plaque cutter (this one was custom made, but you can find a similar design at Karen’s Cookies)
- Paring knife
- Flood consistency royal icing
- Medium consistency royal icing
- Stiff consistency royal icing
- Sugarflair dark brown gel paste

- Tip 1, 2 and 3
- Small paint brushes
- Scribe tool
- Gold pearl dust
- White pearl dust
Also cut out some triangle pieces. These will be the stands that hold up the place card cookies. Make sure to cut the triangles so that the cookie will lean back slightly when you stick the pieces together. Once the cookies are baked and cooled, ice them using brown flood consistency royal icing and a tip 3. Immediately pipe stripes of white icing, also with a tip 3. Swirl the two colors together with a scribe tool. Also ice both sides of the triangle pieces with brown flood consistency icing, allowing the first side to dry 8 hours before icing the other side. Allow the icing to dry 8-12 hours, then coat the cookie with a mixture of corn syrup and a few drops of alcohol. This gives the cookie a shiny surface and it will dry to the touch if you let it sit for a day or two. If you don’t have that kind of time, or if you will be shipping these cookies, you can use this technique without the corn syrup as Michelle shows here on her blog Make Me Cake Me. Mix together some gold pearl dust with a few drops of alcohol and dab it onto the corn syrup. Swirl it around. Allow this to dry for a couple of hours, then pipe the names using a light shade of brown medium consistency icing and a tip 1. Pipe a laurel leaf-like border using the same medium consistency icing that was used to pipe the name. Allow the icing to dry about 2 hours, then paint it with a mixture of gold pearl dust and alcohol. Read this post to learn more about painting with gold. Pipe a bead border with stiff consistency icing and a tip 2. Allow it to dry, then paint it with white pearl dust. Pipe some stiff consistency icing to the triangle cookie and apply it to the back of the place card. Apply some pressure to make sure that it sticks. Pipe a bead border over the seams. Allow the “glue” to dry for a couple of hours before handling the cookies. Happy Holidays! There are still a few days left to enter the Shells and Sweets Giveaway! Click on the images below for more cookie decorating tutorials 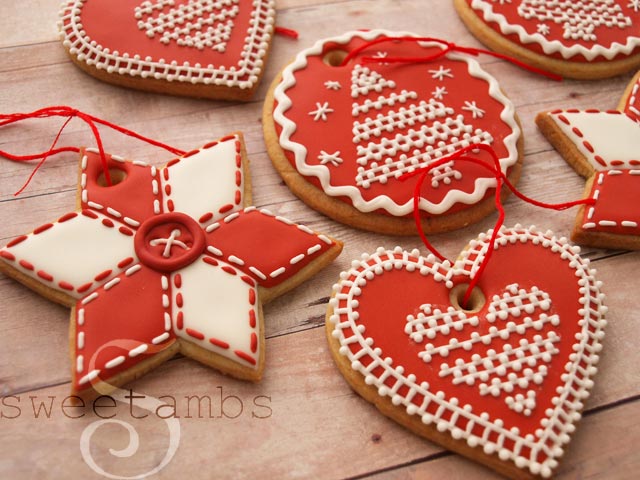

Subscribe
Login
0 Comments
Subscribe
0 Comments