
Mini Plaque Monogram Cookies
I used my new mini plaque cookie cutters to make these monogram cookies. There’s one cookie for each letter of the alphabet, which I photographed individually for my Tutorials A-Z page. — This post contains affiliate links. Read my affiliate disclosure here. 
 Here’s what you’ll need to make these cookies: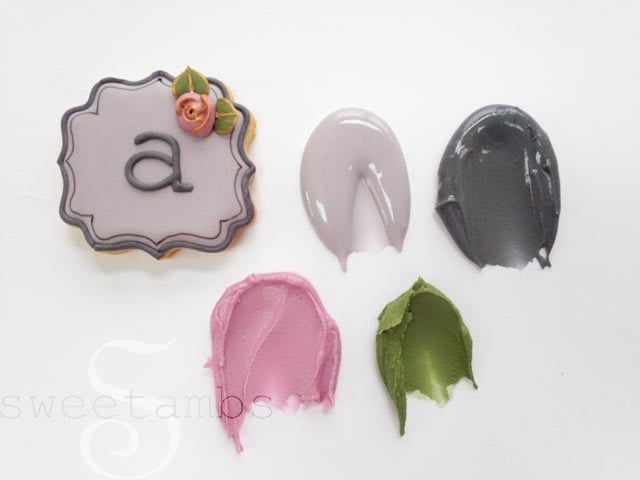

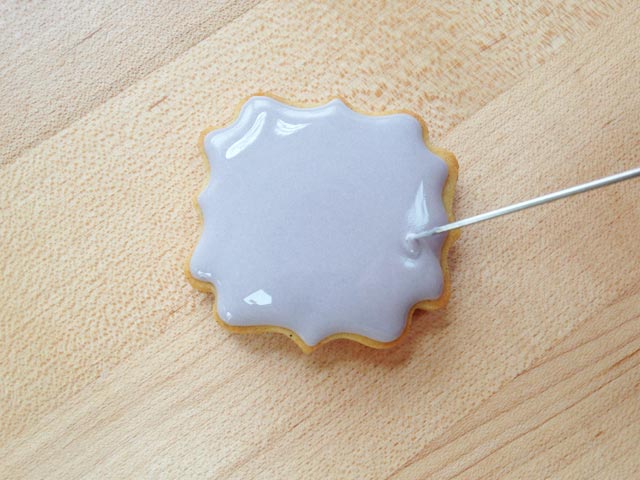
 — Begin by icing the cookies in light gray flood consistency royal icing and a tip 3.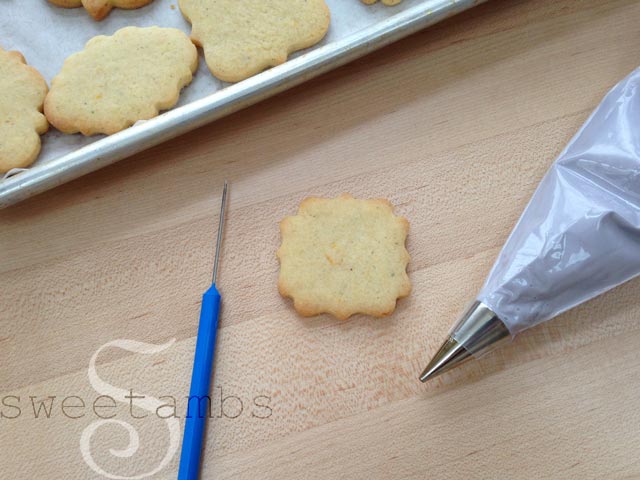

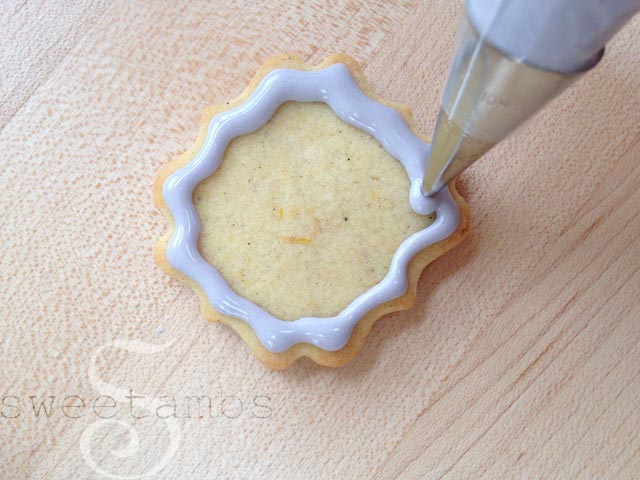
 — Use a scribe tool to evenly distribute the icing. Allow the icing to dry 8-12 hours.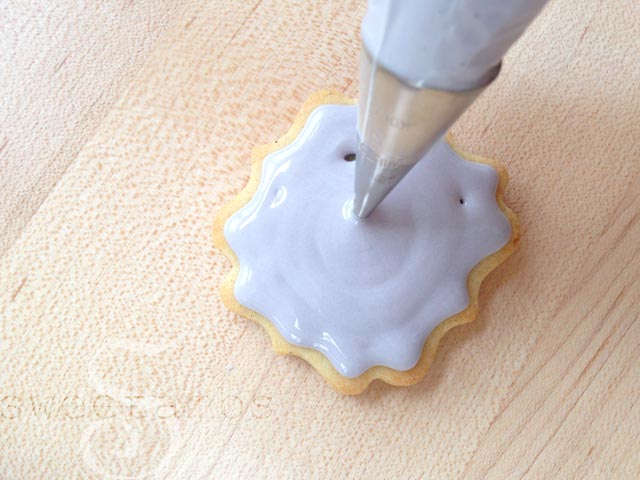

 — When making monogram cookies, I like to print the letters on a piece of paper and keep it in front of me to use as a reference. I typed this up in Google Docs using the courier font. You can find lots of fonts at DaFont.com, or just use what you have in your word document program.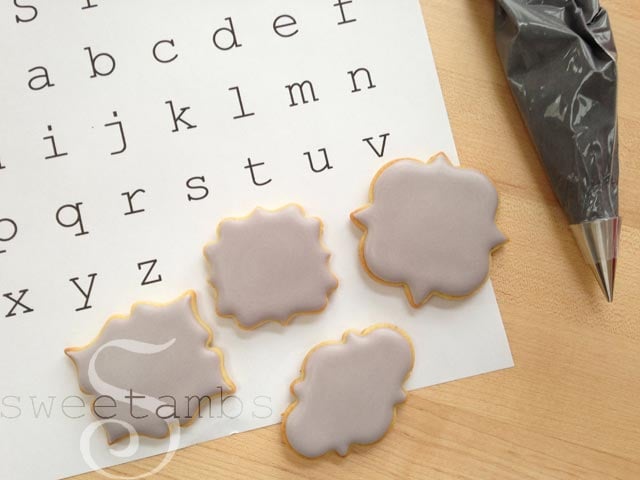
 — Use the scribe tool to sketch the letter onto the cookie and pipe over it with dark gray medium consistency icing and a tip 1. You can also use the Tissue Paper Method to transfer a guide onto the cookie (or use a Kopyake, if you have one).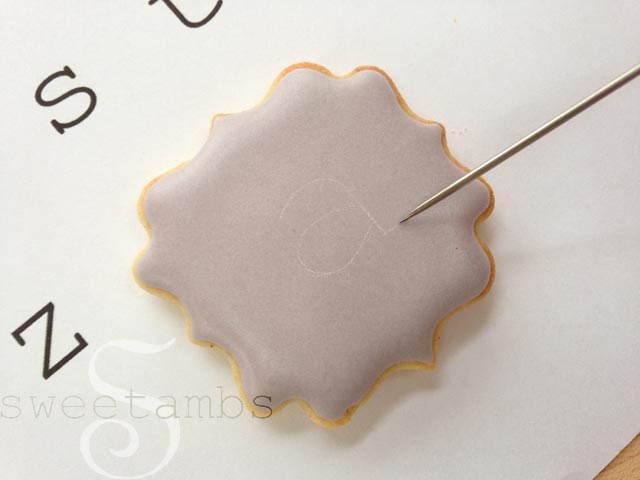

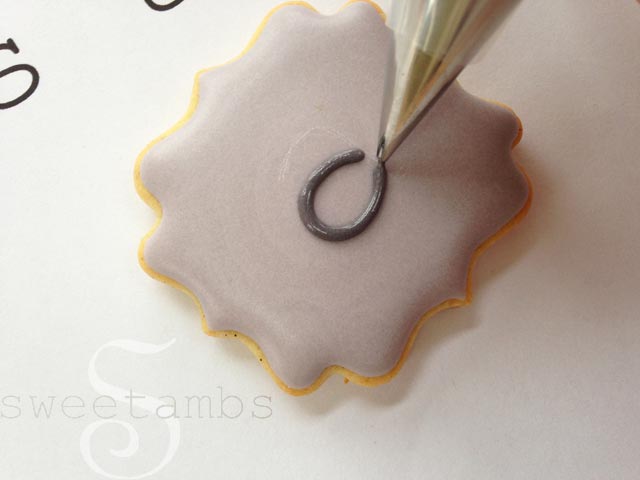
 — Outline the cookie using the same icing that was used to pipe the monogram.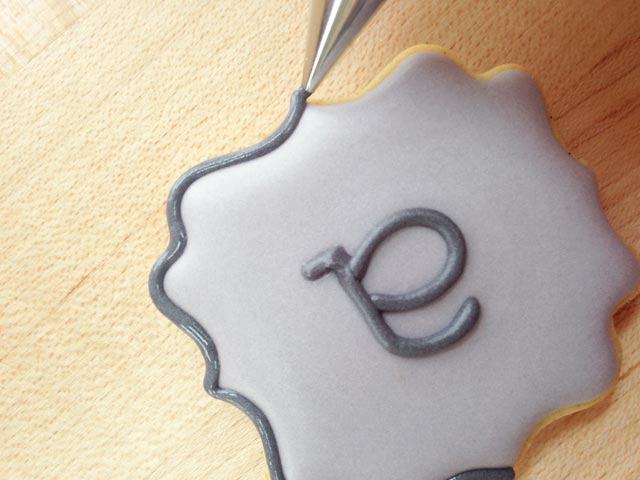
 — I normally use FooDoodler brand edible ink markers, but my friend in Hong Kong that sent me the mini plaque cookie cutters also sent me these Rainbow Dust markers. Each marker is double sided and I used the super fine tip to draw a thin line inside the border.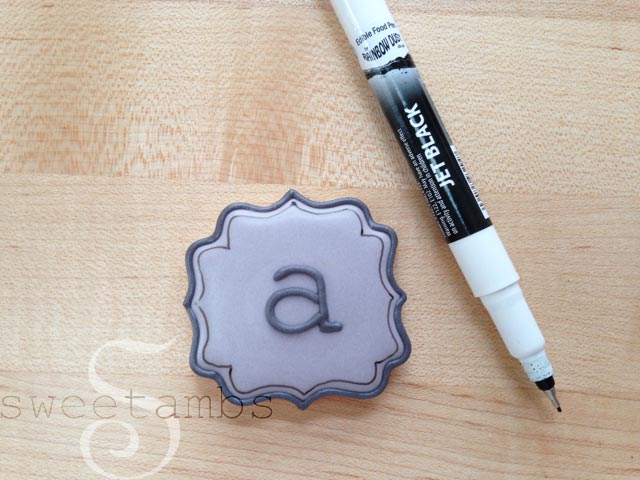
 — I made one with a French Script letter S to match my logo!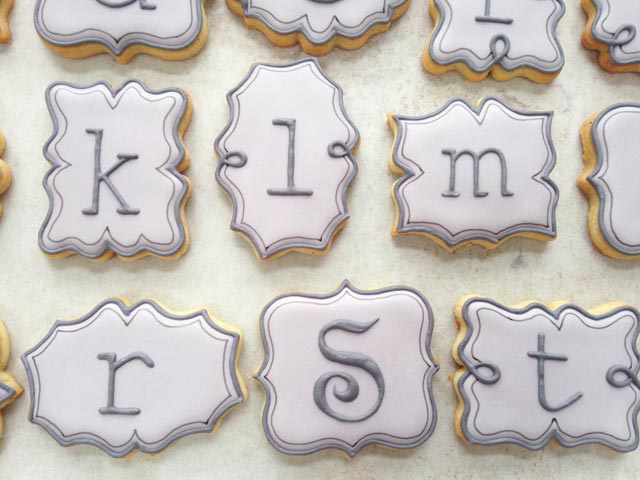
 — I added a tiny royal icing rose to each cookie. You can see a video with full instructions on how to make royal icing roses and leaves in my tutorial shop. I made these with a tip 59s and let them dry overnight before removing them from the wax paper squares.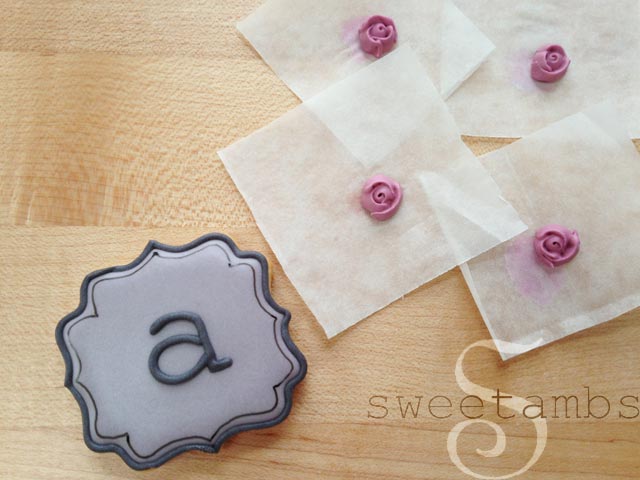
 — Pipe a leaf on each side of the rose using juniper green stiff consistency icing and a tip 352. This process is also shown in the roses and leaves video.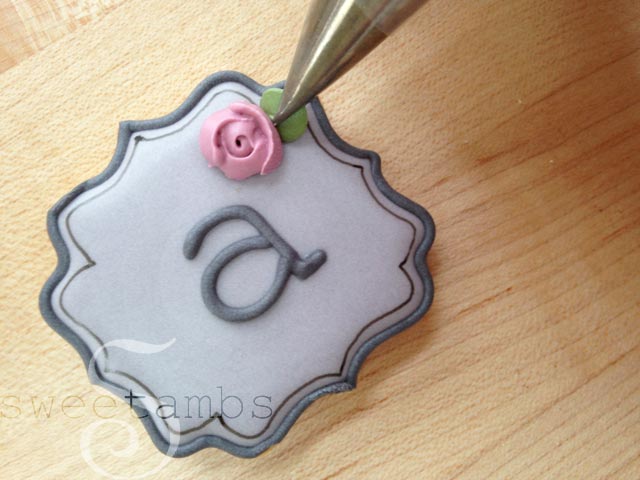

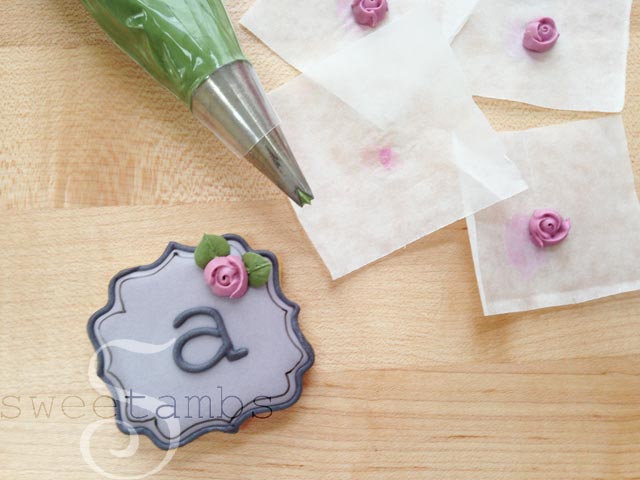
 — Allow the icing to dry for a couple of hours and then paint the edges of the petals with orchid pink pearl dust mixed with a few drops of alcohol or flavored extract. Read this post on painting with pearl dust for more information on this process.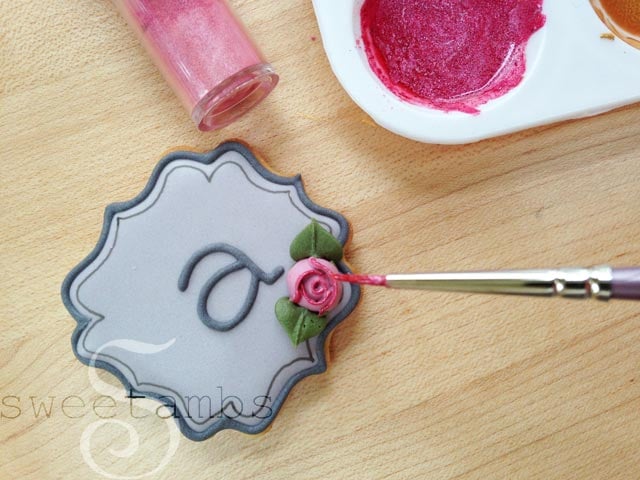
 — You can also add a little bit of gold to the edges of the leaves. I normally use Wilton gold pearl dust, but this time I tried Royal Gold from Sugarflair and it was amazing, of course.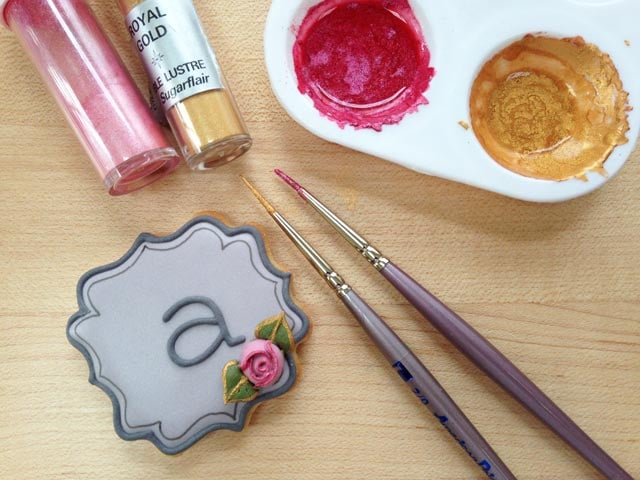
 — Visit my online shop for cookie decorating video tutorials! —
Here’s what you’ll need to make these cookies:- Roll out cookie dough (my Orange Vanilla Spice cookie recipe is available in my tutorial shop)
- Mini plaque cookie cutters (I haven’t found a place to purchase this particular set online, but you can find similar shapes at cheapcookiecutters.com, and Whisked Away Cutters.
- Flood consistency royal icing in light gray
- Medium consistency royal icing in dark gray
- Stiff consistency royal icing in pink and green
- Scribe tool
- Edible ink marker
- Round decorating tips 1 and 2
- Petal tip 59s
- Leaf tip 352
- Gold pearl dust
- Orchid pink pearl dust
- Small brush (size 2/0 liner)
- Alcohol or flavored extract
- Gray: Americolor super black + a touch of Wilton aster mauve (from the garden tone set)
- Pink: Wilton aster mauve
- Green: Wilton juniper green (also from the garden tone set)
— Begin by icing the cookies in light gray flood consistency royal icing and a tip 3. — Use a scribe tool to evenly distribute the icing. Allow the icing to dry 8-12 hours. — When making monogram cookies, I like to print the letters on a piece of paper and keep it in front of me to use as a reference. I typed this up in Google Docs using the courier font. You can find lots of fonts at DaFont.com, or just use what you have in your word document program. — Use the scribe tool to sketch the letter onto the cookie and pipe over it with dark gray medium consistency icing and a tip 1. You can also use the Tissue Paper Method to transfer a guide onto the cookie (or use a Kopyake, if you have one). — Outline the cookie using the same icing that was used to pipe the monogram. — I normally use FooDoodler brand edible ink markers, but my friend in Hong Kong that sent me the mini plaque cookie cutters also sent me these Rainbow Dust markers. Each marker is double sided and I used the super fine tip to draw a thin line inside the border. — I made one with a French Script letter S to match my logo! — I added a tiny royal icing rose to each cookie. You can see a video with full instructions on how to make royal icing roses and leaves in my tutorial shop. I made these with a tip 59s and let them dry overnight before removing them from the wax paper squares. — Pipe a leaf on each side of the rose using juniper green stiff consistency icing and a tip 352. This process is also shown in the roses and leaves video. — Allow the icing to dry for a couple of hours and then paint the edges of the petals with orchid pink pearl dust mixed with a few drops of alcohol or flavored extract. Read this post on painting with pearl dust for more information on this process. — You can also add a little bit of gold to the edges of the leaves. I normally use Wilton gold pearl dust, but this time I tried Royal Gold from Sugarflair and it was amazing, of course. — Visit my online shop for cookie decorating video tutorials! —
Subscribe
Login
0 Comments
Subscribe
0 Comments