
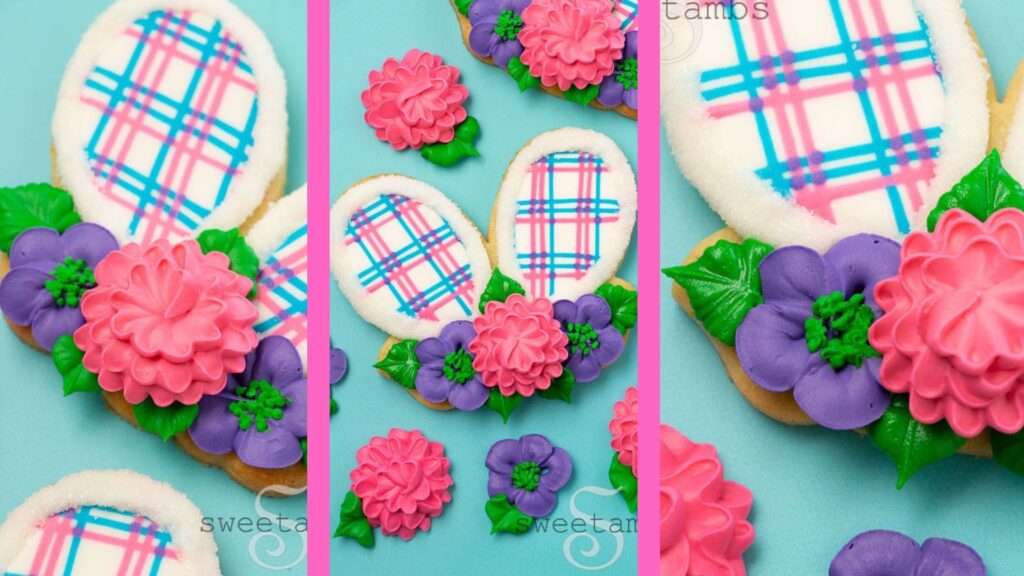
Dress up your Easter table with these adorable Plaid Easter Bunny Ears Cookies decorated with royal icing. Watch the video and get the supply list below!
Get access to exclusive cookie decorating tutorials, my cookie and royal icing recipes, and individualized cookie decorating advice by joining my Cookie Art Club!
This post contains affiliate links. Read my affiliate disclosure here.
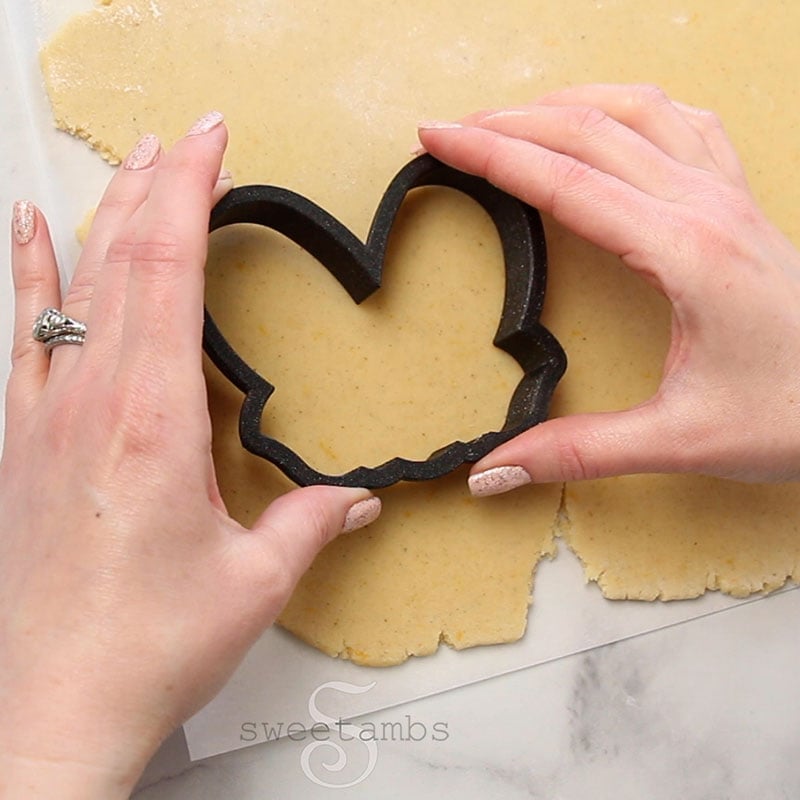
This adorable Floral Ears Bunny Cookie Cutter is from SweetLeigh Printed. This is the 4" version but it comes in a few other sizes, as well. Use code SWEETAMBS for 10% cookie cutters!
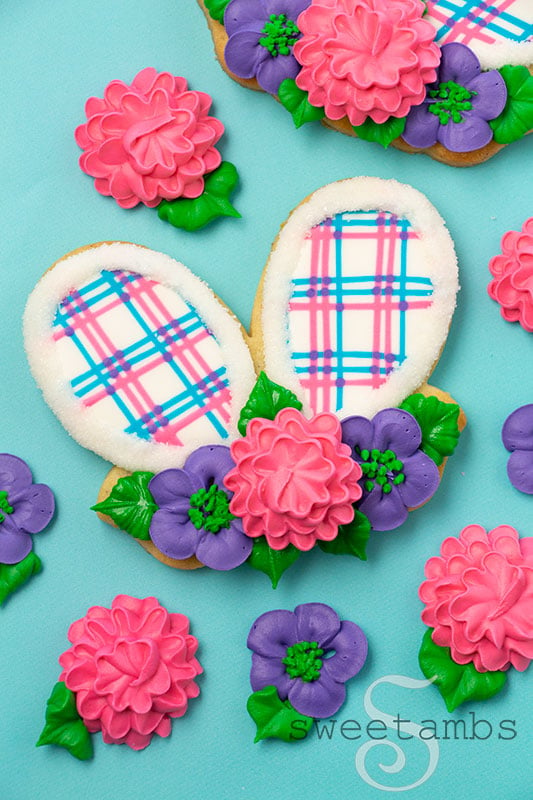
The best thing about these royal icing flowers is that you can make them way in advance! Once the icing is dry, they can be stored at room temperature in an airtight container indefinitely.
So go get a head start on those Easter cookies! And make some extras so you can use them for other projects later.
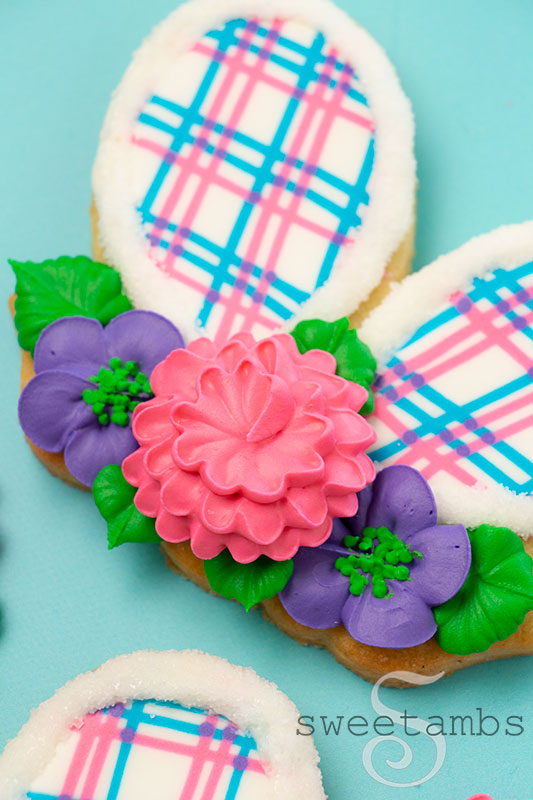
Here's what you'll need to make these Plaid Easter Bunny Ears Cookies
- Chilled sheet of cookie dough (my cookie and royal icing recipes are in the Cookie Art Club)
- Floral bunny ears cookie cutter (use code SWEETAMBS for 10% off)
- Ruler
- Flood consistency royal icing in white, blue, pink, and purple
- Stiff consistency royal icing in pink, purple, and green
- Medium consistency royal icing in white
- Scribe tool
- 4 Tipless decorating bags
- 3 12” decorating bags
- Bag ties or rubber bands
- Couplers
- 2 Decorating tip 101
- Decorating tip 1
- Decorating tip 352
- Parchment paper or wax paper squares
- Flower nail
- Granulated sugar
Read my Ultimate Guide To Royal Icing to learn all about royal icing consistencies.
Colors (I used Chefmaster)
- Sky Blue
- Deep Pink
- Violet
- Leaf Green
Instructions
- Cut the cookies from a chilled sheet of cookie dough and bake them according to the recipe instructions. Allow the cookies to cool completely before decorating.
- Fill 3 tipless decorating bags with white, blue, pink, and purple flood consistency icing. Secure the top of the bags with a bag tie or rubber band. Cut a small opening in the tip of the bags.
- Flood one ear with white flood consistency icing, leaving about ¼” around the edge. Use the scribe tool to help shape the icing.
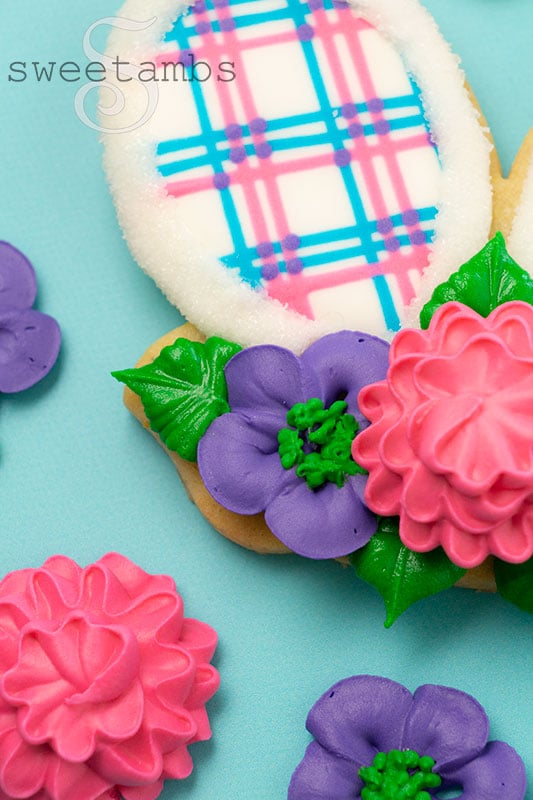
- While the white icing is still wet, pipe 3 double lines with blue flood consistency icing horizontally, about 1” apart.
- Rotate the cookie 90˚ and pipe 3 single lines with the blue icing, perpendicular to the double lines.
- Pipe double lines of pink flood consistency royal icing under each single blue line.
- Rotate the cookie back to its original position and a single line of pink icing under the blue double lines.
- Repeat this process on the other ear. Set the cookie aside to dry overnight.
- Fit a 12” decorating bag with a coupler and a decorating tip 101. Fill the bag with pink stiff consistency royal icing. Secure the top of the bag with a bag tie or rubber band.
- Attach a piece of parchment paper to the flower nail with a little bit of icing. With the narrow end of the tip facing out, pipe one circle of petals while turning the nail and moving the tip back and forth to create a ruffled look. Pipe a slightly smaller circle on top to make the second row of petals, and an even smaller layer on top of that to make the final layer of petals.
- Remove the flower from the nail and allow it to dry overnight. Make 1 of these flowers for each cookie.
- Fit a 12” decorating bag with a coupler and a decorating tip 352. Fill the bag with purple stiff consistency royal icing. Secure the top of the bag with a bag tie or rubber band.
- Attach a piece of parchment paper to the flower nail with a little bit of icing. With the narrow end of the tip facing out, pipe 5 petals while turning the flower nail. Remove the flower from the nail and allow it to dry overnight. Make 2 of these flowers for each cookie.
- Fit a 12” decorating bag with a coupler and a decorating tip 1. Fill the bag with green stiff consistency royal icing. Secure the top of the bag with a bag tie or rubber band.
- Pipe a cluster of small green dots in the center of the purple flowers. Set them aside to dry.
- Fill a tipless decorating bag with white medium consistency royal icing. Secure the top of the bags with a bag tie or rubber band. Cut a small opening in the tip of the bags.
- Pour granulated sugar onto a plate.
- Pipe medium consistency icing around the ears. Dip the cookie into the granulated sugar. Use the scribe tool to help push the sugar into place around the ears.
- Switch the decorating tip on the green stiff icing to a 352. Attach the flowers to the cookies with the green icing, starting with two purple flowers on the sides and one pink flower in the center.
- Pipe leaves around the flowers with the green icing. Start with the tip tucked under the flower with the “V” opening on the sides. Squeeze the bag and let the icing build up, then slowly move the tip away from the cookie while also moving it slightly back and forth to create a ruffle.



