Answers to Baking Perfect Cookies
I’ve put together some information to answer some of the most frequently asked questions about how to bake perfect cookies, how to handle large orders, as well as the best way to store and package the finished product.
My Cookie Art Club members have access to my cookie and royal icing recipe, ad-free cookie decorating tutorials, individualized cookie decorating advice, and other members-only benefits!
Get access to exclusive cookie decorating tutorials, my cookie and royal icing recipes, and individualized cookie decorating advice by joining my Cookie Art Club!
This post contains affiliate links. Read my affiliate disclosure here.
Save Time By Planning Ahead
When baking cookies that will be decorated with royal icing
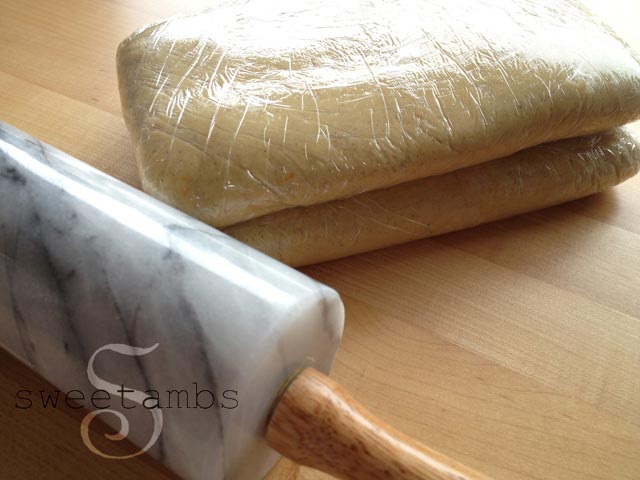
Step 1 – I like to make my dough ahead of time
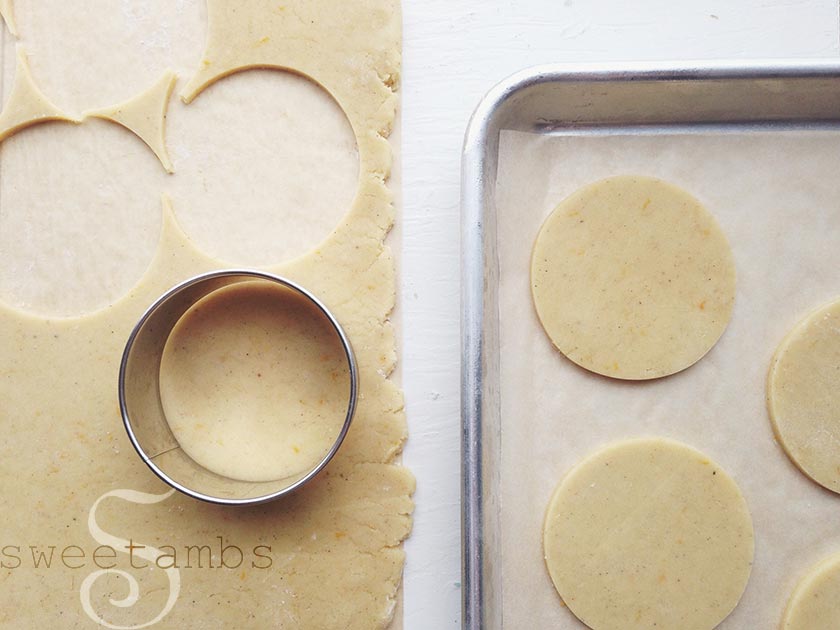
Step 2 – Roll and Cut the Cookies
Step 3 – Freeze them raw for up to three months
Step 4 – Then, I just pop them into the oven when it’s time to bake (read my post about how to freeze decorated cookies here).
SweetAmbs Pro Tip – To save room in the freezer, allow the raw cookies to chill for about 20 minutes stacked on a sheet tray with parchment in between each layer of cookies.
Then, when they’re frozen, remove the raw cookies from the parchment sheets, stack them in sets of 8 (because that’s how many I can fit onto one sheet tray when baking) and wrap each stack tightly in plastic wrap.

Should I thaw the cookies before baking?
There’s no need to thaw the cookies before baking. Just unwrap them from the plastic, place them on a room temperature sheet tray and put them right into the oven. This saves me a lot of time later when I’m ready to decorate because I’m not trying to make dough, roll cookies, bake and decorate all at the same time.
This practice works well if you make the same shapes on a regular basis. When I was taking orders, I would offer mainly round and square cookies, so that I could have them ready to go into the oven at any time.
Work In Small Batches To Handle Large Orders
When making large quantities of cookies, it’s not practical to try to bake and decorate them all at once. You’ll have a much better time if you break them up into smaller batches.
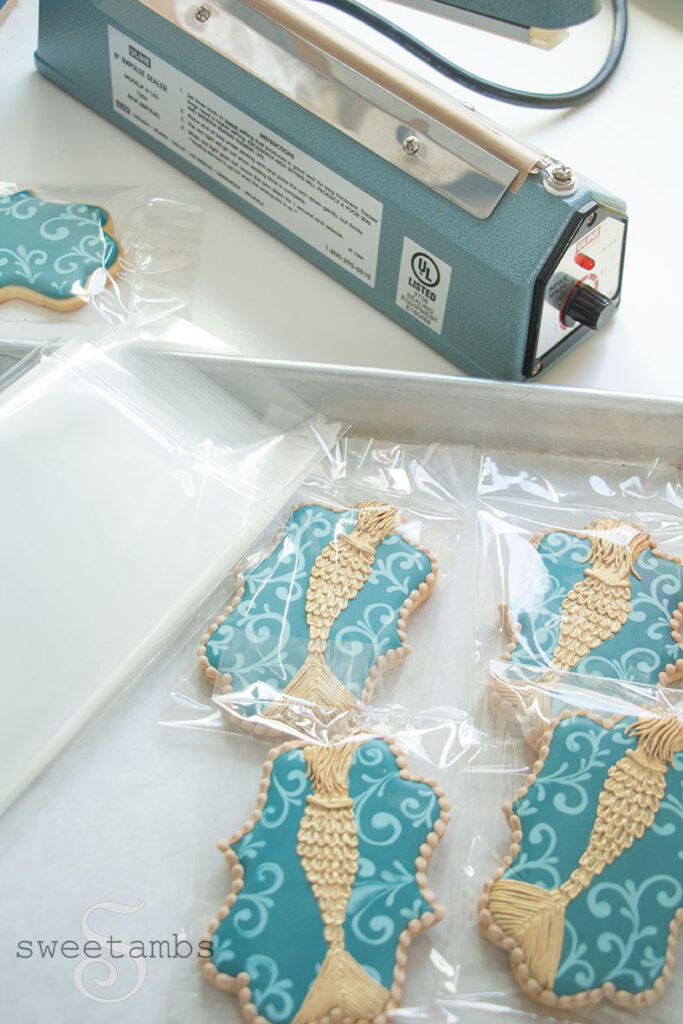
I bake and flood about 4 dozen in one day, allow them to dry, and then finish the details the following day. Once those are dry, I package them up in cello bags and seal them with a heat sealer (more on that below) so that they stay fresh while I move on to the next 4 dozen. This way, I can get started about a week ahead of time and I save a lot of room by being able to store the packaged cookies instead of having all 100 cookies spread out on cookie sheets.
For tools and ingredients that I use for baking and decorating, visit my Amazon Store
Tips For Making Cookie Dough
✔️ Butter and eggs need to be at room temperature. If you’re in a hurry, throw the butter in the microwave at 50% power in 15 second intervals to warm it up. Place the eggs in a bowl of warm water for about 15-20 minutes to bring them to room temperature. The reason that you want to use room temp eggs and butter is because they won’t properly combine if they are cold. You’ve probably seen it happen – you add cold eggs to your smooth creamed butter and sugar and suddenly you have a lumpy soup. This can lead to little bits of butter that aren’t thoroughly mixed into the dough, which can cause problems later in the baking process.
✔️ Once you add the flour to the dough, keep the mixing to a minimum. Too much mixing will give you a tough, misshapen cookie. Add the flour all at once and then mix it for another 15 seconds or so. If it’s not mixed all the way by then, finish it by hand. If you’re using my Orange Vanilla Cardamom Cookie recipe, the dough should be pretty stiff. If it seems very sticky and soft, add a little more flour, a handful at a time. You may need to add up to an extra cup of flour if you live in a humid climate.
✔️ Split the dough in half and shape each half into a flattened rectangle rather than keeping it in a ball. That will help a lot when rolling it out later! Wrap up the dough and put it in the fridge for at least one hour (or the freezer for later use).

✔️ Keep the dough cold while working with it. Take the dough out of the fridge or freezer and let it sit to soften slightly. Roll it into sheets (I make mine about 3/16″ to 1/4″) and then put the sheets back into the fridge for 30 minutes. This helps the dough to relax, which will help to prevent the cookies from becoming misshapen in the oven. Cut out the cookies while the dough is cold so that they keep their shape. Once the cookies are cut from the sheets, put them in the freezer to chill for another 15 minutes. At this point you can wrap the cookies up and freeze them for later or bake them if you’re ready to decorate. I wrap my cookies in sets of 8 because that’s how many I can fit onto a half sheet pan at once. It makes it easy to just grab what I need from the freezer.
✔️ I only re-roll scraps once. Re-rolled dough can cause misshapen cookies, bubbles, and a tough bite. To reduce waste at the end, cut your re-rolled dough into squares. Sell them as tasting samples or offer your customers some square design options.
If you’re making my Orange Vanilla Cardamom Cookie recipe (available in the Cookie Art Club), keep in mind that it will spread in the oven a little bit. However, it should not spread so much that it becomes misshapen. See the above below if your cookies are spreading.


Tips For How To Bake Perfect Cookies
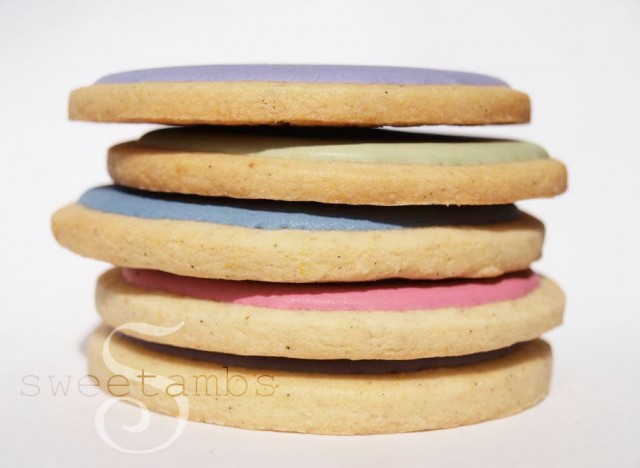
When baking my cookies, I allow the edges to get a little golden brown. I enjoy the caramel flavor notes of a cookie that has some color to it. Before I started using my current cookie recipe, I couldn’t bake my cookies to this point because they would become too hard after a day of decorating. So, I did some experimenting to create a cookie that browns nicely, keeps its shape, and stays softer for a longer period of time than other recipes I’ve tried in the past.
Why are my cookies spreading during baking?
If your cookies are spreading during baking, there are a few things you can do.
✔️Try reducing or eliminating the baking powder or baking soda. Keep in mind that reducing or removing the baking powder will keep the cookies from spreading, but it could also lead to your cookies becoming tough and unpleasant to eat.
Baking soda and baking powder create teeny tiny bubbles in the dough, which is what gives it a soft bite, but can also lead to spreading and misshapen cookies (this is why I created my Orange Vanilla Cardamom cookie recipe, which contains baking powder, but still holds its shape and has a nice texture).
✔️Don’t over-whip your butter. The butter and sugar mixture should be creamy and soft, but not too fluffy. Too many little air bubbles in the dough can cause the cookies to puff up while baking. Also make sure to follow the steps above for making cookie dough to keep your cookies from losing their shape.
✔️Keep the dough cold while working with it (see above for tips on making cookie dough).
Storage and Packaging For Decorated Cookies
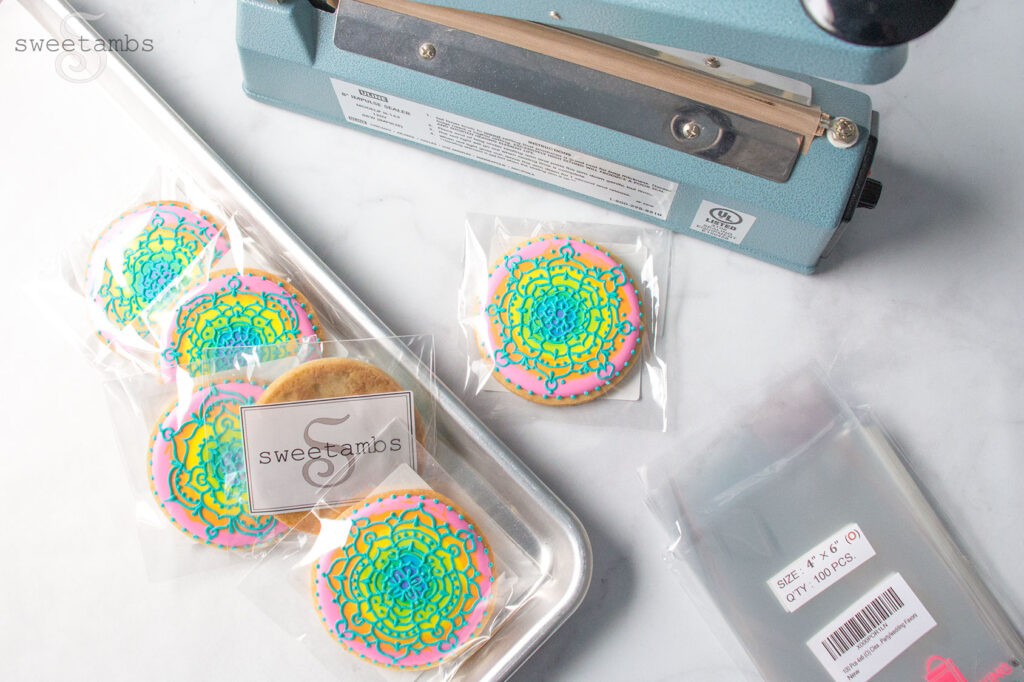
Once my cookies are baked, cooled, iced and dry, I package them in cello bags and seal them with a heat sealer. I use the 8″ size heat sealer from ULINE (you can also find them on Amazon). They will stay fresh for 3 to 4 weeks after that (depending on what cookie recipe you’re using).
If you don’t have a heat sealer or cello bags, an airtight container will keep them fresh for a few days.
Store the cookies in a cool and dry place away from direct sunlight (not in the refrigerator!). If the cookies are exposed to light for a long period of time, the colors in your icing can fade, especially pink! And your purples will turn gray.
If you need to store baked, un-iced cookies, you can wrap them tightly in plastic wrap or place them in an airtight container for up to two days. You can also freeze them. See my tips on how to freeze cookies in this post.

I wrap each cookie in a cello bag (I use 4×6″ bags for 3-1/4″ round cookies) and then wrap them in tissue paper so that none of the cookies are touching each other (I like to use this recycled tissue paper from Nashville Wraps). The box should have enough packaging material inside so that if you shake it, nothing is moving around inside.
As for the gift boxes, that will depend on the size of your cookies. My cookies are usually about 3-1/4″ in diameter, and I put between 8 and 16 in one 8x4x4″ box. Nashville wraps has a wide selection of bakery boxes. Another great resource for boxes is BRP box shop. They have tons of different sizes and styles, including window boxes, which make for a beautiful presentation.
For shipping the cookies, you can order free flat rate shipping boxes from the post office and have them delivered to your door.
See this post on how to pack cookies for shipping for a video tutorial on the process.

Read my Ultimate Guide To Royal Icing to learn about royal icing consistencies and including troubleshooting tips.

Do you have a cookie conundrum? Leave a comment below if you have an issue that I haven’t addressed here.
